Thursday 2nd March, Friday 3rd March
Much of the daytime was spent with my wife stripping wallpaper again, worried that the lounge/dining room area will not be ready for the plasterer on Monday.
The main worry was how long it would take to remove the paper from the ceiling.
As it turns out, the ceiling paper in the lounge came off really easily and in big strips without the need to even steam it first.
The same was also true of the dining room.
The walls in the lounge were not too bad, with only a couple of small areas requiring removal.
Saturday 4th March
When our house was built in 1935, it was still common practice to locate the sockets on the skirting.
I updated the sockets around 15 years ago with more modern ones, but until now have not had the opportunity to relocate them.
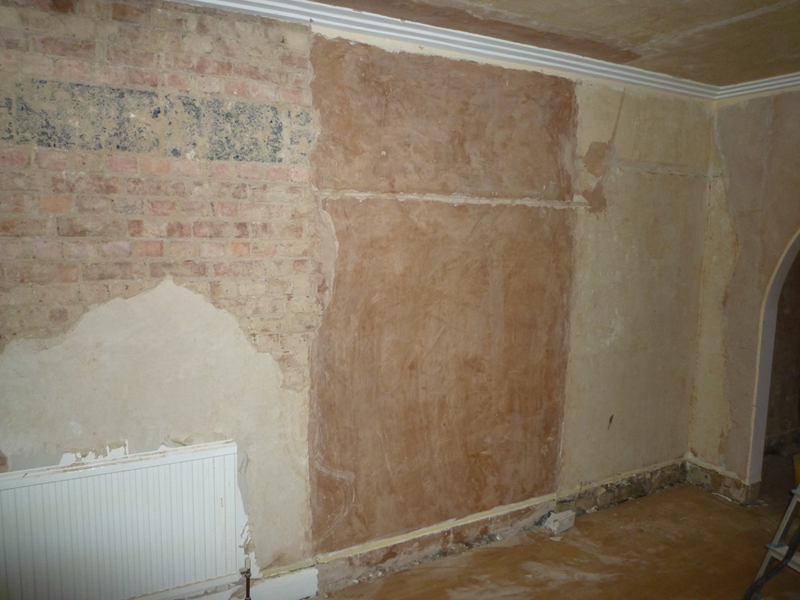
Once the skirting was removed, I set about relocating the sockets further up the wall, you can see one in this picture.
The pink patch is where a previous builder ‘made good’ after removing a chimney breast.

Here is another socket relocated further up the wall.

Sunday 5th March
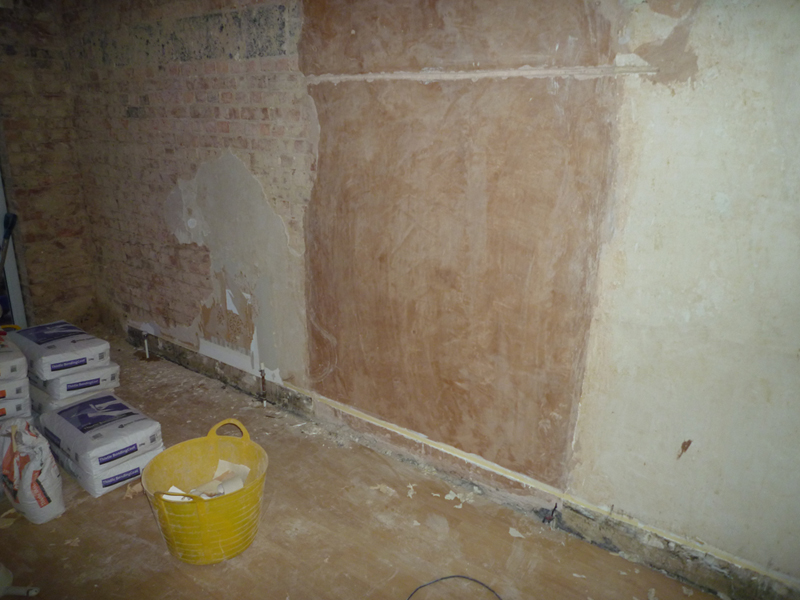
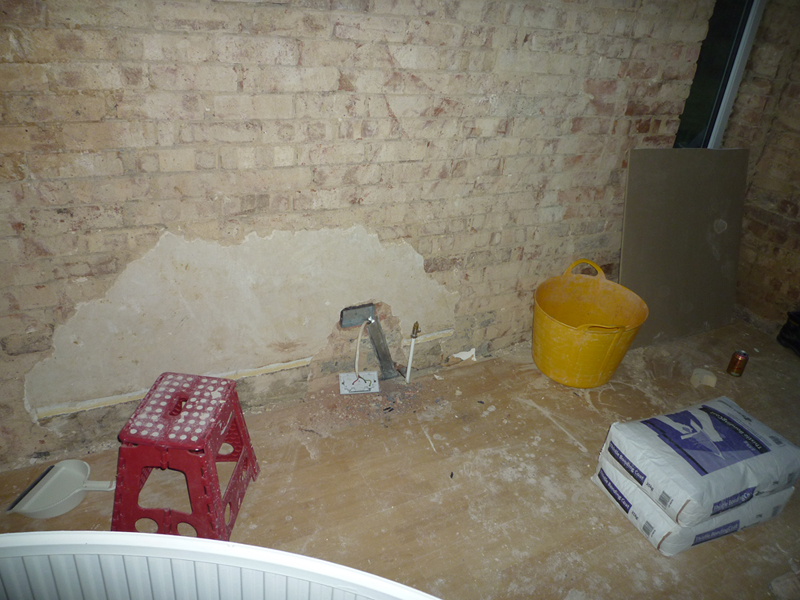
The dining room walls we knew were in a shocking condition, with the area near the French doors almost falling off as you looked at it.
The sand/cement render needed to be removed back to the old chimney breast on the one side.
Most of the render needed to be removed on the other side.

In all 13 yellow buckets of rubble were removed from the walls and taken to the dump, the last trip happening just before it closed.
Monday 6th March
With the plaster being ‘hung over’ today, we effectively had another free day of preparation.
On returning home from work, I proceeded to remove the radiators from either side of the dining room and remove yet more render.
Here is the other side.

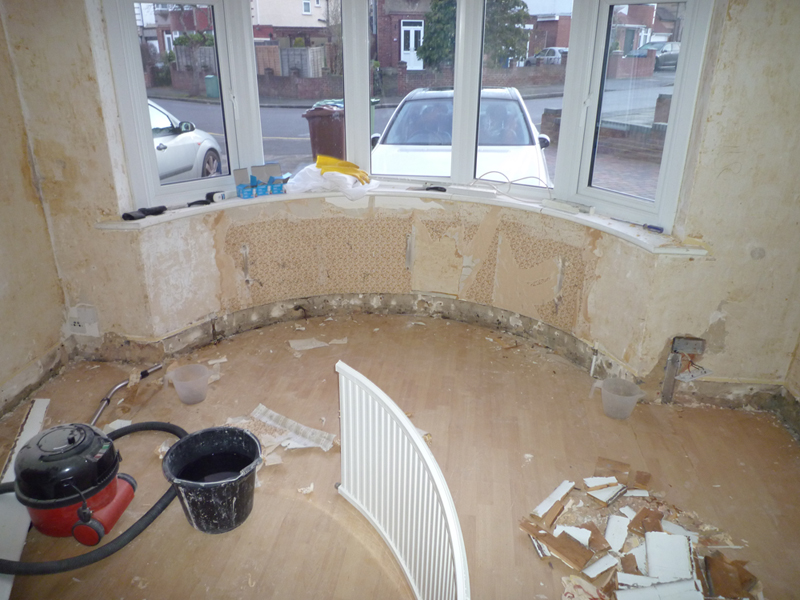
I also took this opportunity to remove the curved radiator from the bow window and fit new thermostatic valves to the exposed pipes.
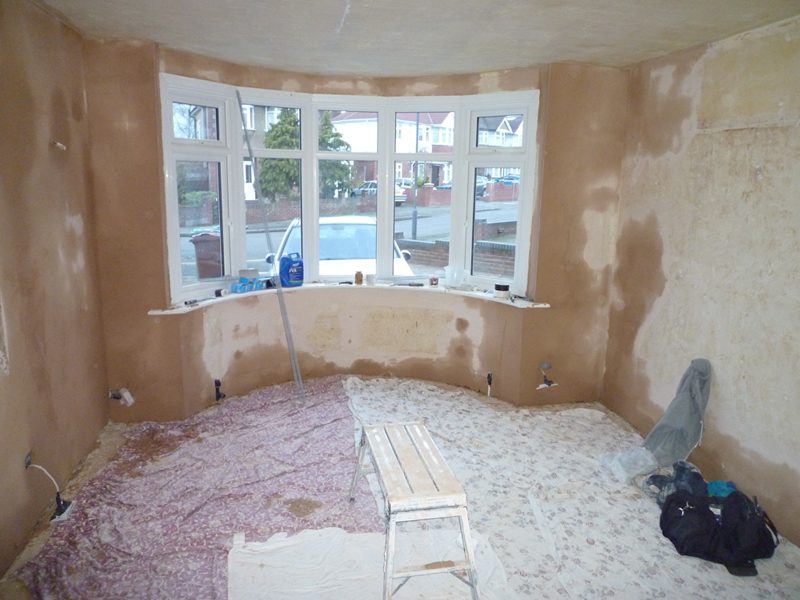
Wednesday 8th March
The plasterer has now started work in the lounge, but before he makes it as far as the dining room, I need to relocate the two sockets in here.
Here is the other one.
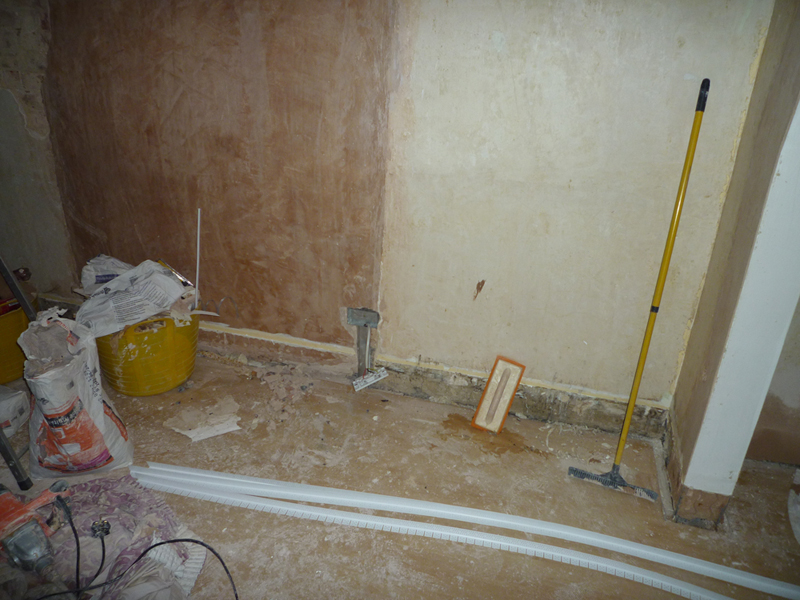
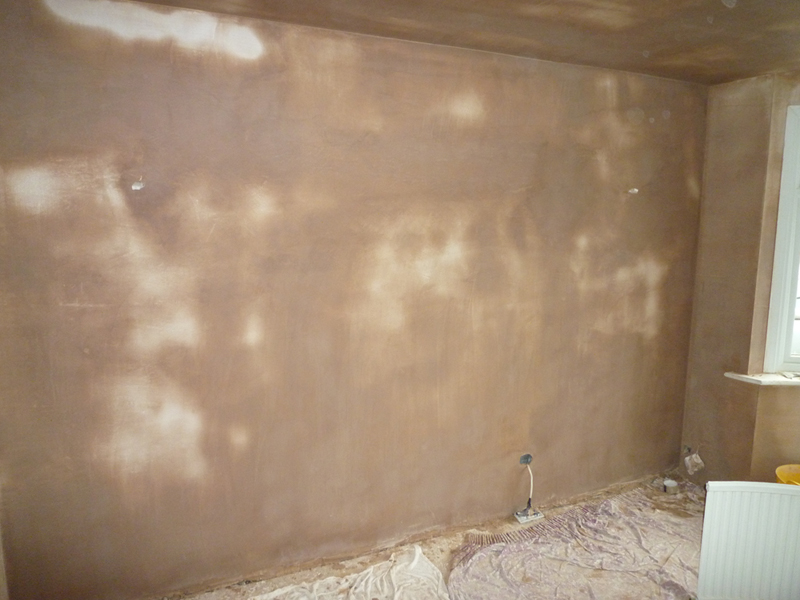
This picture shows the bonding coat on the walls of the lounge area.
Thursday 9th March
Skim coat is applied to the walls of the lounge, as well as some initial bonding in the dining room.
Lounge door to the hall.

Friday 10th March
More bonding in the dining room and the skim coat is applied to the ceilings of both the lounge

and dining room areas.

Monday 11th March
The plasterer returned for one final day to finish off the area around the French doors


and the archway between the lounge and dining room.

These pictures were all taken on Saturday 20th after the dust sheets had been taken up.
The wet patches on the above picture are from sugar soaping the walls to remove any surface dust.
Our dog Fritz surveying the work for quality assessment.