This post has been moved from my Metal Workshop Blog.
In February of 2014, I decided that my Garage/Workshop could do with some light – it could do with some electricity too, and I am working on that.
I have run 4mm 3 core SWA cable from the house to the garage where I have a second consumer unit, this will be further encased in Unistrut bolted to the fence uprights for additional protection (mostly the regulations state that this should be 12ft up in the air on a caternary wire or buried 3ft down in the ground) but I believe this to be an acceptable alternative and is often used in industry for cable drops to machines.
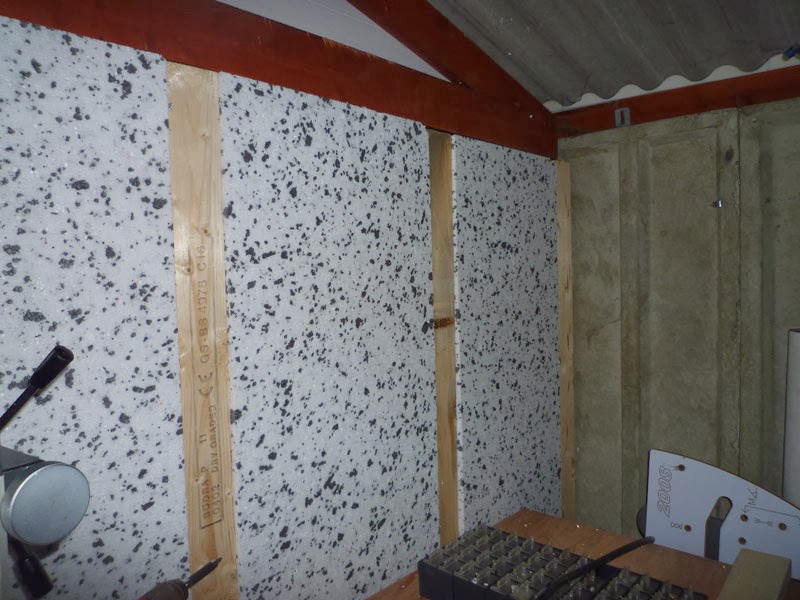
I am also in the process of lining the back wall of the garage with 50mm Jablite expanded Polystyrene and 11mm OSB.
I have 4 rafters in the garage and I also wanted some lights against the rear wall above the Lathe and Mill, so I decided 10 would be a good number.
Now if they are all on at the same time this may be a bit bright, so I decided to use a 3 gang switch and have them selectable – end wall, 1st and 3rd rafters, 2nd and 4th rafters, depending on what works best at the time.
I bought a bunch of 2ft IP65 T8 light fittings from Lyon Lighting as they seemed to offer the best price at the time, I wanted 10 fittings and they had a price break at 8 that made them cheaper for 10 units than some other suppliers for 8. In total they worked out at £113.35 including P&P.
The ones I bought have a removable gear tray which makes installation somewhat easier. They do not however come with any chain to hang them from the rafters.
I bought some suitable “single jack chain” from Wickes at £2.59 for 2m.
Then I reduced it to 9 link lengths which when combined with some M3x10 set screws, nuts and washers are just perfect for my steel angle rafters.
Completed unit, 2 per light fitting, obviously they hang the other way up.
One unit wired up
view of conduit to next fitting
Gear tray clipped into position
Fluorescent lamps installed
Cover attached
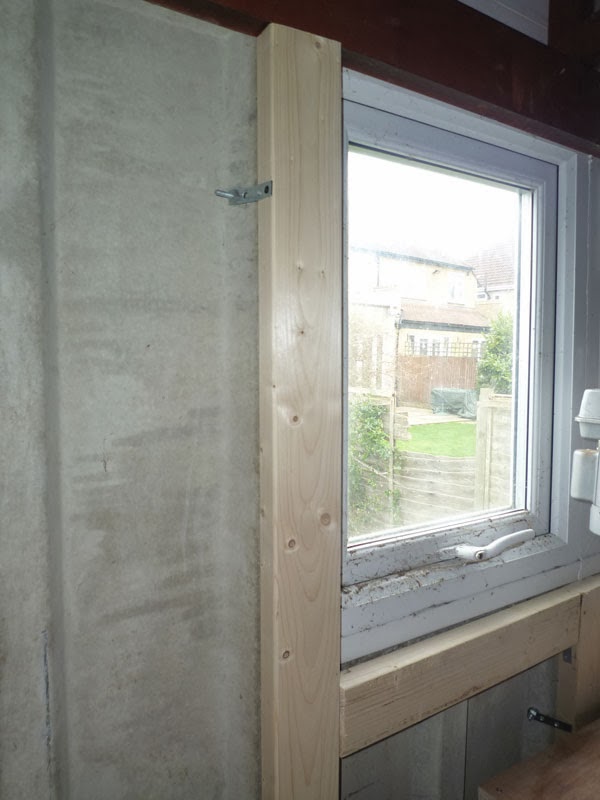
Then I attached “2×4” timbers
and framed around the window
There are 3 drops for sockets and 1 for the light switch. There is also a socket by the garage doors.
The consumer unit has a 6A MCB for the lights and a 32A MCB for the sockets as well as its own RCD. The garage is protected back at the consumer unit in the house with a 40A RCBO so that if there are any issues in the garage, they will not trip the house wiring.
I have also used this opportunity to update the house consumer unit to a 17th edition dual RCD split load consumer unit as previously all circuits were protected by a single 80A RCD, which was fairly normal when I originally replaced the wired fuse unit about 15 years ago, however times and standards move on.
Splitting sockets and lighting on the ground and first floors alternately means that there should still be power/light on a given floor in the case of an RCD trip, The RCD and RCBO circuits can all be isolated via the 100A isolator switch.
The sockets are wired with 4mm conduit cable in a radial circuit as this is simpler and uses less cable than a 2.5mm ring circuit, yet both can be backed by a 32A MCB. A 2.5mm radial circuit requires a 16A MCB.


