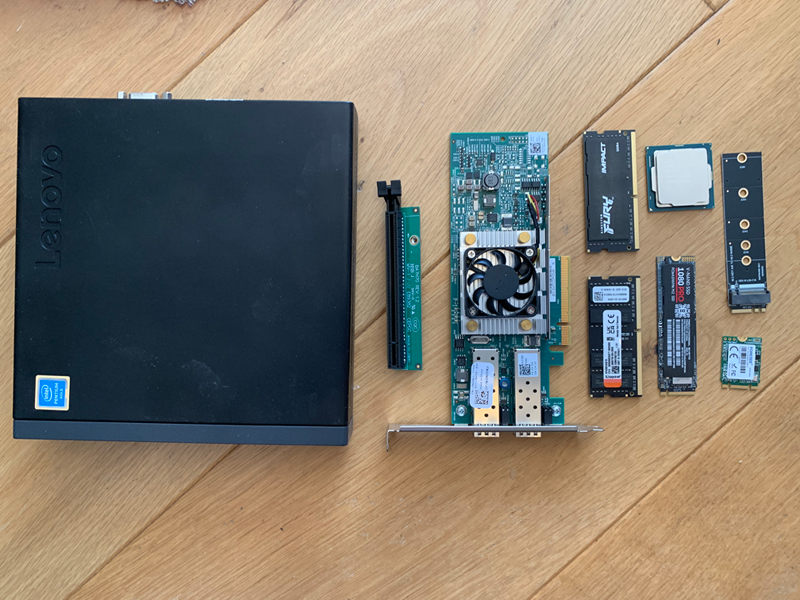
The parts for the new cluster nodes came from a number of suppliers, including Ebay, Amazon and CEX.
Below is a picture showing all of the parts for a single node:
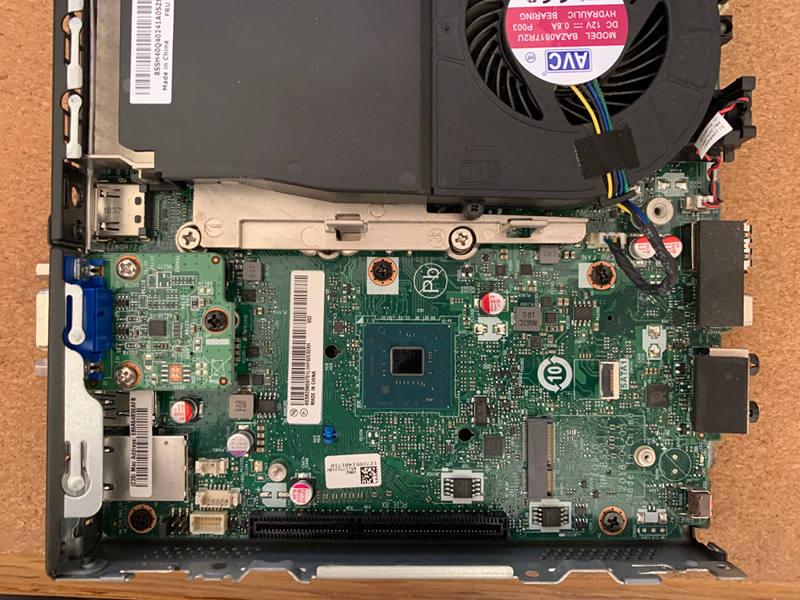
First the Dell m920q tiny server needs to be opened
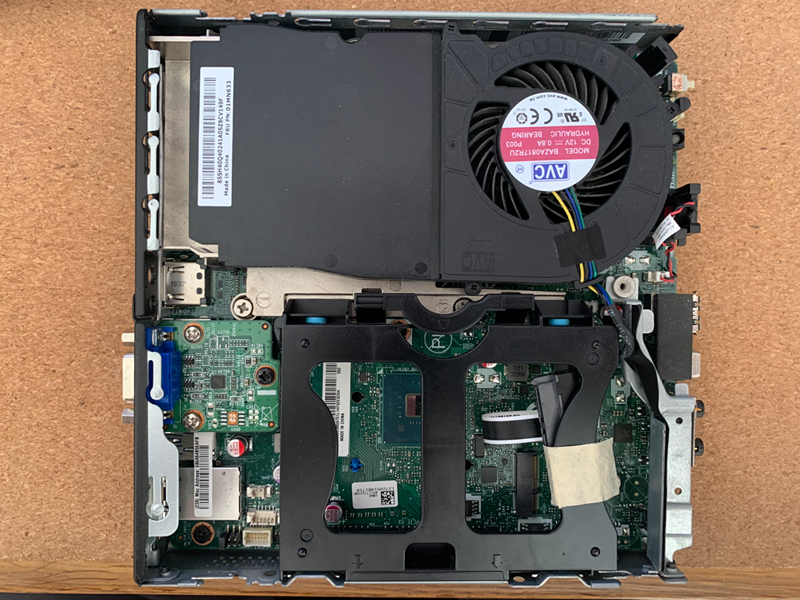
and then a number of parts removed
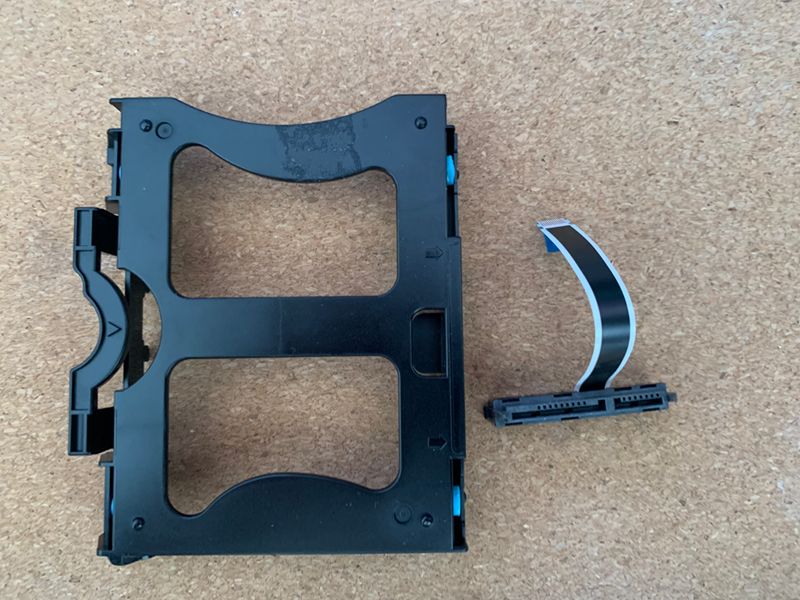
Disk caddy and SATA cable removed
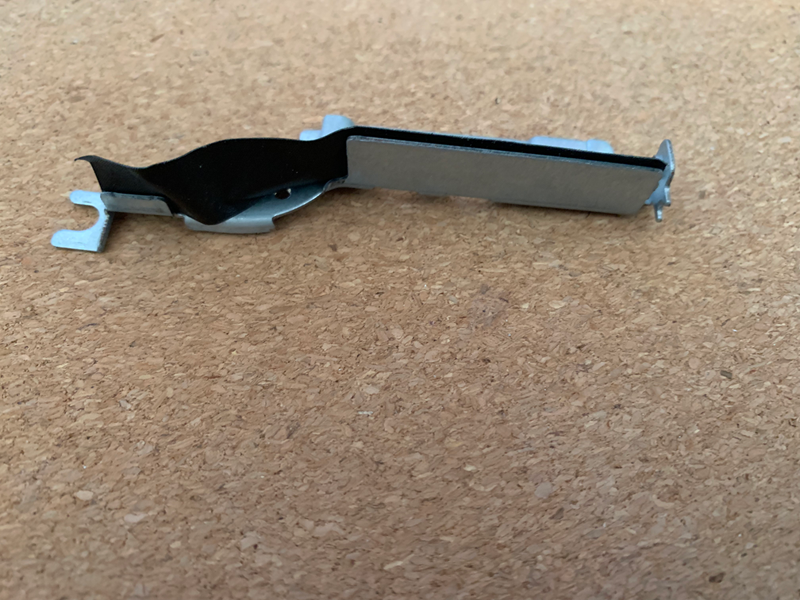
Front bracket removed (my 10GB network cards are too long to leave this part in place)
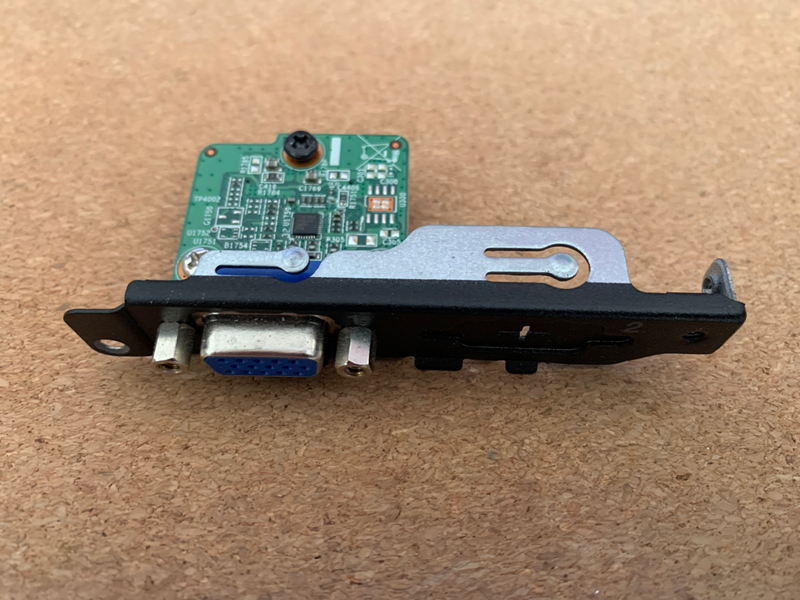
VGA Display card and bracket removed
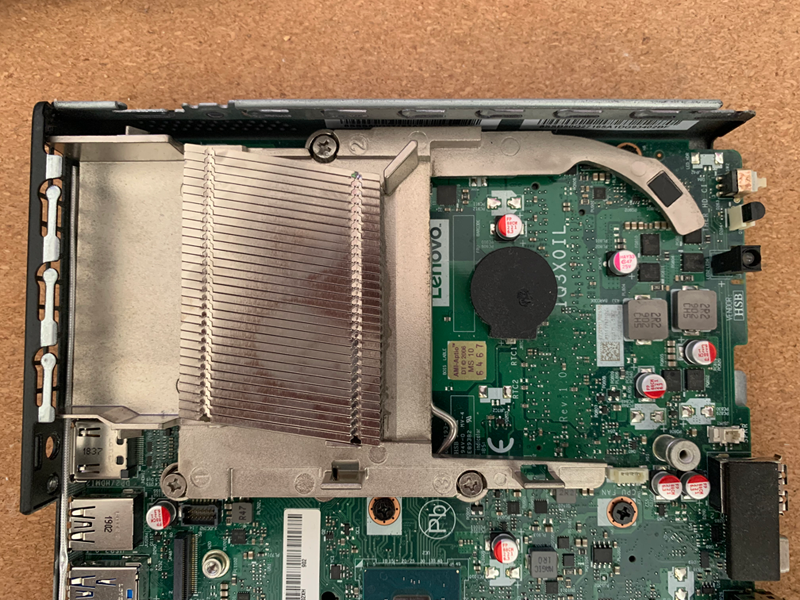
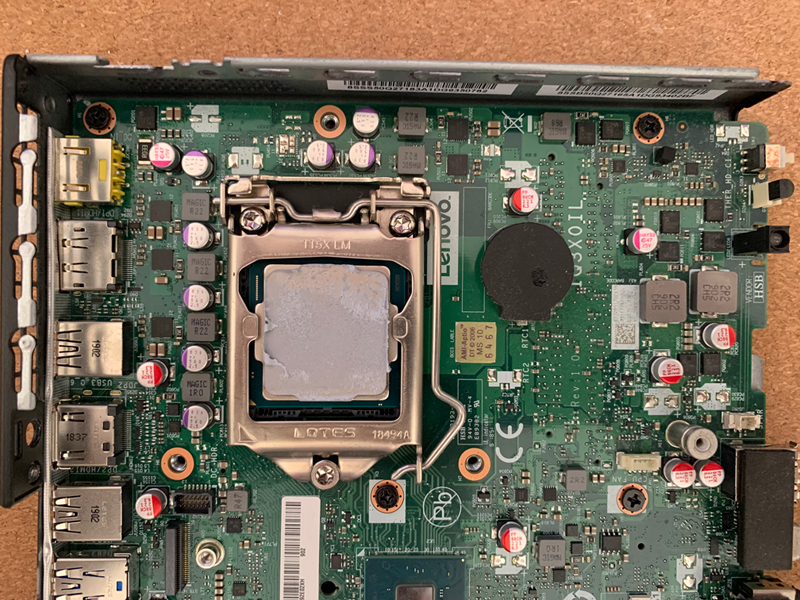
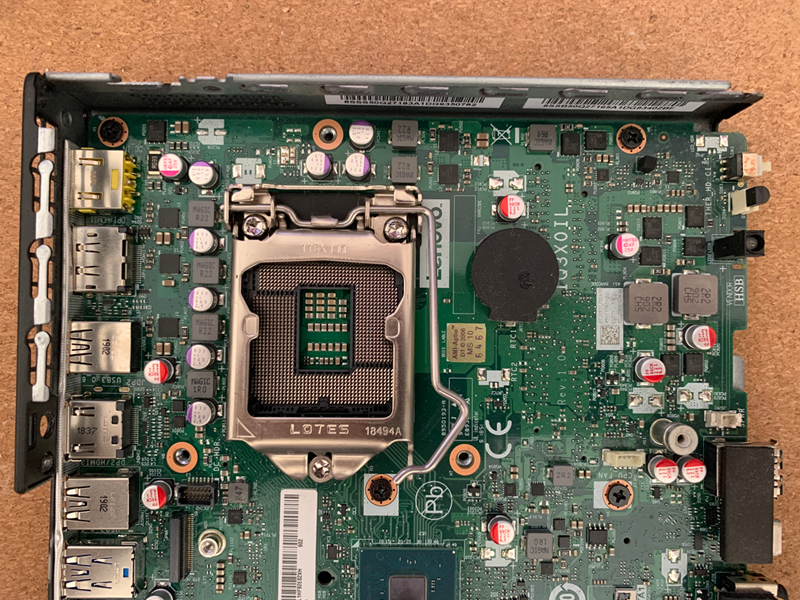
Fan, CPU cooler and CPU removed
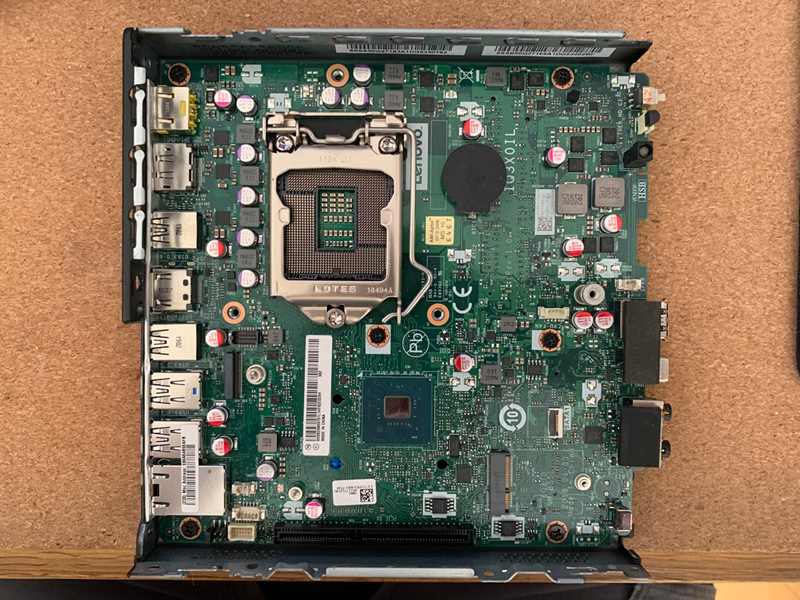
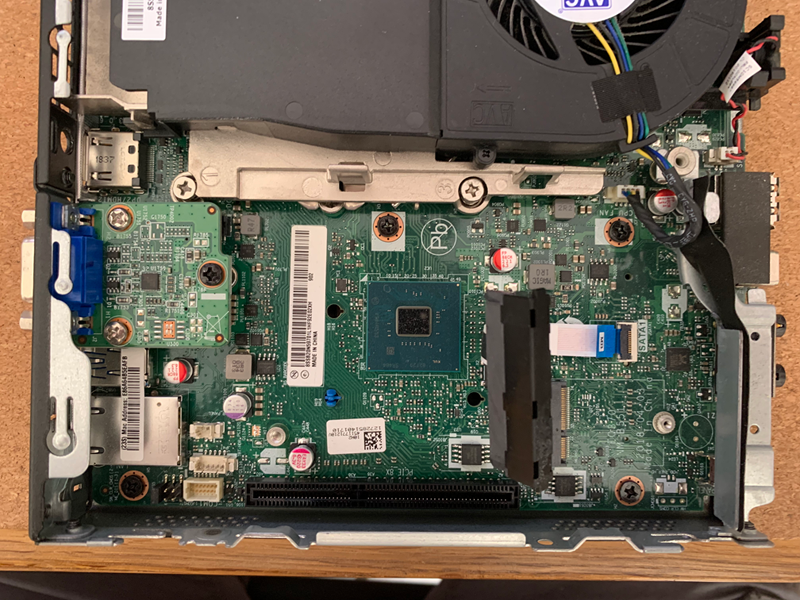
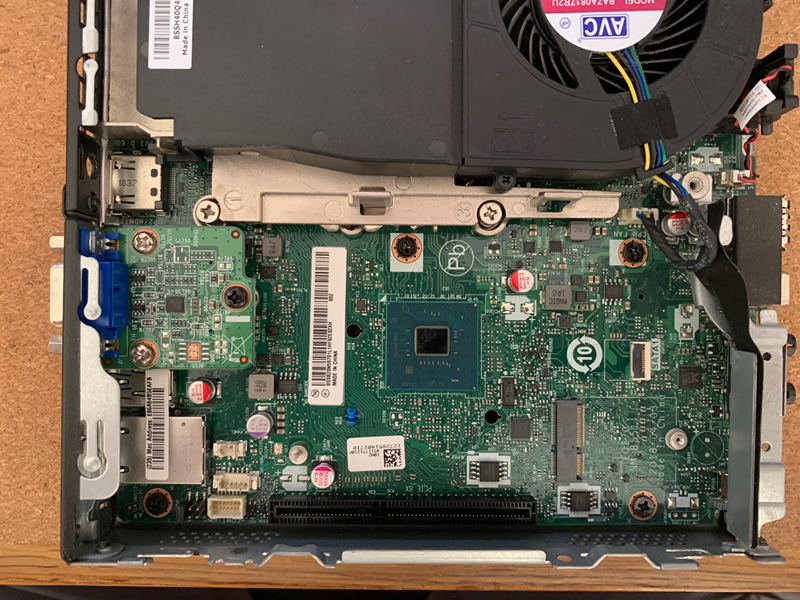
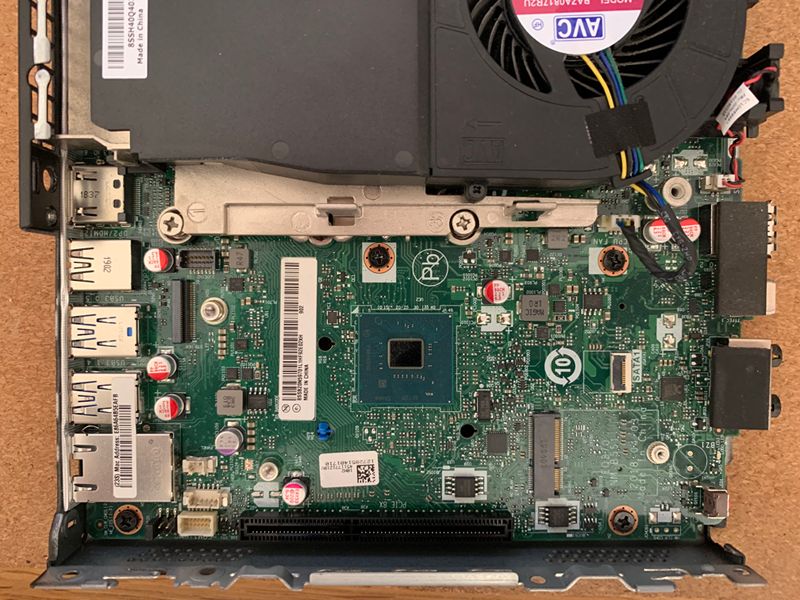
Chassis emptied out front and rear
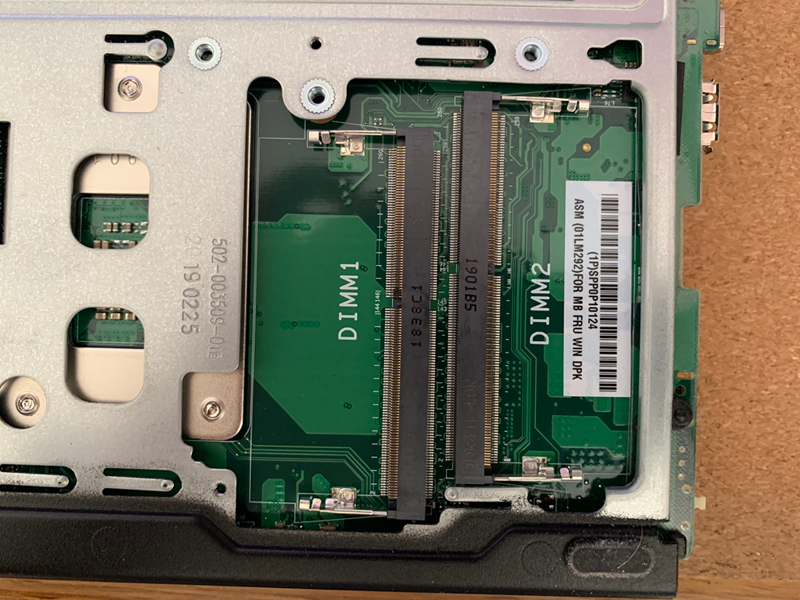
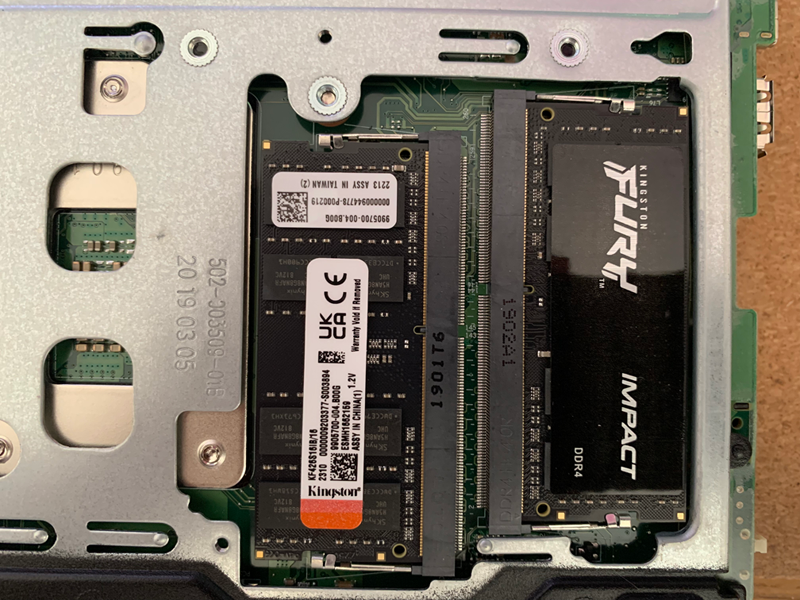
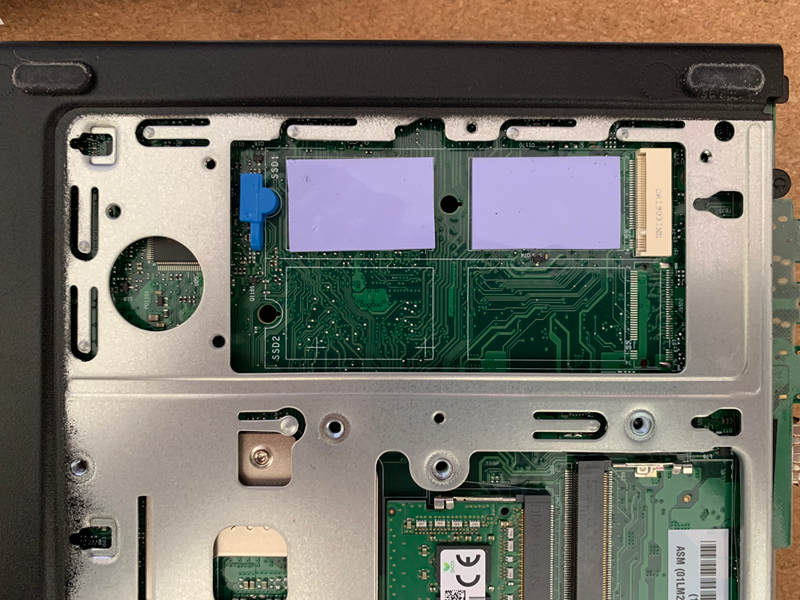
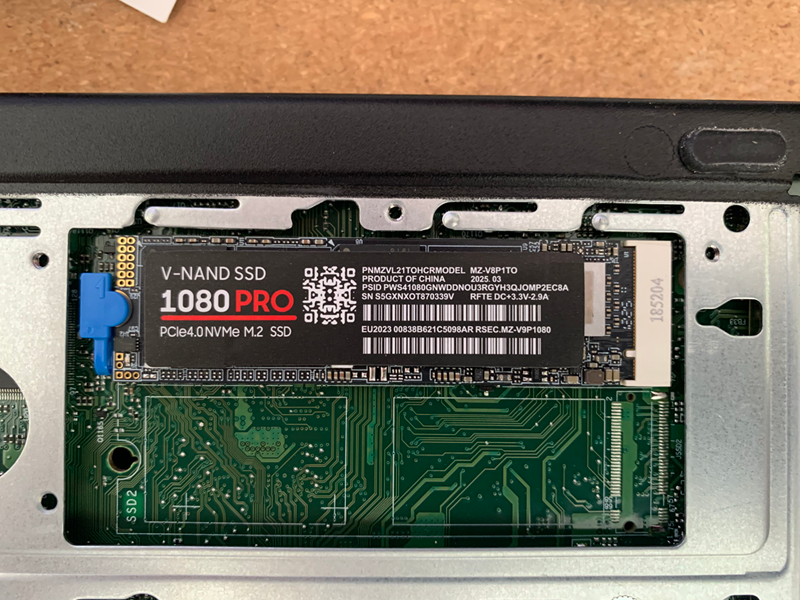
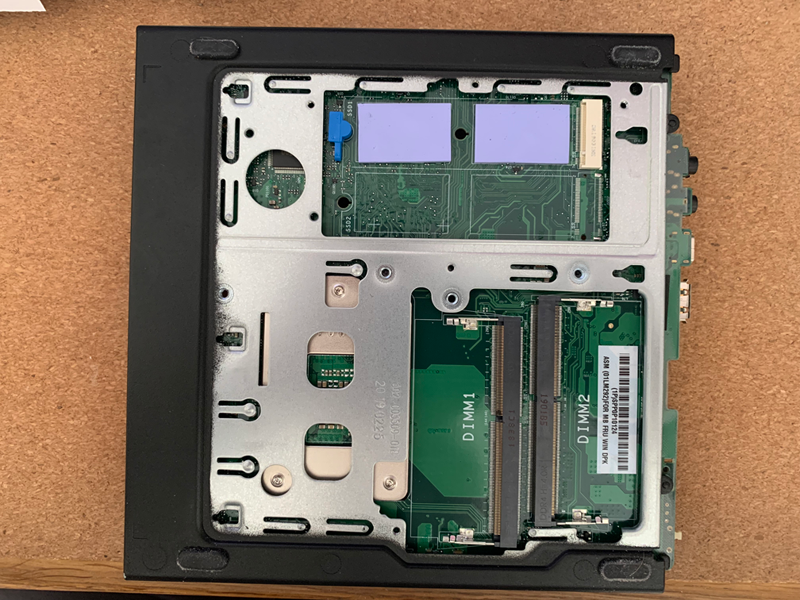
2 x 16GB memory DIMMs and 1TB m.2 NVMe drive installed, the m.2 slot has a tool-less retainer.
The Dell m920q tiny servers came with a single 8GB memory DIMM, that I will re-use elsewhere.

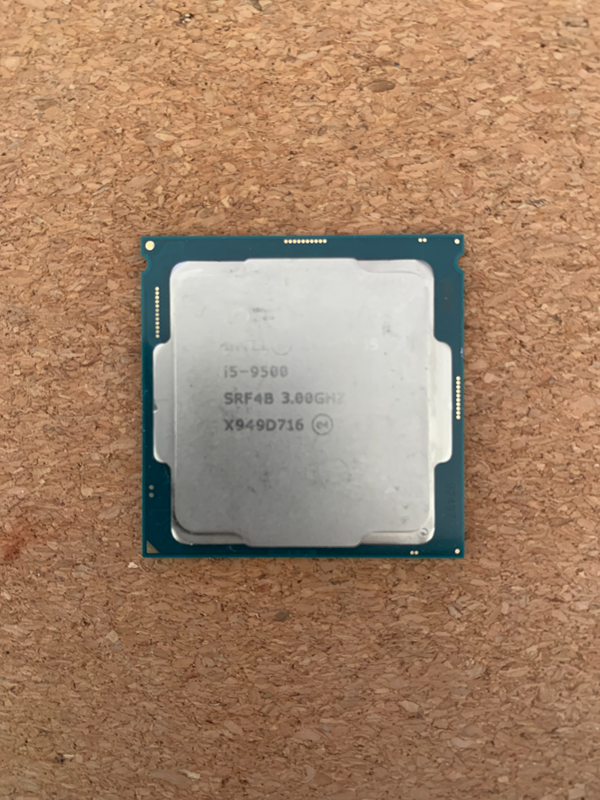
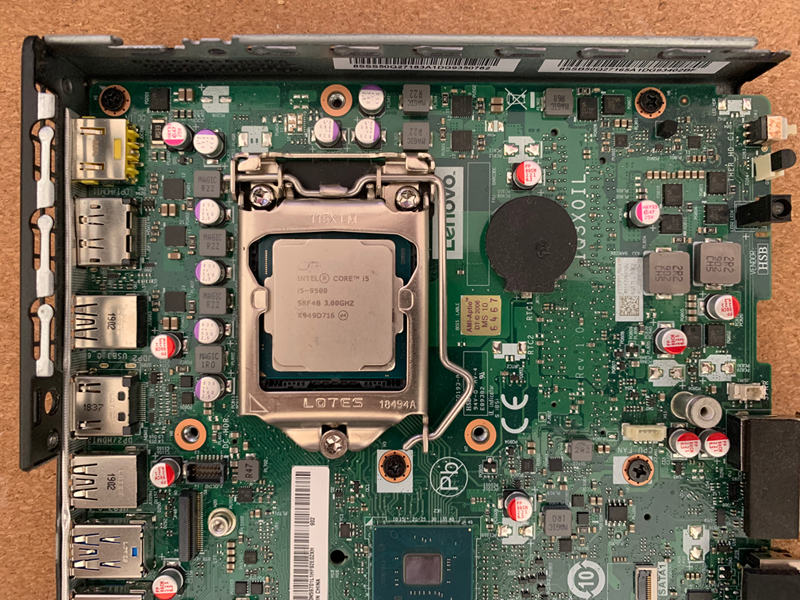
Old G5400T CPU, new i5-9500T CPU, new CPU installed
Thermal paste applied, CPU cooler and Fan re-installed, (I didn’t bother taking pictures as assembly is simply the reverse of the earlier removal).
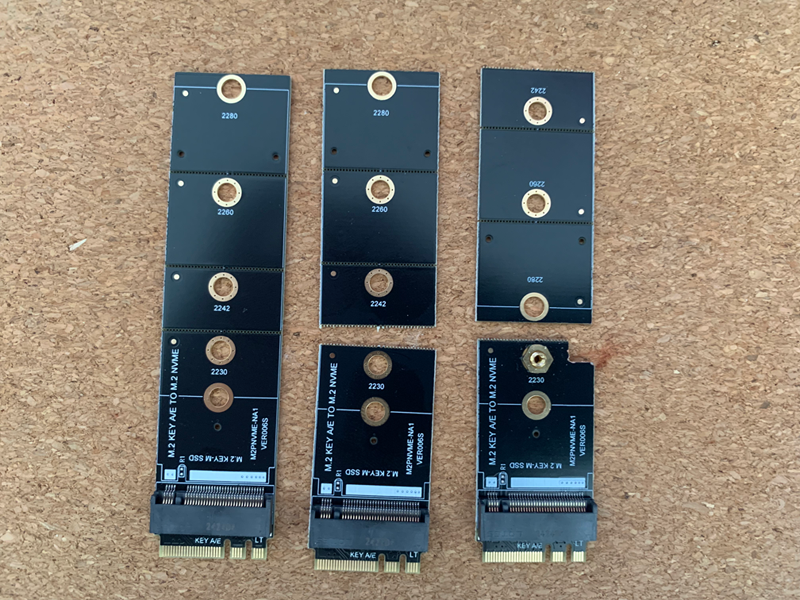
A to E m.2 SATA adapter, adjusted to 2230 length and corner cut out to clear the reset switch, the adapter was trial fitted, marked out and then the corner cut with a Dremel.
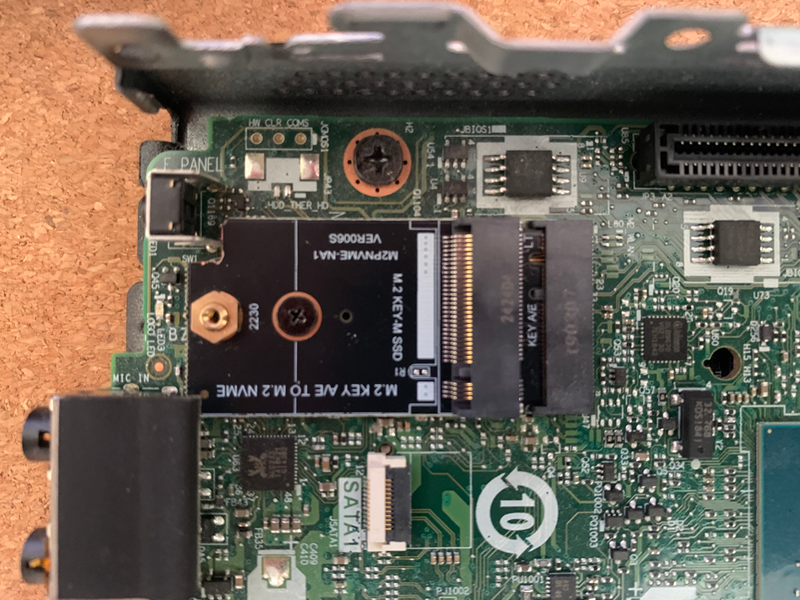
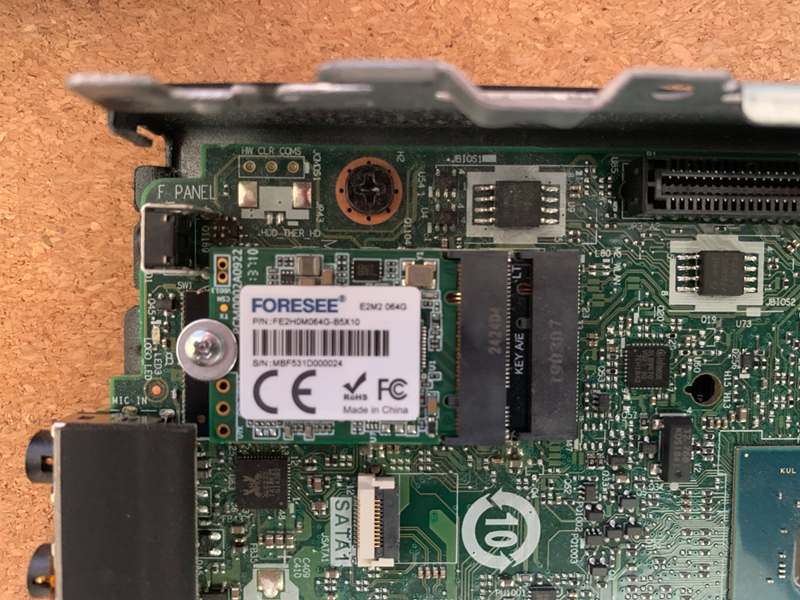
Adapter installed in WiFi slot and 64GB SATA M.2 drive installed.
The adapter came with mounting hardware for the m.2 SATA drive, however there was no screw for mounting the adapter itself, since there was no Wi-FI card installed.
I used the screw from the adapter to hold it in place then went searching through my huge collection of screws, from previous PC builds, for one suitable to hold the SATA drive on the adapter. I also needed a small washer as otherwise the SATA drive was too loose.
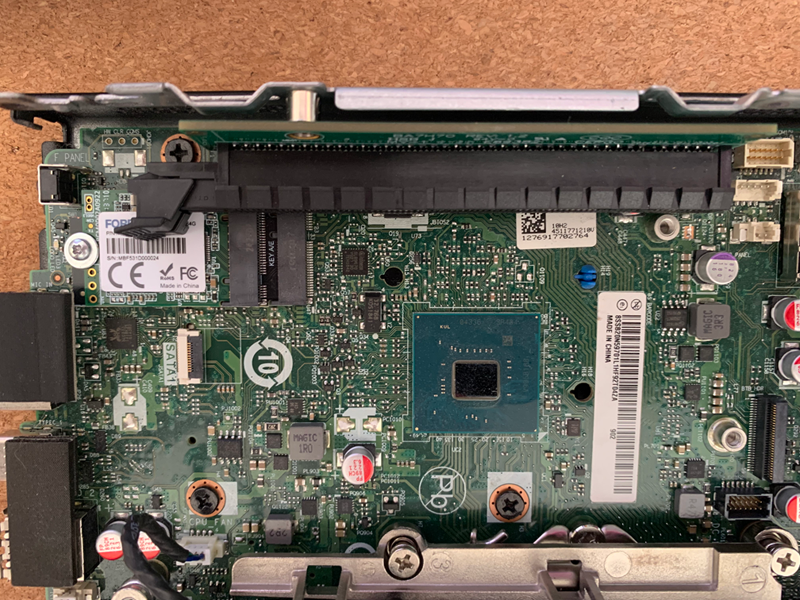
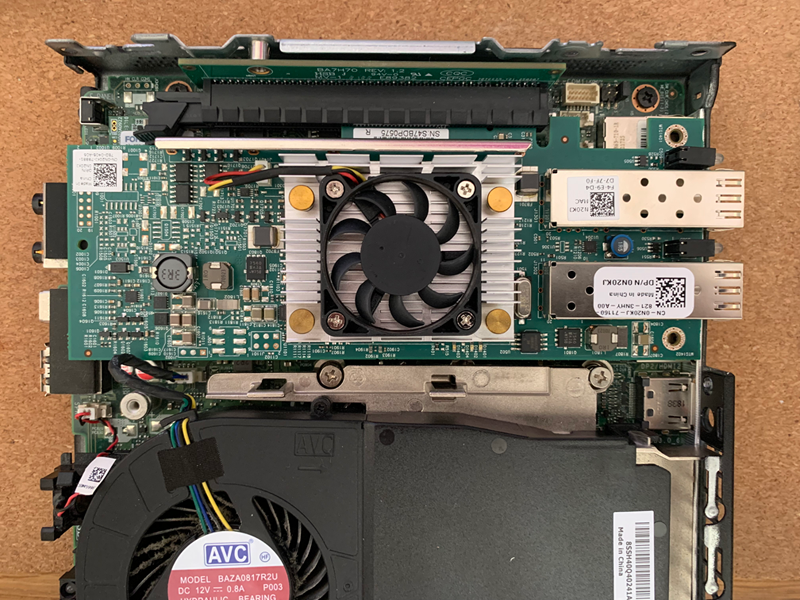
Riser installed, the riser is held in place by one of the screws saved from earlier parts removal.
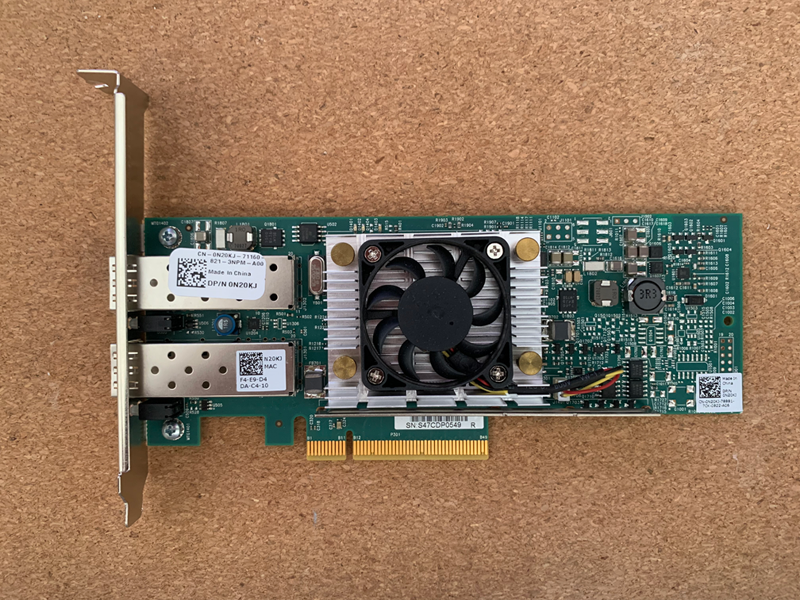
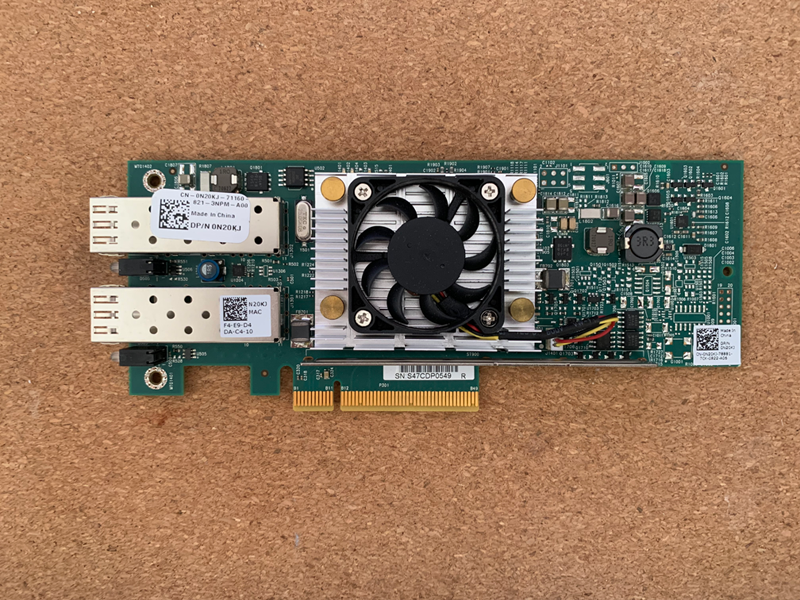
Dual 10GB SFP+ card, low profile riser removed, network card installed.
I may/may not 3D print some rear brackets, leaving the bracket out may help with cooling/airflow.
Rinse and repeat for the other 3 nodes
Total cost of parts for a single node was about £185.00