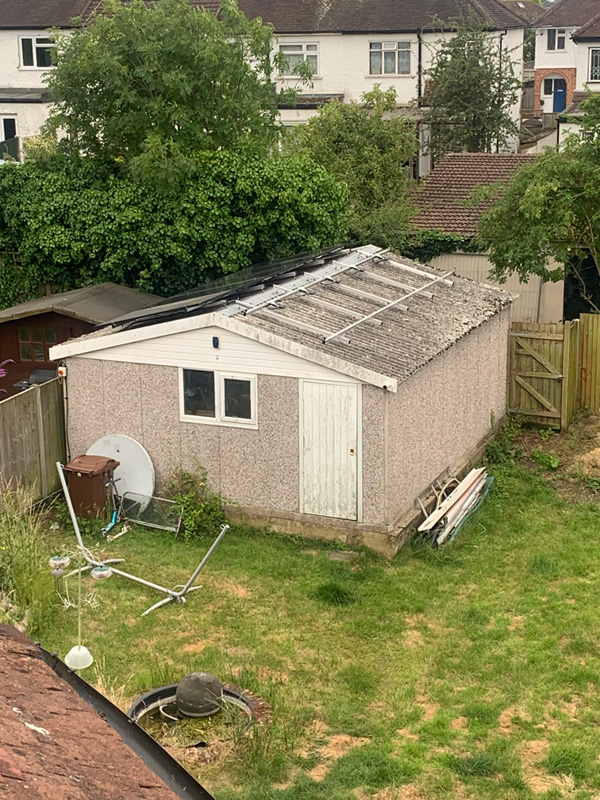
We finally had some decent weather on a few weekends towards the end of May, so I was able to finish off the cabling for the East-West array install.
I ran a 4 core 4mm2 SWA cable from the solar sub panel to the eaves of the garage.
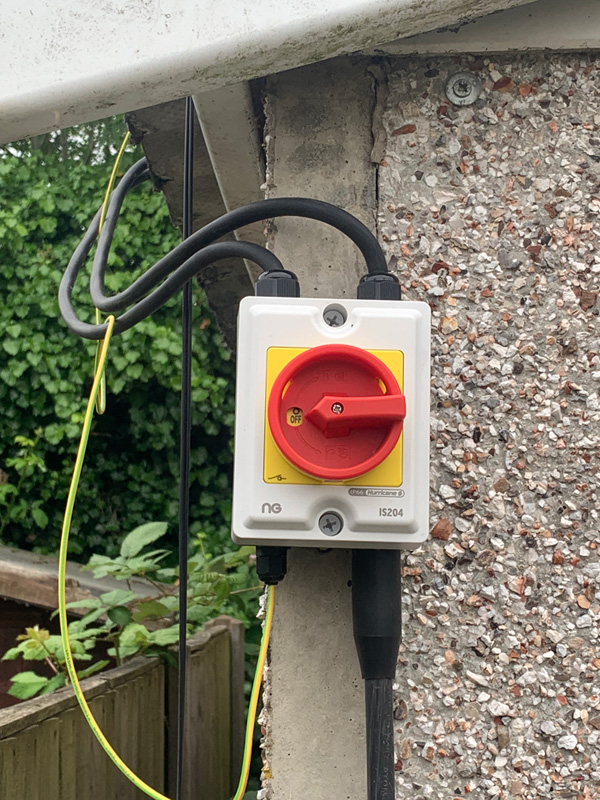
There is a rotary isolator at each end of this cable as well as two RCBOs inside the solar sub panel, one for the East and one for the West array.
The armour of the SWA cable is used to earth the solar framing back to the solar sub panel, the micro inverters do not need earthing as they are double insulated.
There is then a separate 2 core 2.5mm2 HO7RN-F going off to each array from the top of the garage isolator.
The cable runs from the house to the garage inside some Unistrut for protection, this also holds the SWA cable that supplies the garage and now additionally holds a 40m 10GB fibre cable that runs from my loft to the garage.
I intend to move some of my ‘noisier’ servers to the garage in the near future.
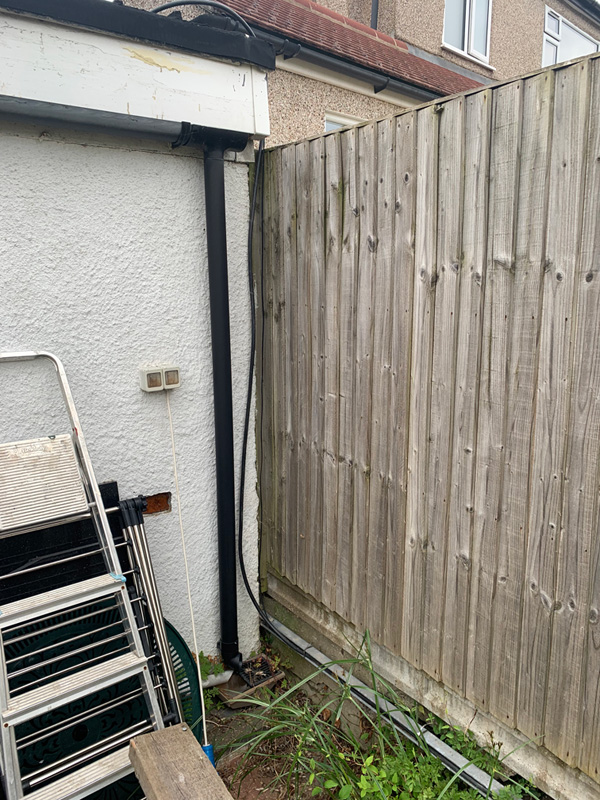
I still need to secure these cables to the wall with some suitable cable cleats.
The micro inverters and their Enphase Q cables are all wired up and the ‘string’ is ‘centre tapped’ to avoid voltage rise, 3 on one side and 2 on the other.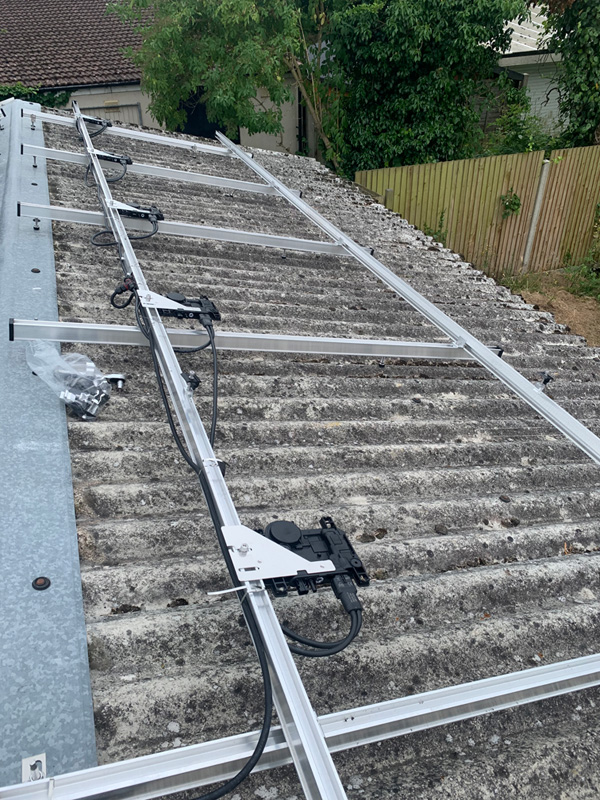
Each panel was passed up to me on the garage roof by my son, I then connected the panel to its microinverter and secured it in place.
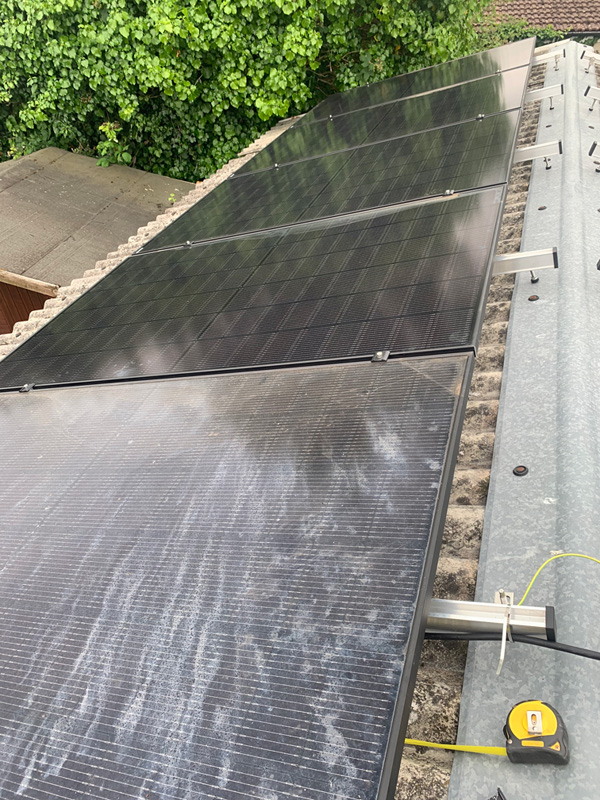
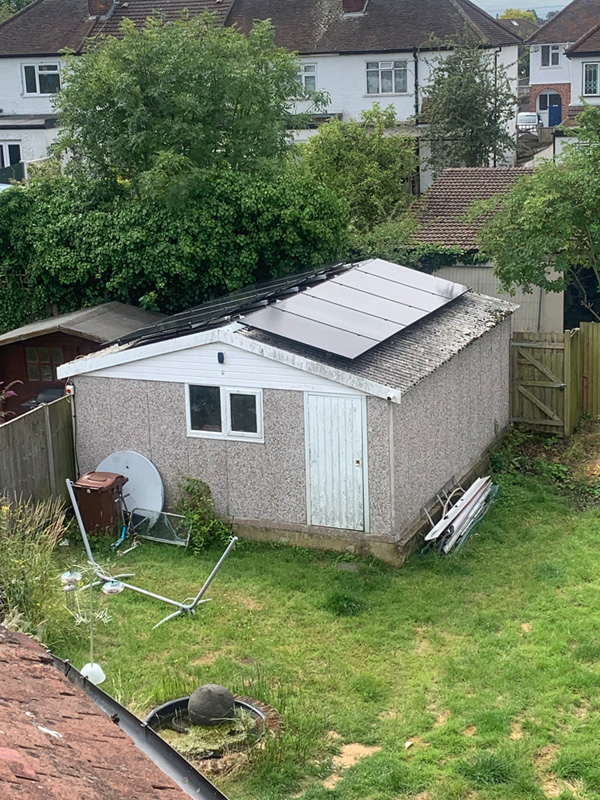
East array fully installed.
Light was failing us that day, so we stopped there and completed the West array on the following evening.
Next up was scanning and configuring the panels in the Enphase installer app, this was the easy part and merely involved scanning some additional bar codes and assigning them to the panels on the array designer.
The more difficult part was working out how to provision them, turns out this is also pretty simple, once you know where to look! (Add and/or Provision Microinverter section of the devices page).
It involves selecting the gateway, entering the serial number for the microinverter and selecting ‘provision’, then waiting whilst it locates the microinverter, updates the firmware and applies the grid profile and then finally it will start to generate electricity.
When provisioning a new system, this happens for all microinverters at the same time, however when adding afterwards, this occurs one panel at a time, although you can queue the requests to try and speed up the process.
30 minutes or so later and all 10 of the new panels are reporting successfully.
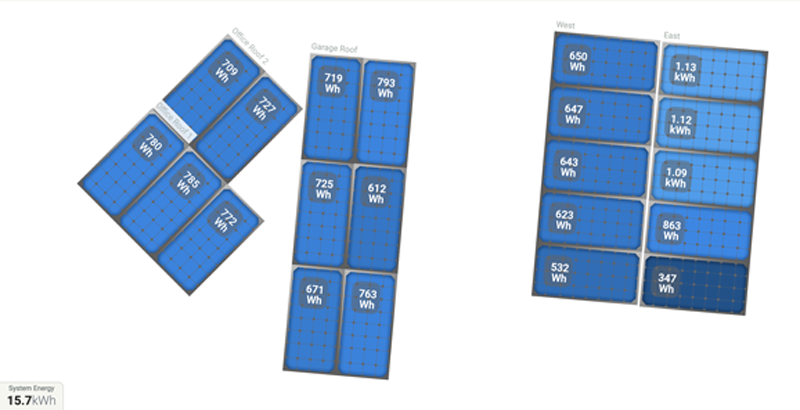 Different panels are shaded at different parts of the day, however hopefully I should now have at least 5 or more panels facing the sun at all times and all of them facing the sun near midday.
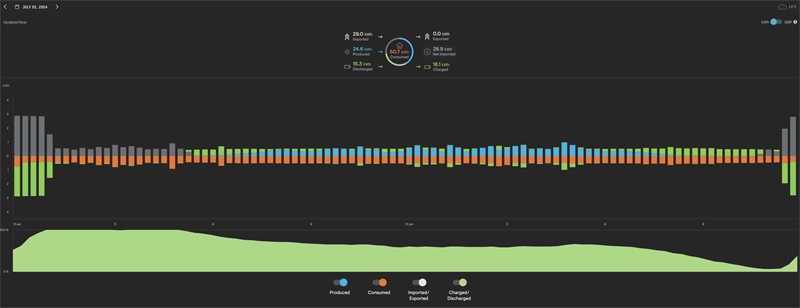 My first full day of solar generation with all 4 arrays active
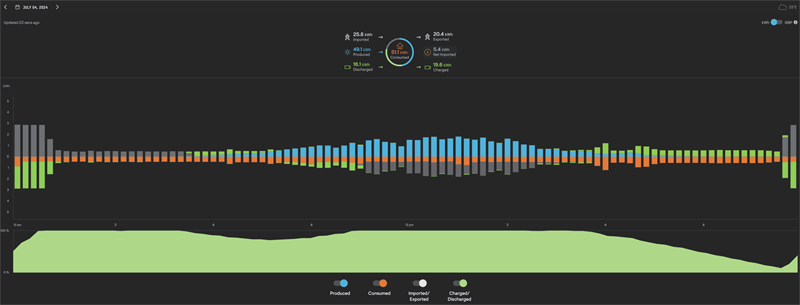
A very sunny day where I actually exported 20kWh of solar, I was not paid anything for this export as I have yet to sort out my Solar Export Guarantee (SEG) with Octopus Energy.
We will see in the July energy figures how much difference the extra 10 panels make to the savings.
Comments are closed.