The first time I updated the shower room was shortly after I moved in in 1995, the plastic shower tray cracked and started leaking onto the floor.
This was an opportunity to replace the somewhat thin and plastic shower enclosure with a resin base and a glass panelled enclosure.
I chose to keep with the grey colour for the resin base so as to match the existing items and I also tried to damage as few of the tiles as possible, since I only had so many left by the previous owner.
Removing any of the tiles was interesting to say the least, since they had all been installed on the dot and dab principle – one large dot in the middle of the tile, then push it onto the wall.
As such attempting to remove a tile had the tendency of smashing the adjoining tiles as well.
A year or two later I also had to replace the Mira cartridge shower mixer as I had recently had the boiler replaced and the new combination boiler was not really compatible with the existing shower mixer.
I tried changing the cartridge for a combination boiler friendly one, but it would not seal properly and just leaked.
This meant that I had to install a new mixer, along with the joy of different entry points on the mixer and metric vs imperial fittings for the new mixer.
This used up the remaining few tiles, so any future modifications would involve re-tiling as well.
Shortly after the completion of the loft conversion, in July 2010, I decided to start on renovating the shower room, and started by removing the tiles from the walls.
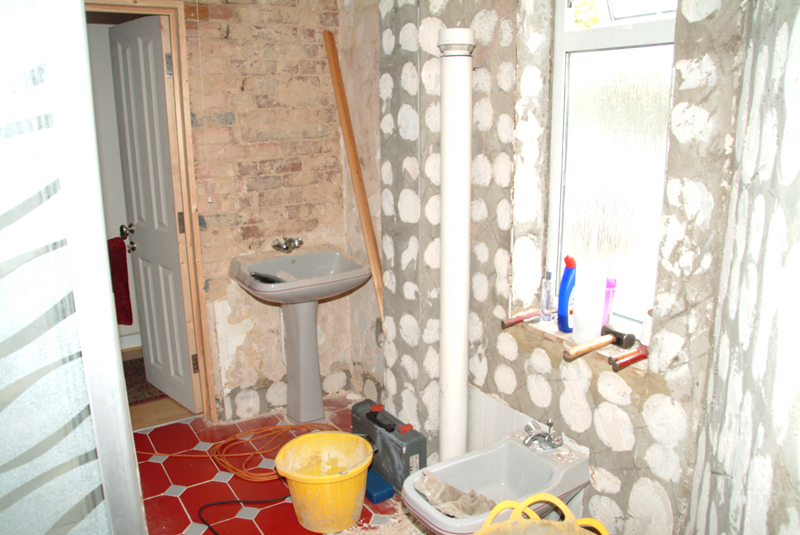
As you can see from these pictures, all the wall tiles were held on with a single dot of adhesive in the middle of the tile.
