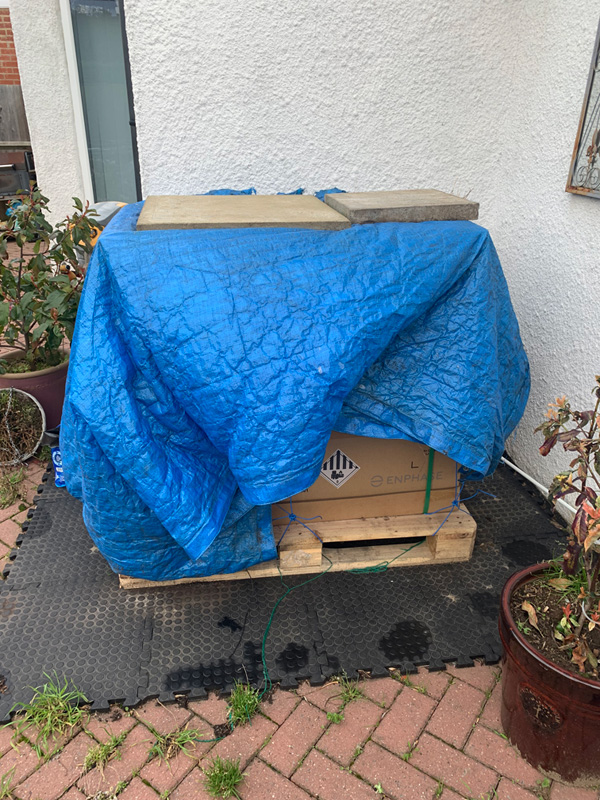
I ordered the batteries before Christmas and they have been sat in my back garden ever since.
My intention is to mount the batteries on the side of my house above my flat roof area.
This area currently has a couple of satellite dishes that I no longer really need. I used to be quite active with regards satellite use, with flashing D2-MAC wafers then and Linux based ‘card sharing’ being quite popular a number of years back, but with the advent of ‘torrent’ sites and content streaming, these have largely fallen by the wayside.
As such I no longer have a need for the 60cm dish that has feeds from HotBird and EutelSat 16A, or my 90cm trackable dish that can be moved from east to west and pointed at a number of different satellites.
I decided to keep my 60cm Sky/Astra disk that has a Quattro LNB feeding back to a house distribution unit which also takes feeds from the TV, FM and DAB aerials and can supply all of these as a multiplexed feed to ‘Triplex’ outlets in each room in the house via Coax cables.
The pole for the trackable dish also has a number of networking items attached to it, some of which will need to be relocated.
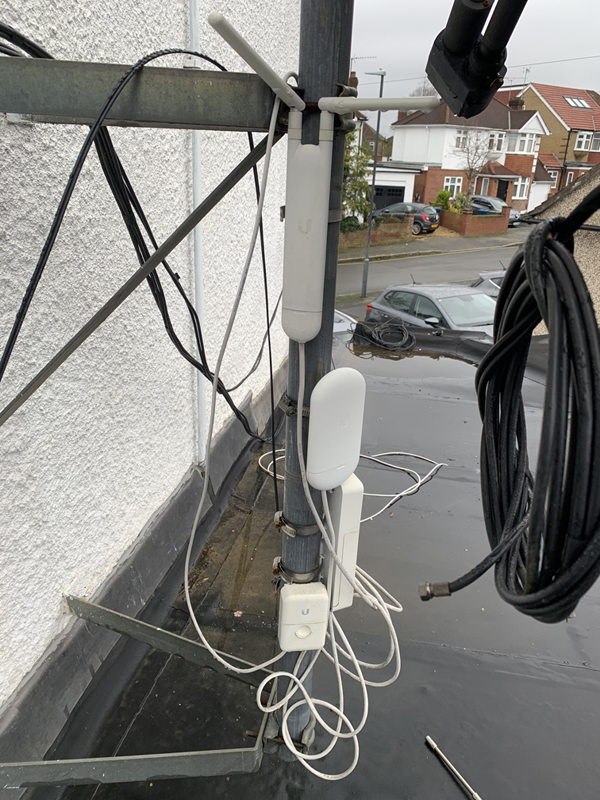
Top to bottom we have a Unifi AC-M access point, a Ubiquiti airMAX NanoStation Loco 5 AC point-2-point transmitter, (the other half of the pair is on the end of my pre-fab garage) a Ubiquiti NanoSwitch and a Ubiquiti surge protector.
The NanoSwitch supplies the power over ethernet and networking for the two other devices as well as a camera located on the edge of the roof.
I will run separate network cables for the devices I intend to keep along with one for the Enphase Envoy Metered on the new solar sub panel.
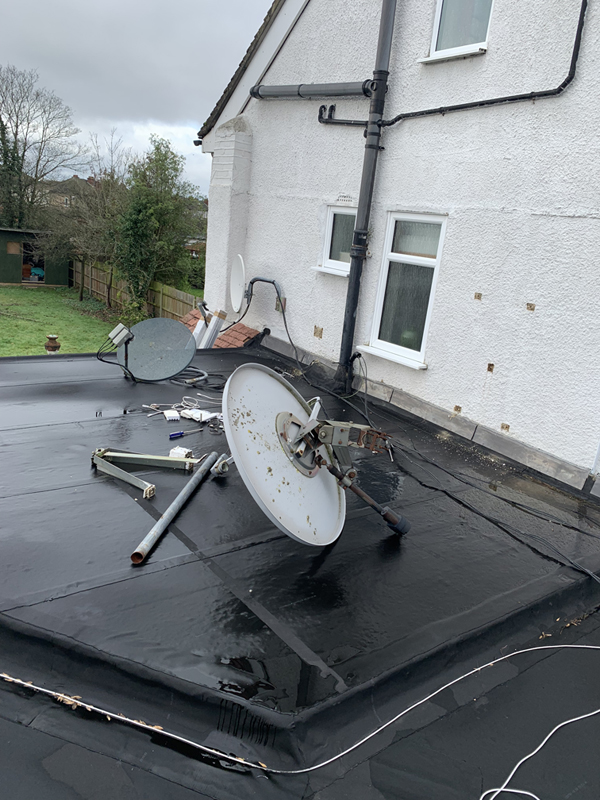
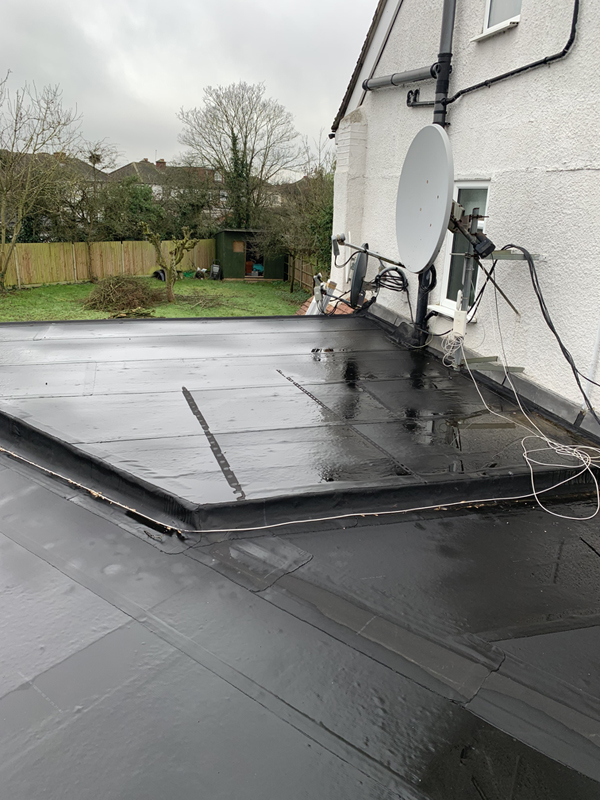
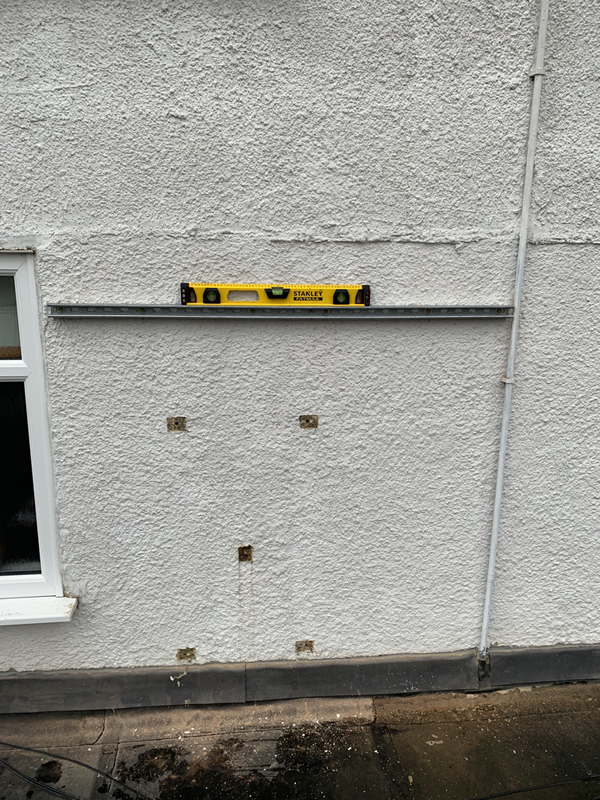
Dishes and associated network equipment now removed from the wall.
After removing the various items from the roof I can now start with the mounting brackets for the batteries.
My wall surface is not flat enough for direct mounting of the batteries as it has a ‘stippled’ finish that varies in depth more than the allowed 2mm stated in the Enphase IQ 5p installation guide.
As such I have purchased a number of 3m lengths of Unistrut, I was originally intending to mount all 4 batteries in a line, however I forgot that there is a gas pipe feeding the boiler in the loft extension and so I will need to split the batteries into 2 and 2 (2 and 1 for now).
Buying Unistrut in 3m lengths is the most cost effective way of buying it, 6m incurs additional shipping costs, 1.5m costs more per meter, I have a cold cut chop saw which makes light work of cutting these down, so no issue there.
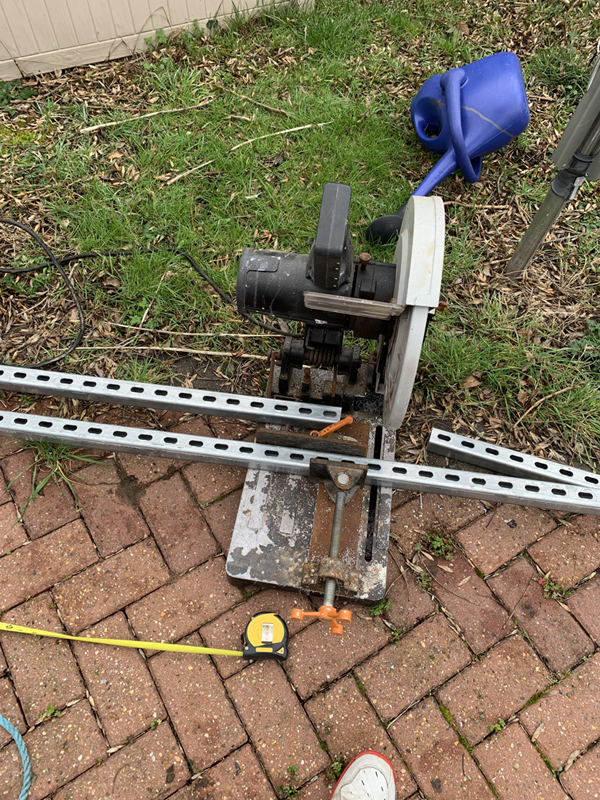
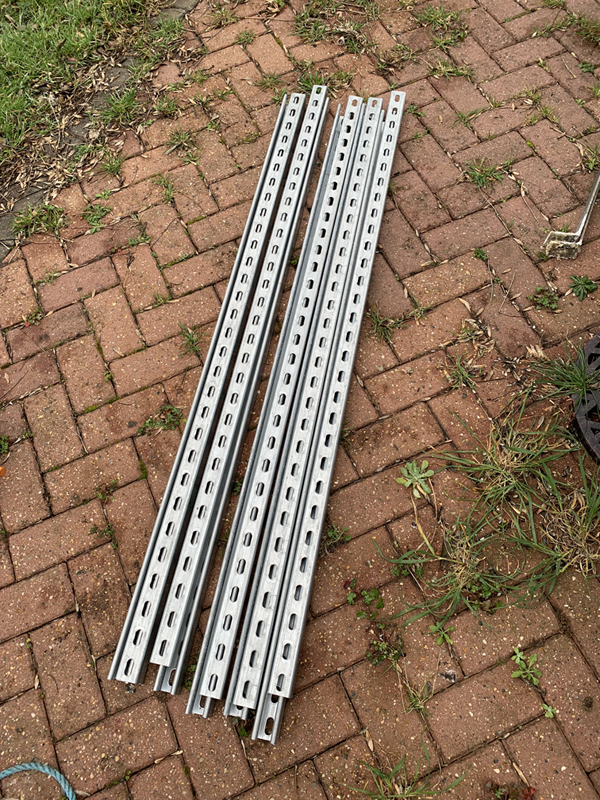
5 x 3m lengths chopped down to 10 x 1.5m lengths
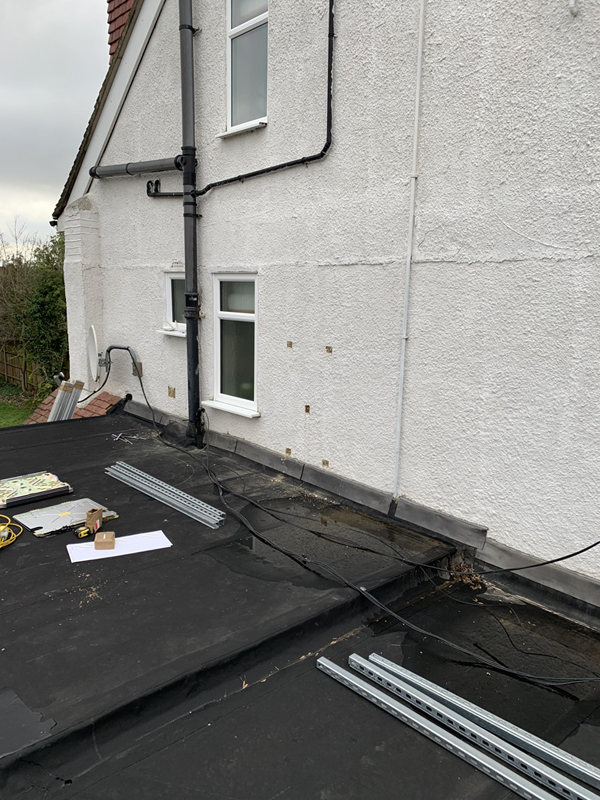
Wall clear and ready to start
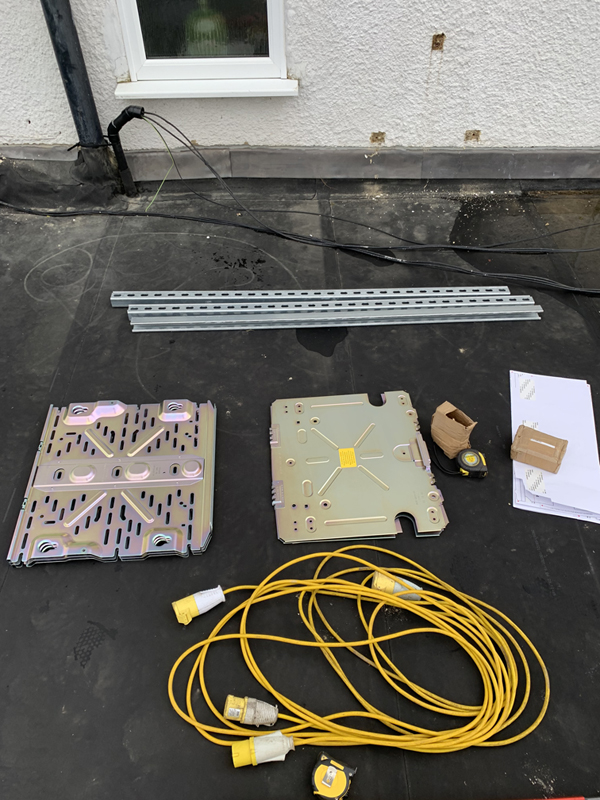
Mounting brackets, Unistrut and mounting diagram ready to go
First piece of Unistrut mounted, checking for level.
Initially I worked down from this top piece using the mounting diagram and a tape measure, but after mounting the third piece of Unistrut,I thought I would check against the actual brackets.
This is when I realised that the method I had been using was not going to be accurate enough, so I resorted to pre-attaching the brackets to the Unistrut before deciding where to drill the holes and also having them pre-mounted when actually tightening the bolts.
I ultimately had to move the top piece slightly as it was too close to the second piece and the top half of the bracket would not locate against it.
I also had only budgeted for 50 bolts in total which meant 5 bolts per 1.5m length of Unistrut and I had initially used 6 on the top piece, so re-drilling some of the holes worked out for the best anyway.
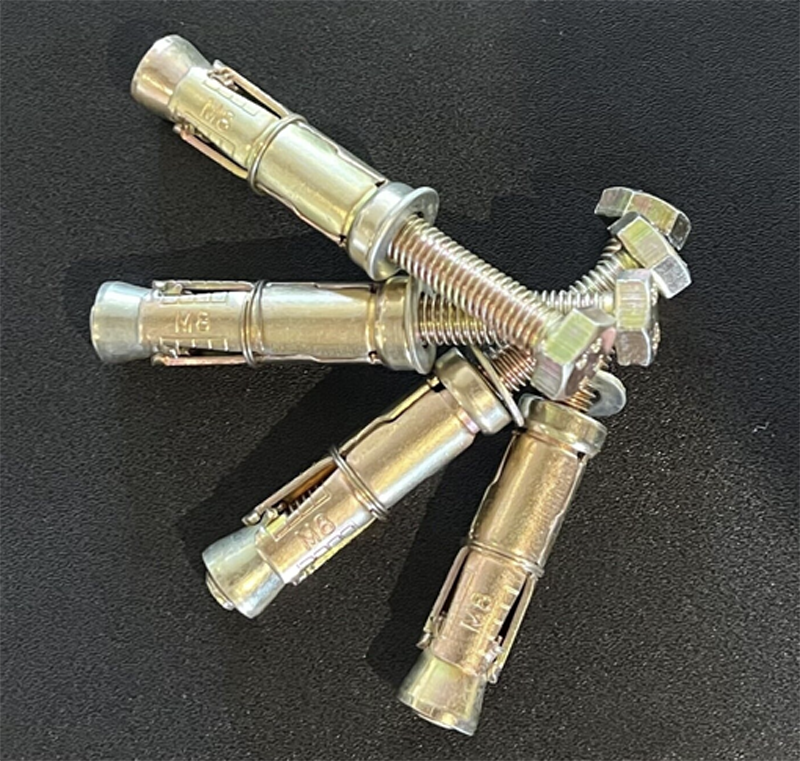
The bolts I am using are 85mm M8 shield anchors with a 10mm diameter, 50mm long expanding anchor section I am then adding an M8 penny washer to cover more of the slot in the Unistrut.
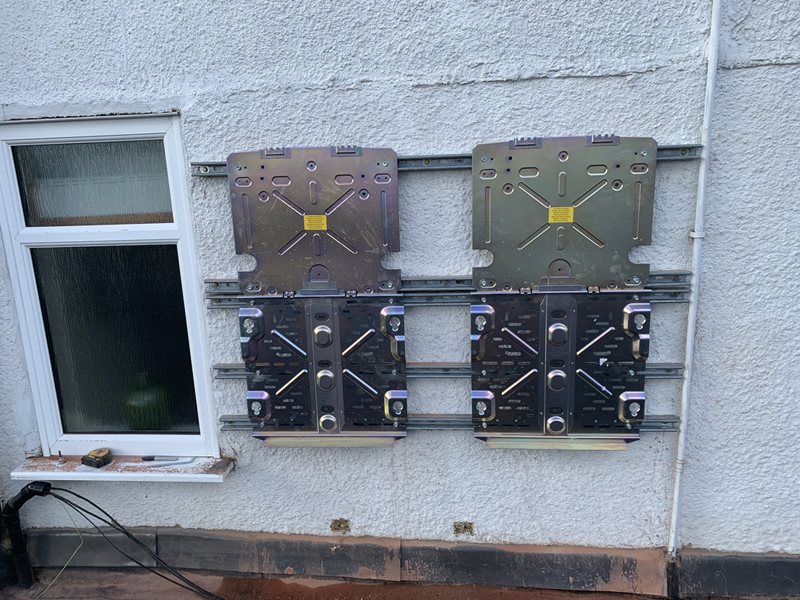
The plates themselves are held in place with 16mm M8 cap head screws and M8 Unistrut channel nuts.
The top plate is designed for M6 screws/bolts so I drilled out the 4 holes I intended to use to M8 as I don’t have any M6 channel nuts.
Left side complete with 2 complete sets of mounting brackets in place.
In order to ensure the brackets on the right were at the same height I joined a couple of lengths of Unistrut together to mark out the drilling locations for mounting the first length.

Right side complete with 2 complete sets of mounting brackets in place
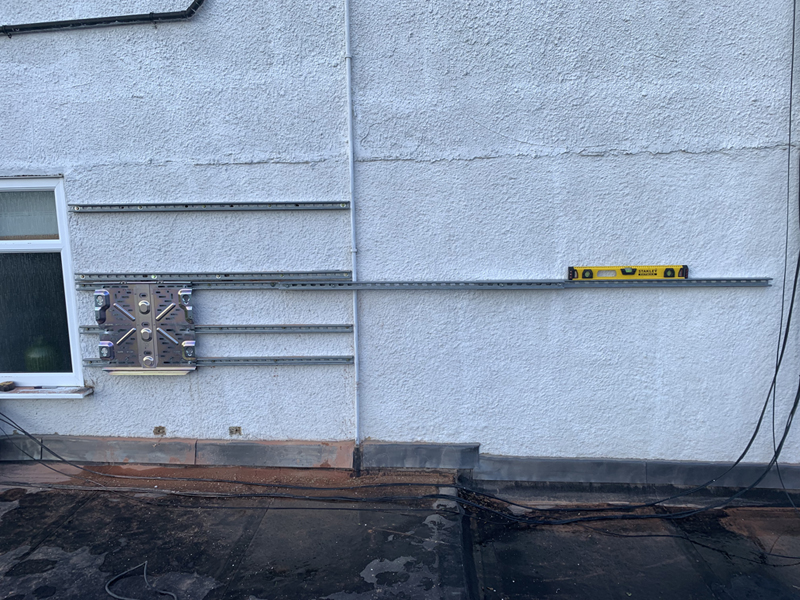
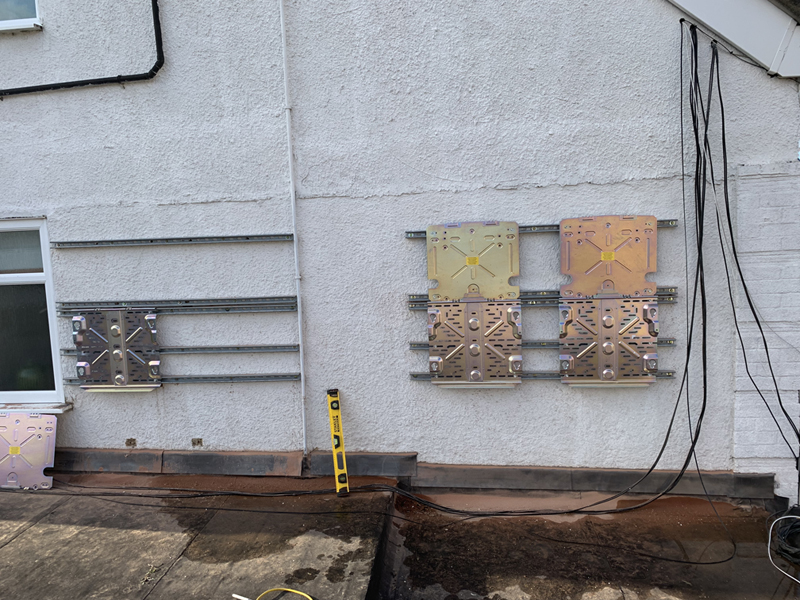 Both sets of Unistrut with a gap in between for the gas pipe and also for my solar sub panel.
For now I will have two batteries on the left and one on the right, I will add a second battery on the right when funds allow.