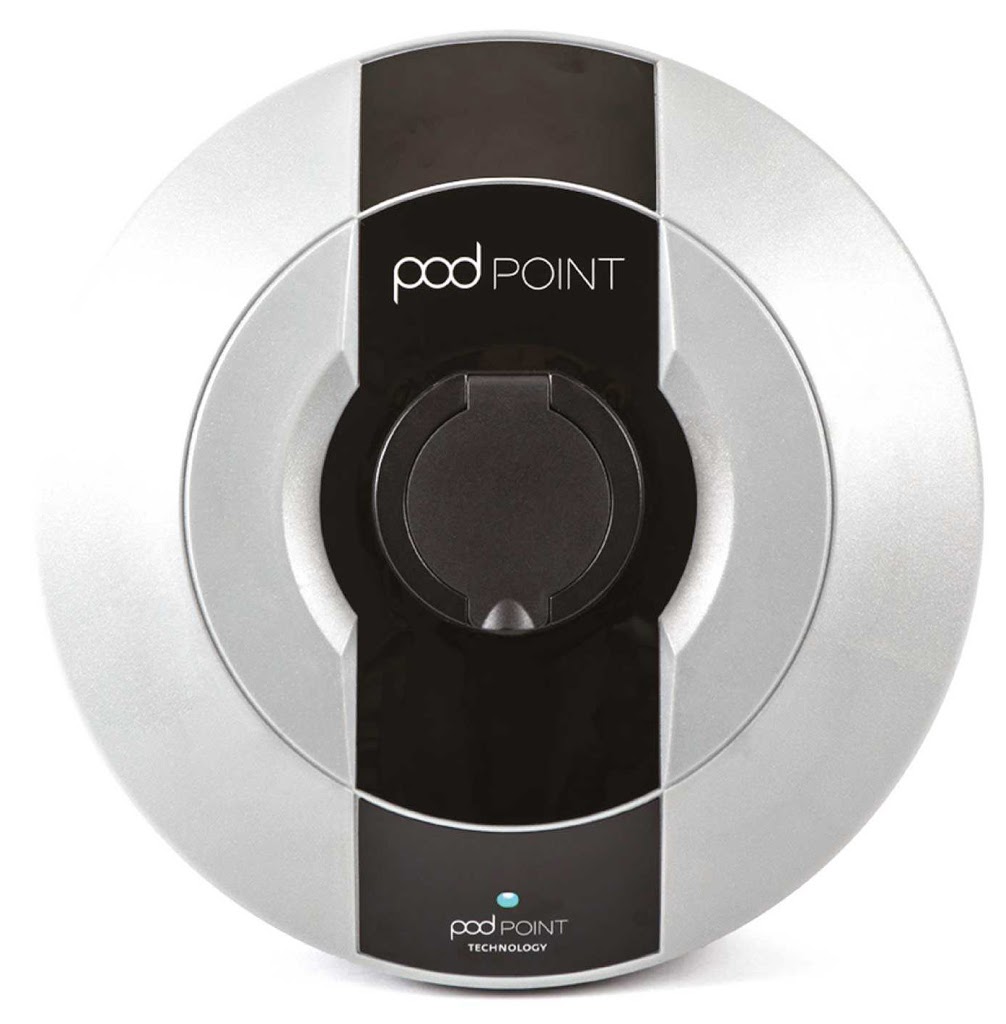
I purchased a Pod Point Solo 7KW car charging point from Ebay in June last year for £215.00 including P&P.
I then proceeded to purchase all of the additional items I would need:
- 6m of 6mm² 3 core Steel Wired Armoured (SWA) cable
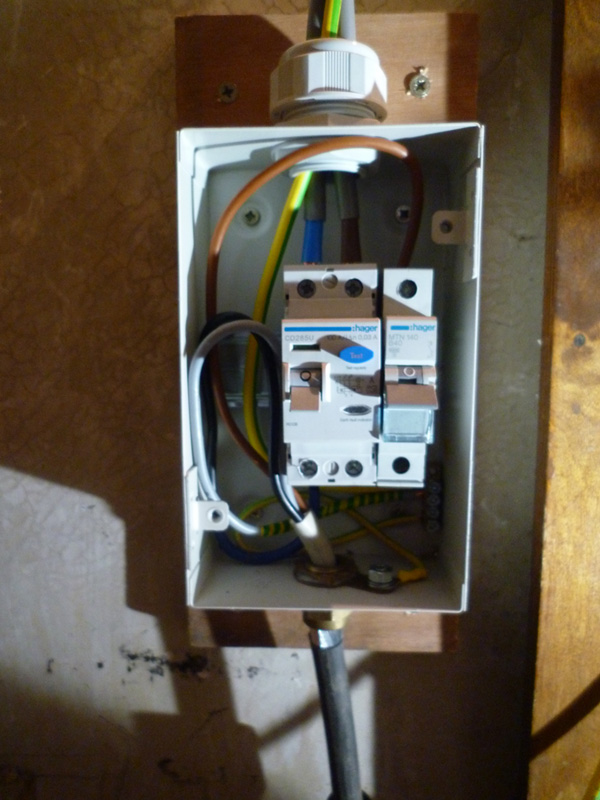
- 4 module consumer unit
- 2 x 1m of 16mm² tails for the consumer unit (one brown one blue)
- 1m of 10mm² earth tail for the consumer unit
- 4 x 17.8mm SWA cable cleats
- 100A/30MA A Type RCD
- 40A B Type MCB
The total for the above was £67.30, the consumer unit, RCD and MCB were purchased from Ebay, the cables and cleats were purchased from City Electrical Factors.
The choice of 6mm² cores and 40A MCB allows me to make use of the full 7KW capability of the unit, even if my current vehicle cannot.
The Pod Point Solo does not require an earth rod for the installation – full details of this exemption can be seen on the Pod Point Website.
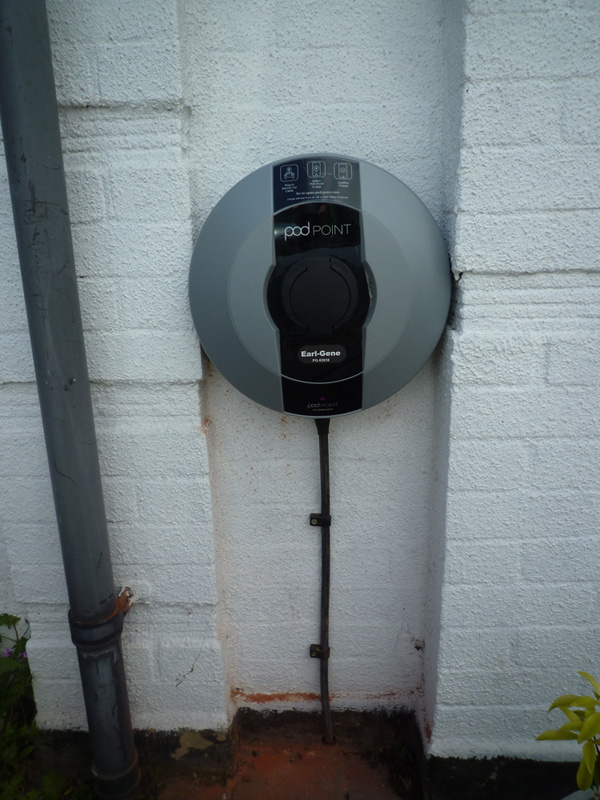
The pod point fits nicely between some of the brickwork outside the front of the house, so I thought this would be a good place to mount it.
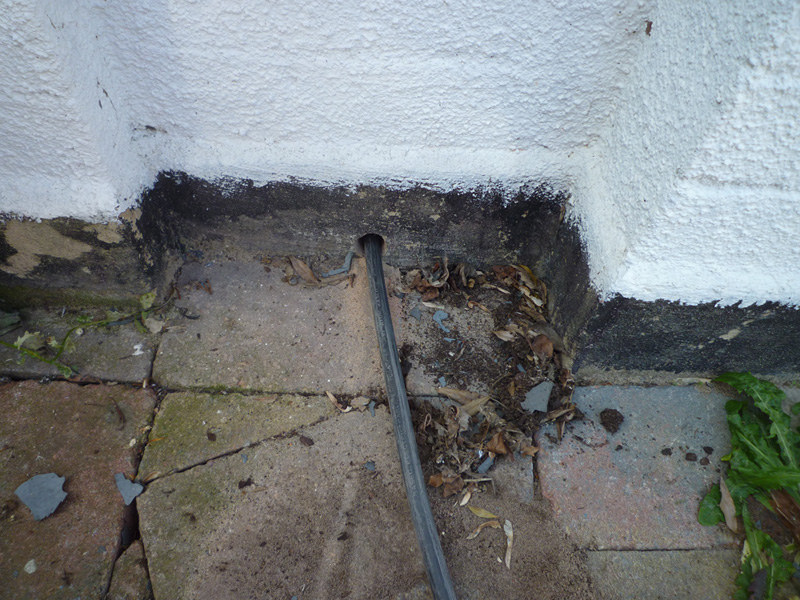
I drilled a hole in the wall near the ground with the intention of running the cable straight under the floor from the front of the house to the cupboard under the stairs.
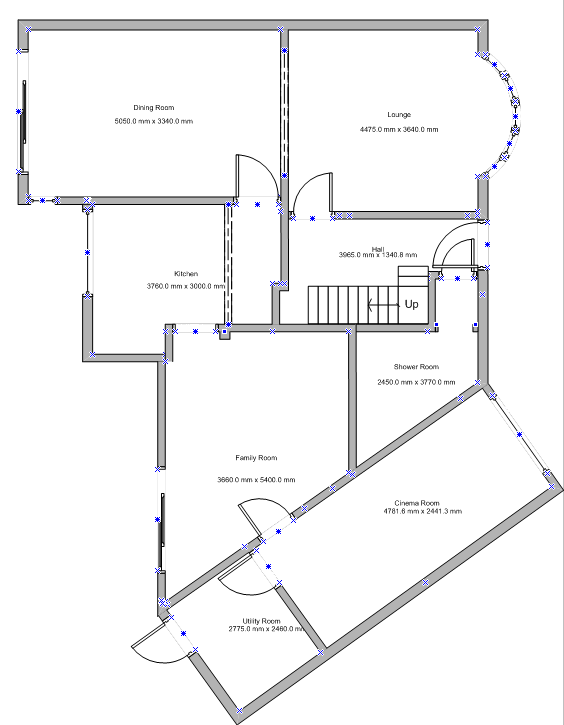
Unfortunately I have a tiled floor in the shower room that is the other side of the outside wall and a tiled hallway floor, and there is a low wall under the floor that blocks the passage of the cable.
I have a cheap USB/WiFi endoscope/boroscope that I bought from Ebay, this can display the camera footage on your phone/tablet by connecting to the WiFi SSID of the endoscope.
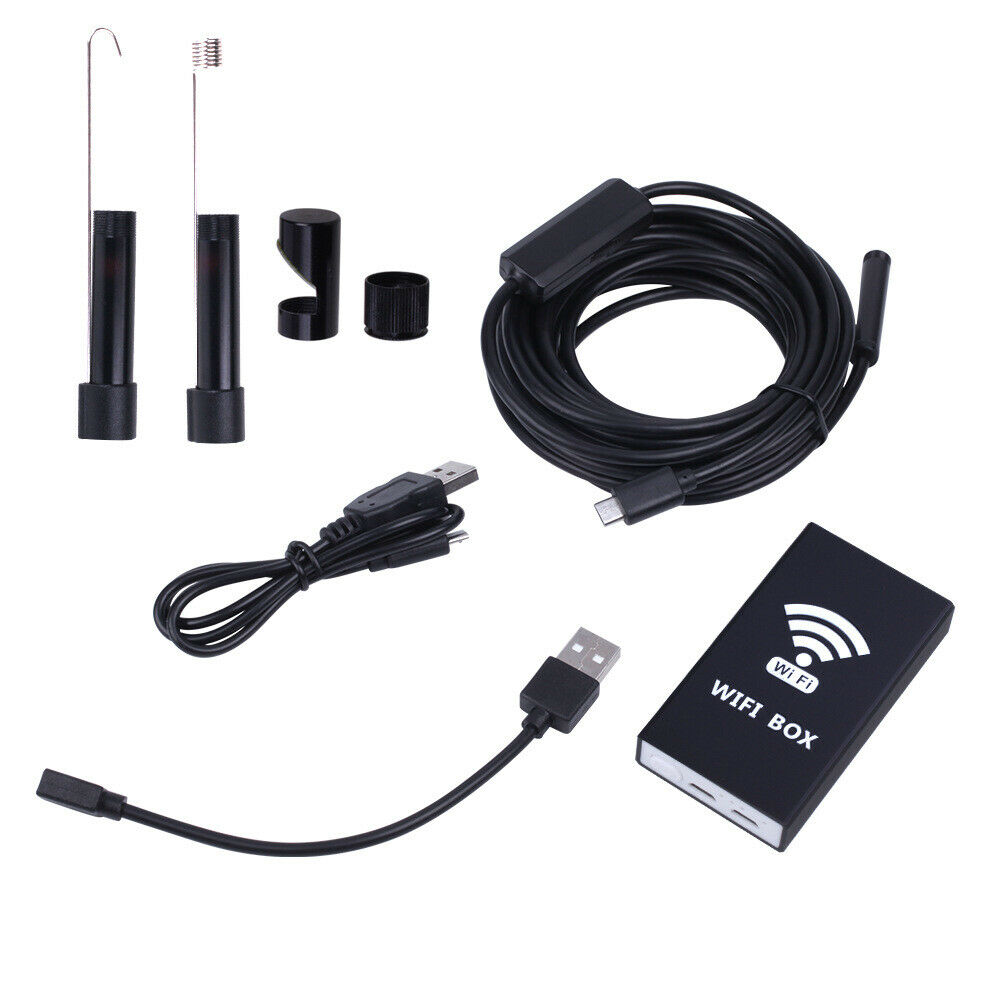
I taped to the camera to some cable fishing rods and pushed through the hole I drilled in the wall and also tried from the cupboard under the stairs to see if I could find a way through.
Short of ripping up one of the tiled floors, I was failing to see how I could persuade the cable to complete its required run.
There is no above ground option for running the cable as the shower room door is in the way.
As such this project stalled at this point for a number of months while I thought about possible solutions.
Eventually, I decided that the only way forward would be to lift a couple of tiles from the shower room floor, cut a hole and try and see what is possible.
The first section of floor, near the door of the shower room is a sheet of 18mm plywood and this is subject to more flex than the concrete screed further in and as such several of the tiles have started to crack around the grout lines, so these were chosen as candidates for removal.
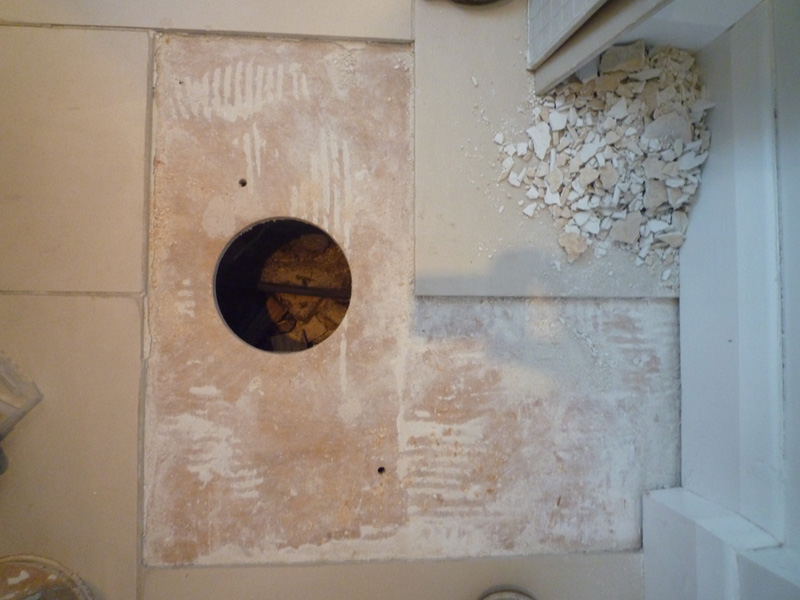
After some careful grout removal, I was able to remove one of the half tiles near the door, followed by a full tile and then scrape away the adhesive to reveal the plywood floor.
I then drilled a couple of small holes so I could drop the endoscope in to work out the best place for the bigger hole to be cut – there are quite a few pipes that run under the plywood section, so I wanted to be sure to avoid them.
I used my Draper adjustable hole saw
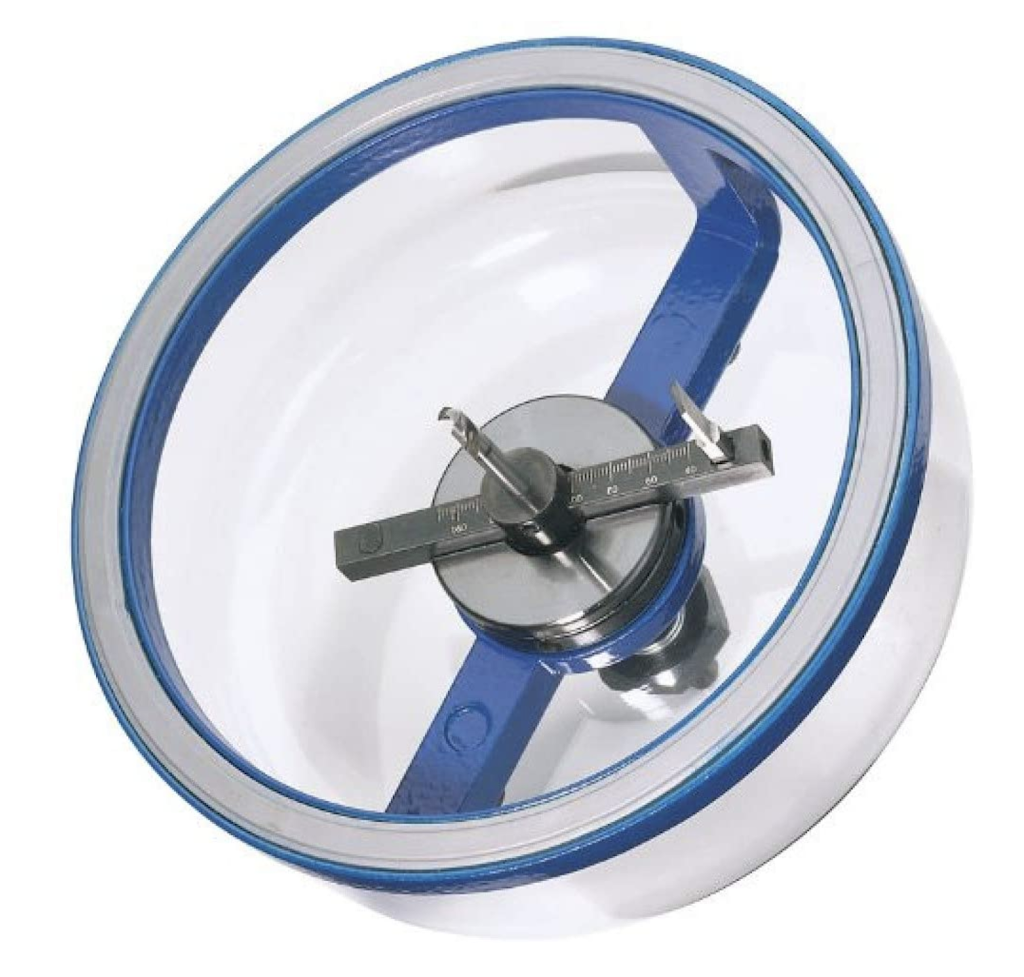
to cut a hole about 150mm in diameter through the plywood.
I was then able to move some of the existing cables and push some of the cable rods through a gap in the wall through to the area under the cupboard under the stairs.
I then pushed some more rods in from the outside, located that rod and joined it to my first rod.
I now had a straight run from the outside to the cupboard under the stairs so secured the SWA cable to the end that was outside and pulled the cable through
finally I could proceed with the wiring.
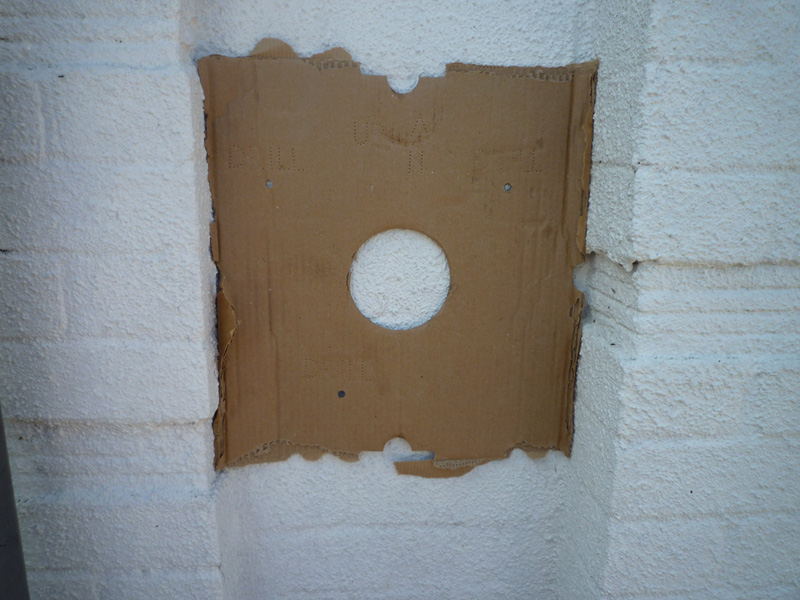
Using the box insert as a drilling template I drilled 3 holes for mounting the Pod Point at a suitable height.
Pod Point mounted to the wall.
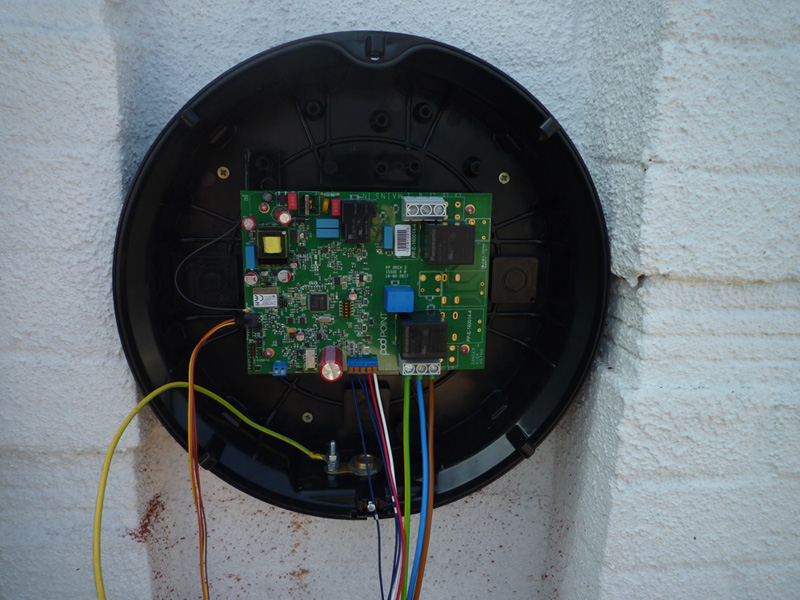
I then attached the SWA via a suitable cable gland.
I am using one of the cores in the SWA as an earth but am also running a second earth from the armour of the SWA for additional safety.
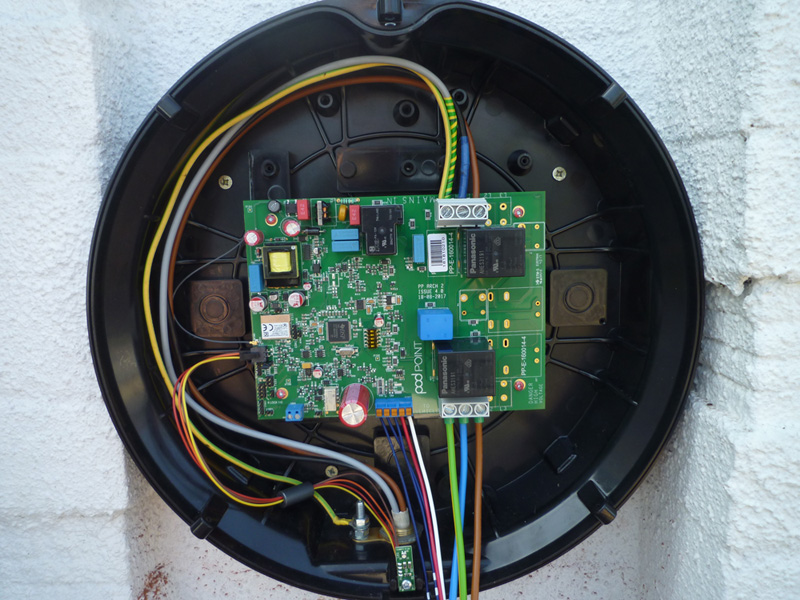
The cable was then clipped to the wall.
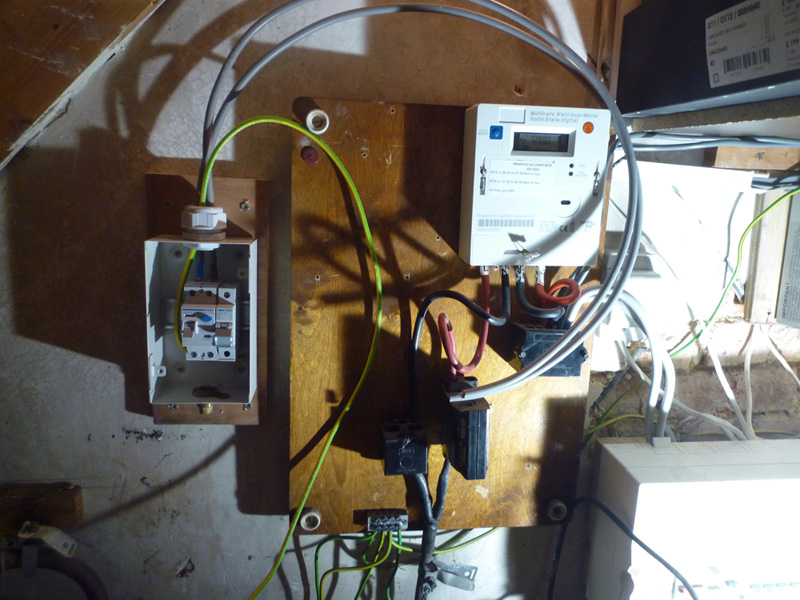
I used a spare piece of plywood as a backer to mount the new consumer unit on the wall.
Fully wired up.
Finished Pod Point
I had some issues after powering up the unit, the instructions state that the light should show as white, mine showed as magenta/purple and there was no sign of the podpoint WiFi SSID.
Additionally, I could not add the Pod Point as my home charger via the app as it would not recognise the PSL ID.
I raised a call with the support team, who came back asking for the double barrelled name and the PG number from the unit.
While waiting for that initial response, I was able to find the podpoint WiFi SSID and connect the unit to my home WiFi, it now shows a blue light, which implies that it has connected back to base and all is good, however I am still unable to add it as my personal charge point.
All told the cost for the installation was £282.20 which is nearly half the cost of a grant based install at around £500.00.
Update: Pod Point were finally able to update my account and add the charging point and I have successfully recorded several charging sessions since then.