While technically my car is not part of the house, however, I thought this is probably the best blog to add this post to.
I have wanted a tow bar for my 2016 Mitsubishi Outlander ever since I purchased it, to allow me to tow my beach buggy and also any trailers that may be useful on occasion.
I bought a new tow bar and 13 pin electric kit for £150.00, as a ‘buy it now’ on Ebay back in January this year, both had Mitsubishi part numbers on them as they are supplied as OEM kits.
The tow bar itself is a Witter CL114B that costs £162.22 from PF Jones and the wiring kit is a model specific kit that costs £158.73 from PF Jones, so with postage included in the Ebay purchase price, this was over 53% saving!
The instructions that came with the tow bar itself were very minimal and did not really provide any information on how to remove the rear bumper, thanks to a link on the myoutlanderphev.com forum, I a link to a much better set of instructions.
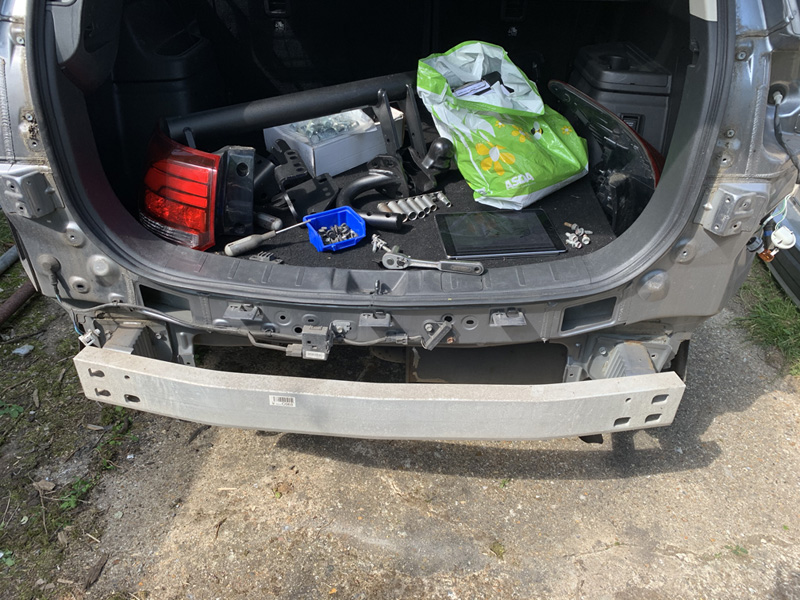
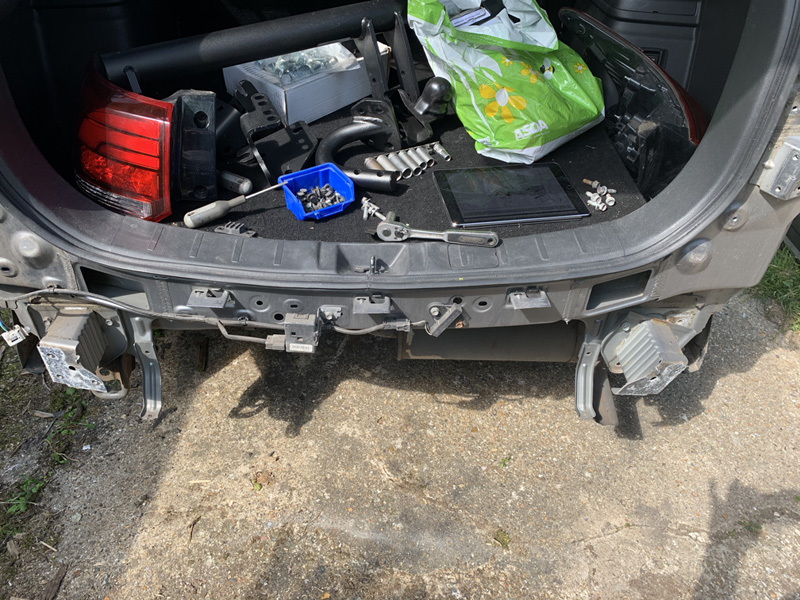
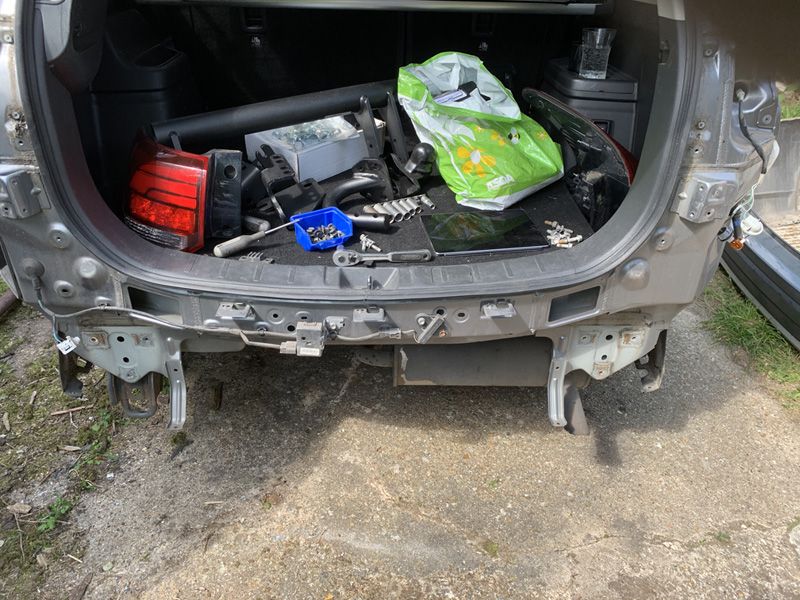
Bumper removed, I actually needed to remove a few additional fixings which I would argue are not clearly shown in the instructions.
Impact beam removed
Impact beam brackets removed, the towing eye bracket is also removed at this stage.
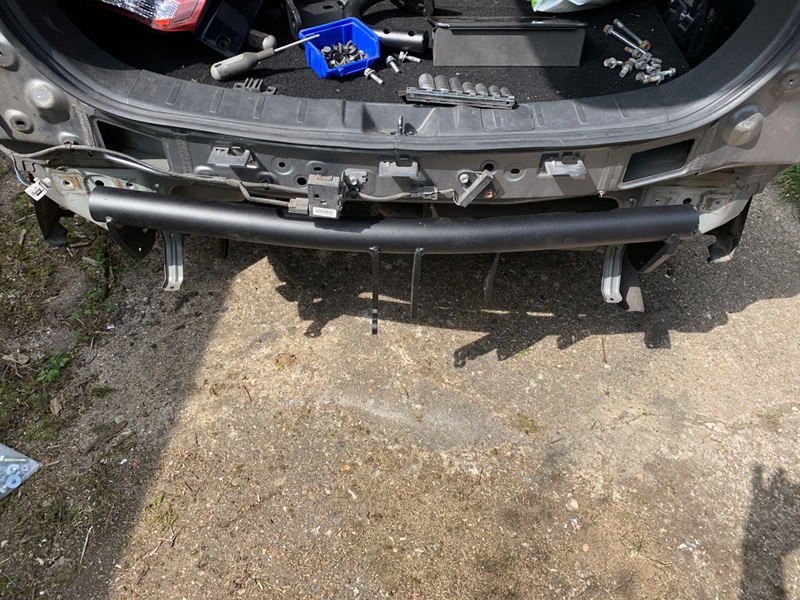
Main tow bar installed
Side brackets added
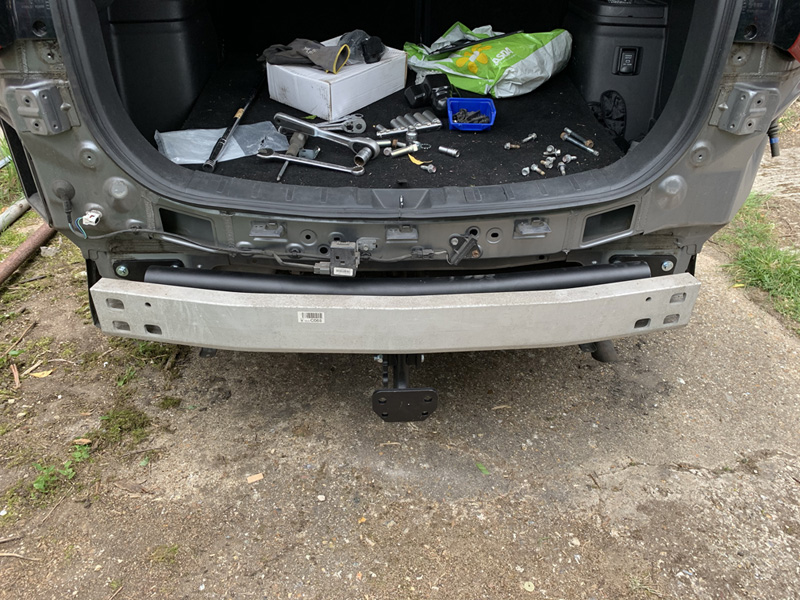
Impact beam re-installed
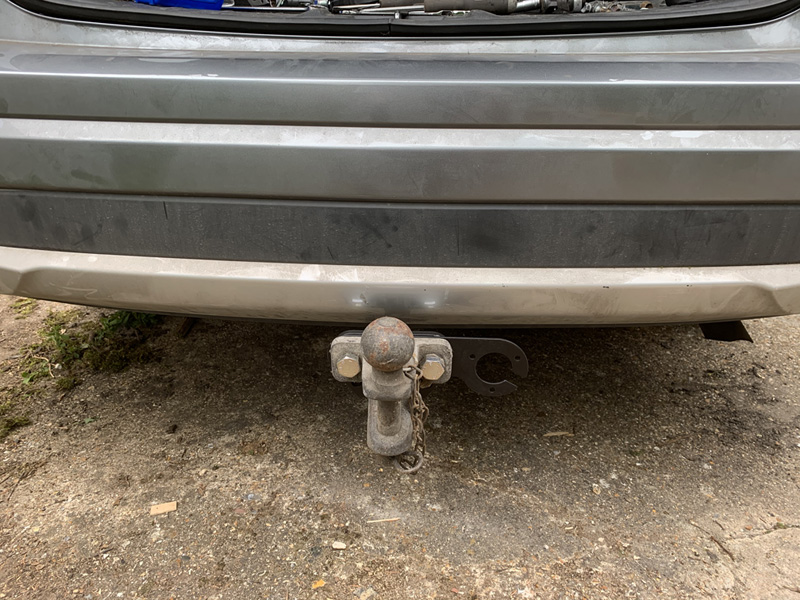
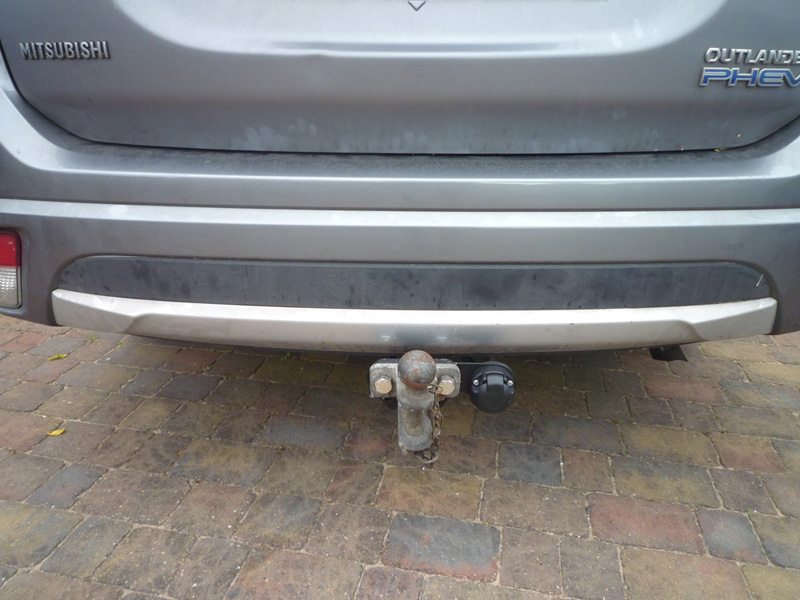
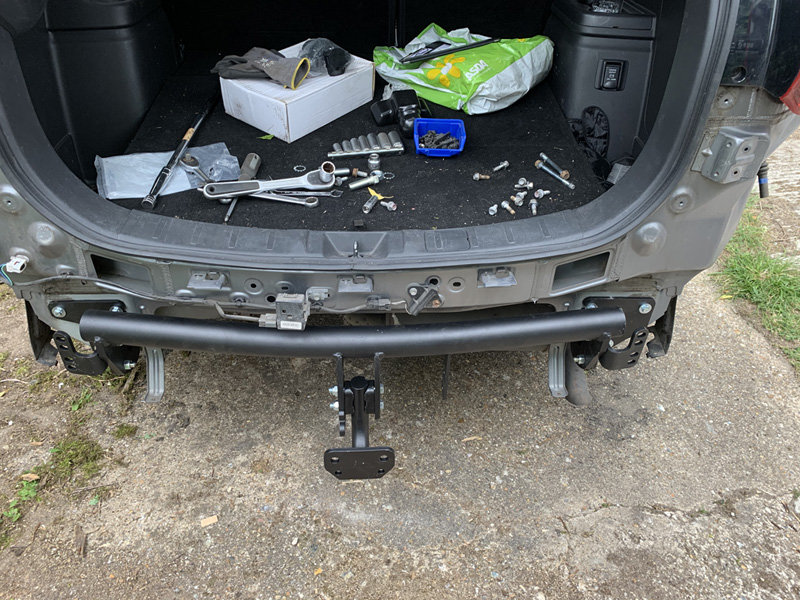
Bumper re-installed and Dixon-Bate tow hitch installed.
This tow hitch was not part of the kit, which was supplied with a standard tow ball which I will install should I ever sell the car.
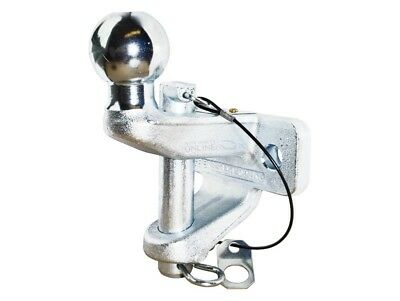
The Dixon-Bate 202014 (ball, jaw and pin) tow hitch currently sells for around £55.00, I bought mine around 15 years ago.
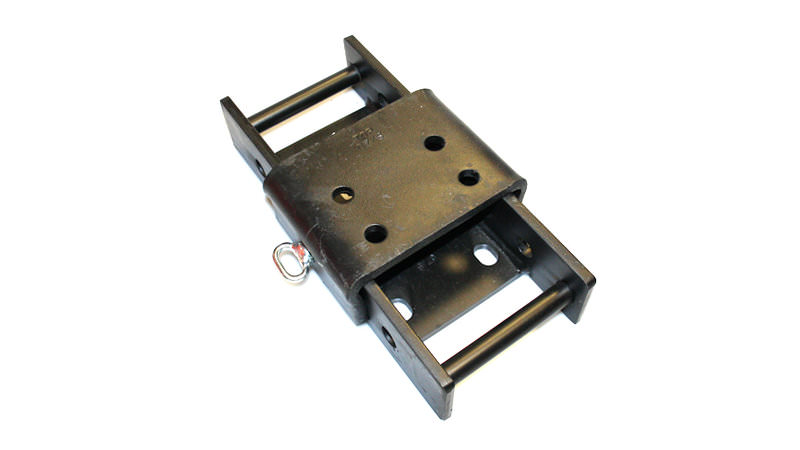
I used it with a Dixon-Bate 202090 200mm adjustable slider plate that retails for around £110 when I had a Range Rover that had a 4 hole tow bar mounting plate.
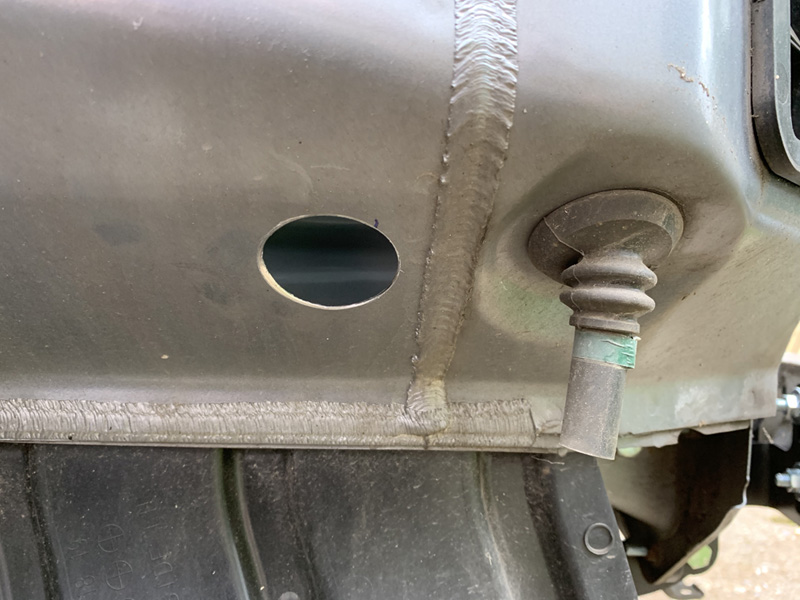
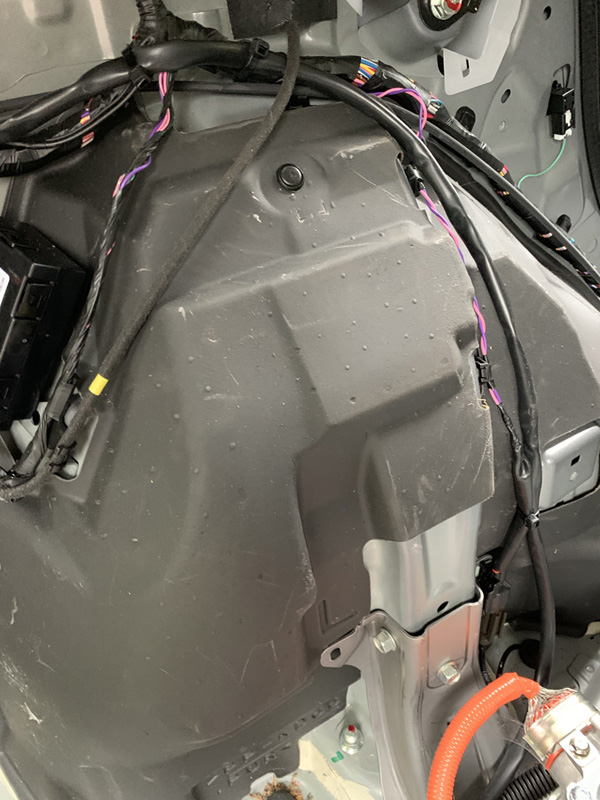
The wiring harness could then be run through the hole and secured in place with the built in grommet.
being a model specific kit meant that it made use of existing connectors and had adapters for any modifications – no wires needed to be cut, it was all just a case of following the instructions and running the wires where they said and everything lined up perfectly with all cables being just the right length.
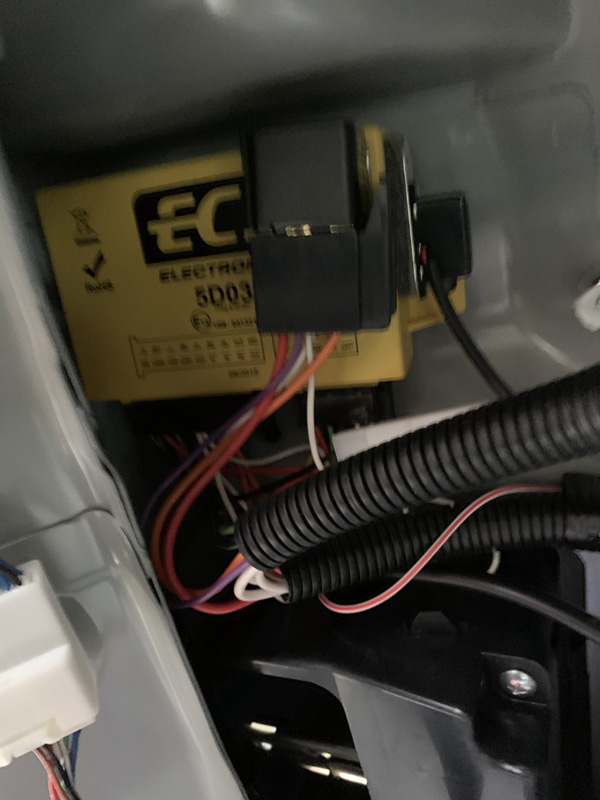
Here is the control box mounted under the bulge for the rear lights with its relay and beeper stuck to it.
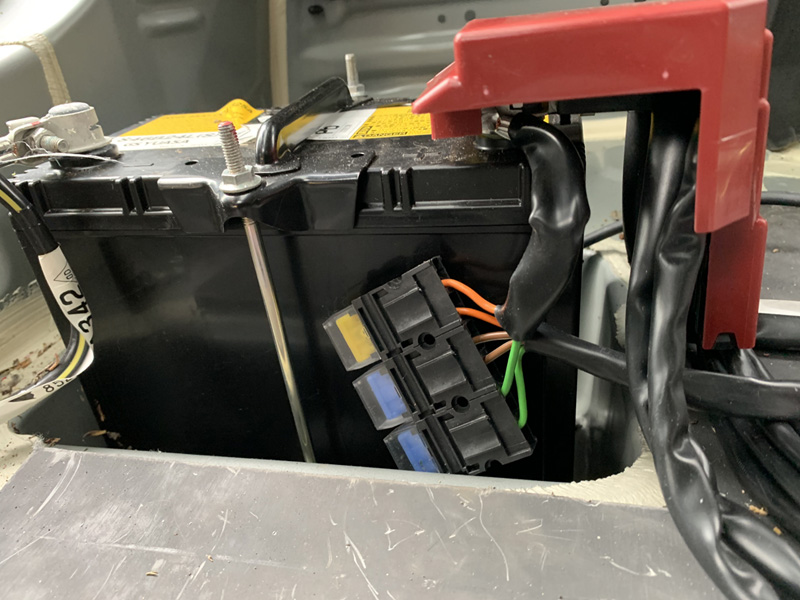
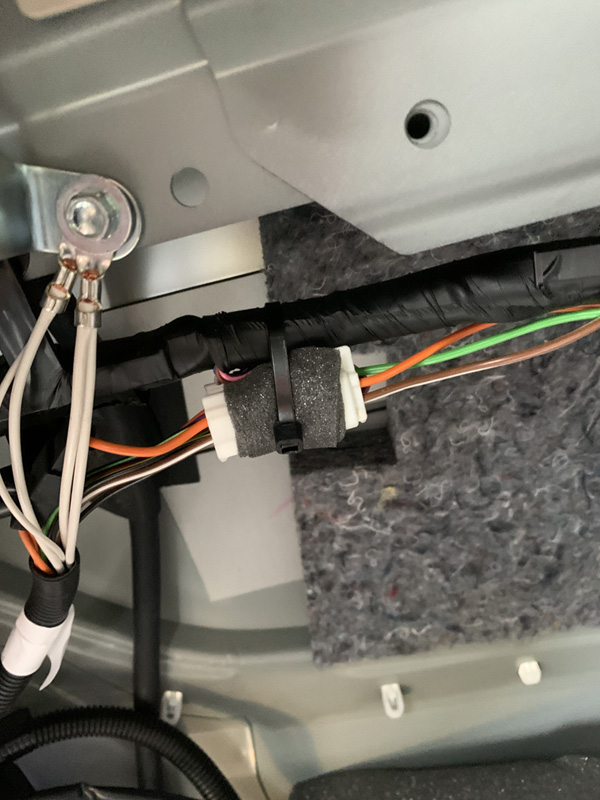
This is the connector that joins into the main wiring harness, the male half of the connector was taped up on the black cable bunch shown and needed to be released by cutting some of the tape holding it in place, the black, green and brown/white wires from the secondary harness were then installed in the female half of the connector according to which country you live in.
The connector is then wrapped in foam tape and secures out of the way. the earth wires are secured to one of the bolts that holds the electric tailgate mechanism in place.
The supplementary wiring harness then curves around the wheel arch and continues on to the battery.