Sunday 28th August

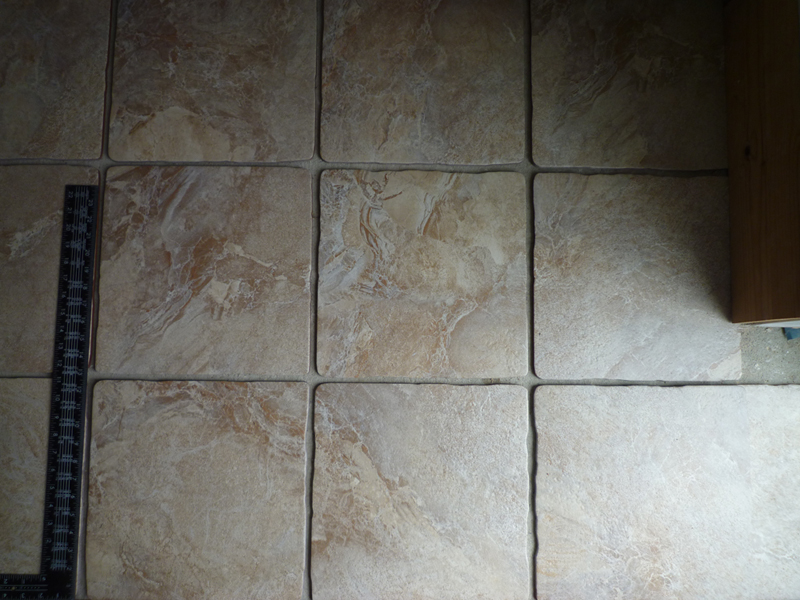
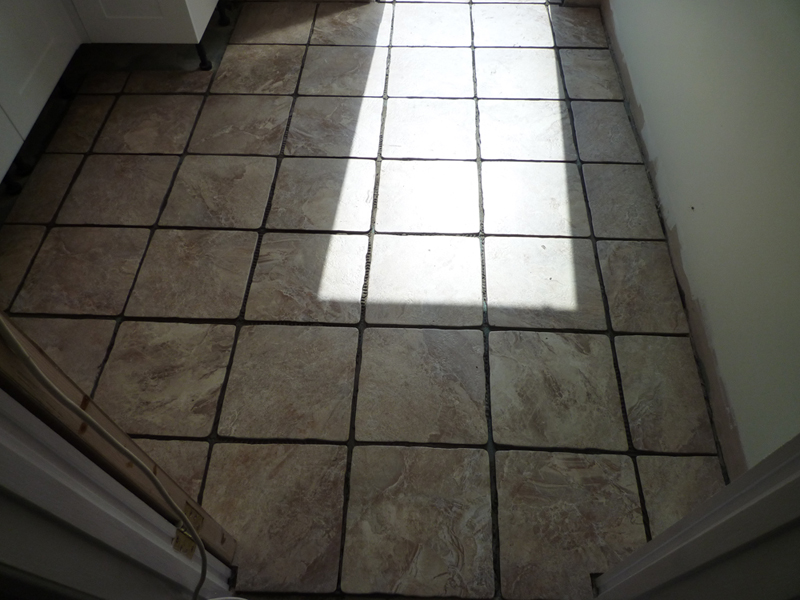
In this picture, you can see that the edges of the tiles are not straight and so a reasonable gap needs to be left for grouting to look good.
After clearing out the tiles again it was time to seal the floor so that the moisture is not sucked out of the adhesive when it is applied to the floor.
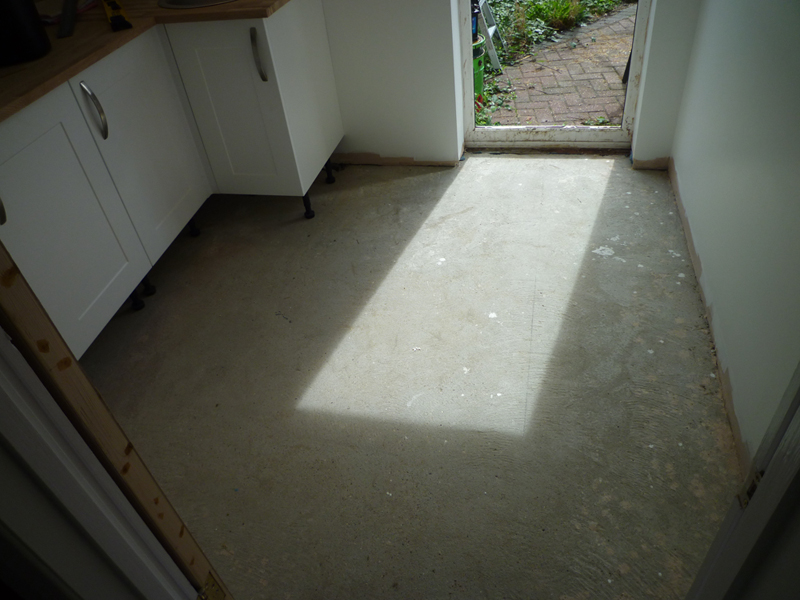
Here you can see the primer has been applied and is being allowed to dry.

Monday 29th August
I started off by laying out the tiles again in the same pattern as yesterday, then mixed up a batch of adhesive to fix them in place.
The adhesive is mixed 4:1 powder to water by volume, so I mixed up enough for 1 litre of water.
This turned out to be enough to stick 18 tiles down.
I then proceeded to cut all of the edge tiles using an angle grinder with a diamond wheel, one of the blue ones in the picture below.

These are Parkside disks from Lidl and are £3.99 for the pack of 4, an absolute bargain if you ask me.
To determine the correct places to cut the tile, it is best to flip it over in the direction you want to mark, then the good edge is against the wall and you mark where it needs to be cut.
Complex cuts, simply involve flipping in two directions to mark out.
Once all of the required cuts had been made, it was time to stick down the remaining tiles.
I mixed up another batch with about 1.5 litres of water, this was about 2 tiles worth short and so I had to mix up another tiny amount for the last couple of tiles.
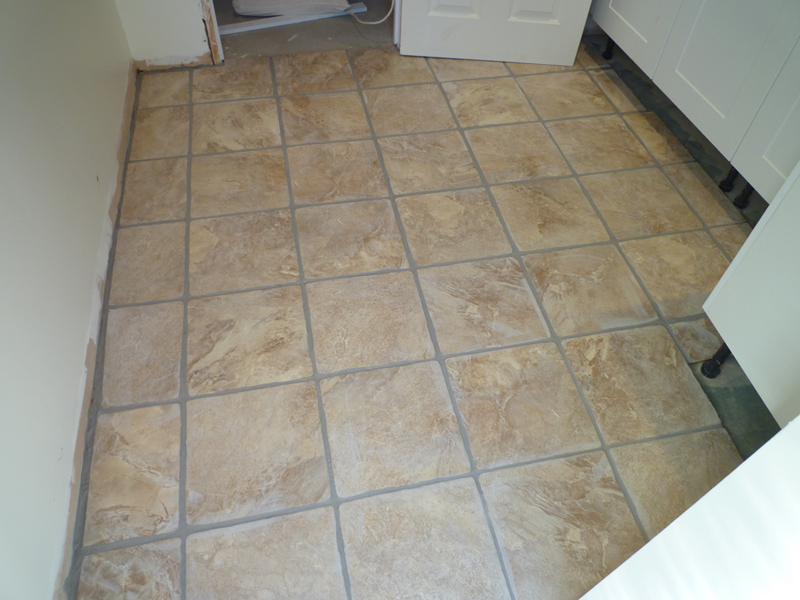
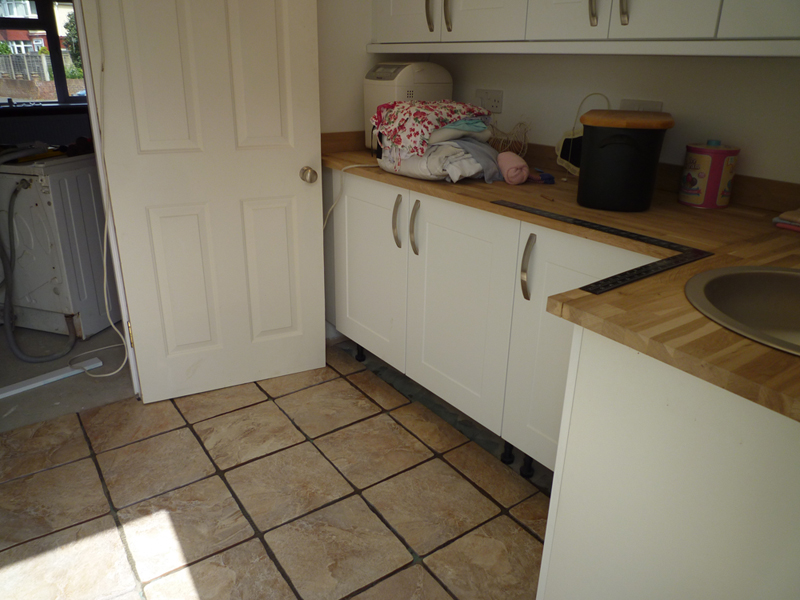
Here is the floor with all of the tiles stuck down.
There is still enough room for the door to miss the tiles.
Skirting will cover up the edges of the tiles along the wall.
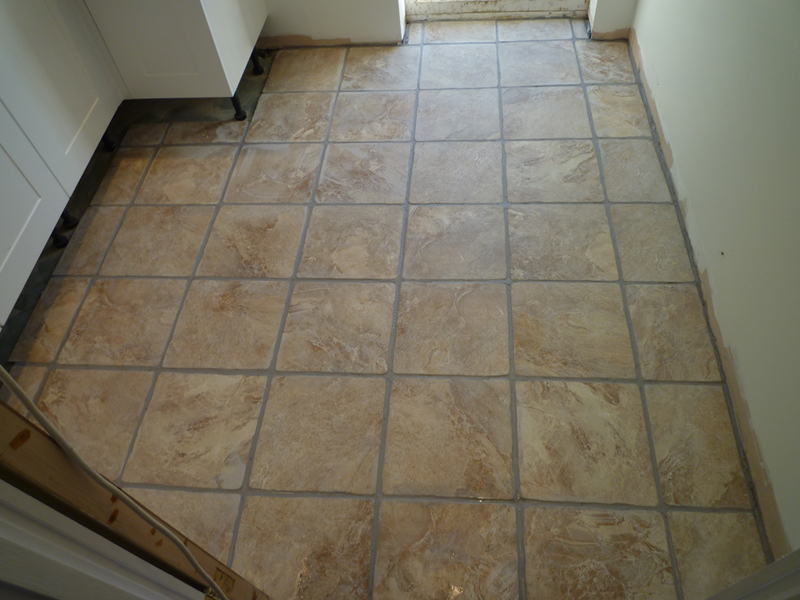
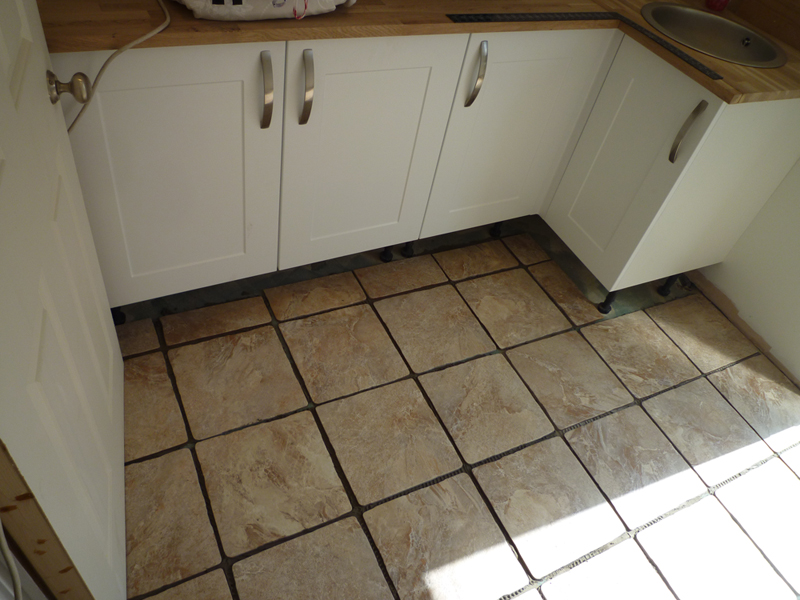
A second view from the outside door.