Saturday 30th July
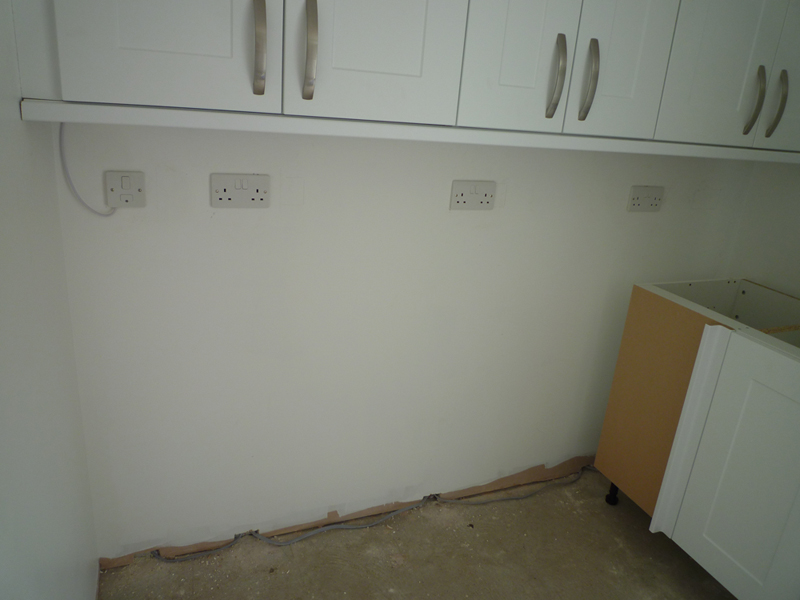
Started today by installing more electrical sockets for the utility room – radial circuit that ends with a switched fused spur for the under cabinet lights.
Next it was time to set the height of the base units so that they would clear the tiles and ensure that they were square and level before securing them to the wall as well as each other.
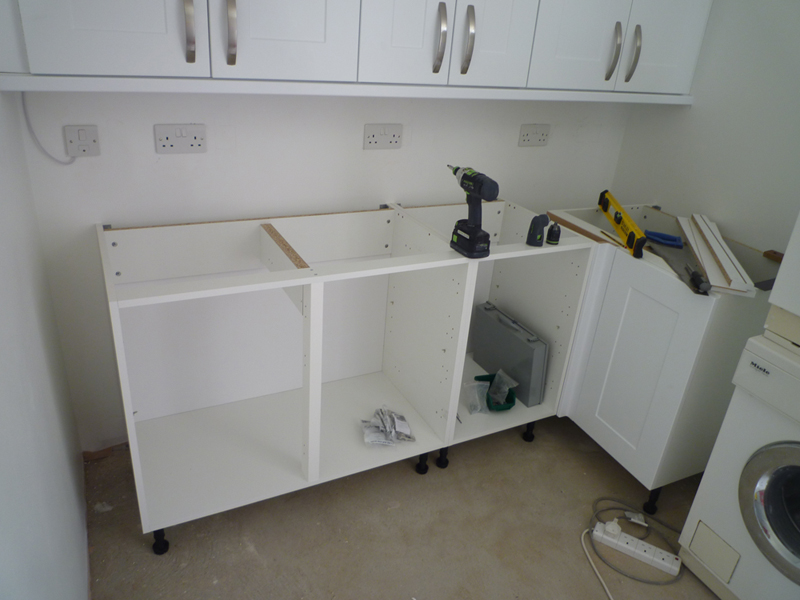
Doors fitted

Handles fitted – just need to cut and fit a filler piece to close off the gap at the end.

Sunday 31st July
Started the day by digging out the bricks that used to be under the wooden threshold as these were too messy to fit a proper threshold for carpet to.
Once I had removed a bucket load of brick and mortar, I filled the hole with screed.

I then finished off the remaining few downlights in the cinema room before fitting the light switch
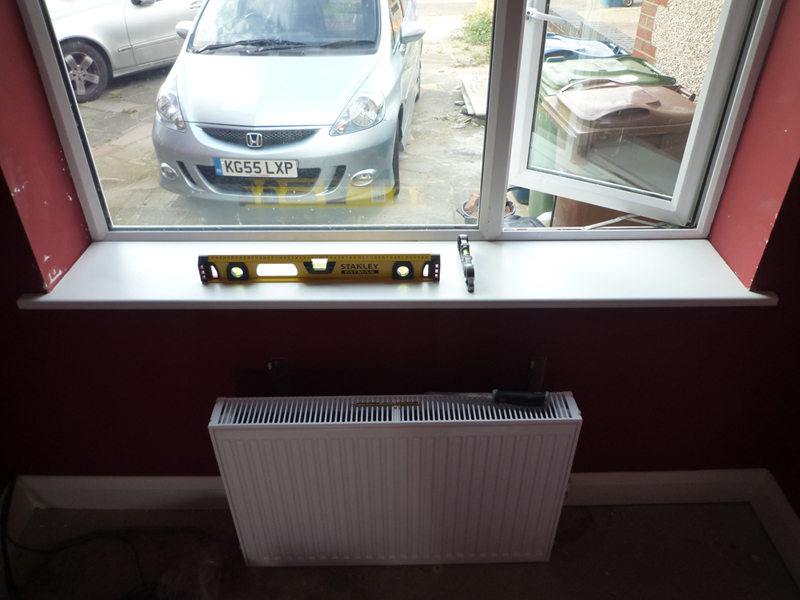
Final task for the day was fitting the new window sill.
Now I could have fitted a standard MDF window sill, but this would then require painting and they are not exactly cheap.
When I purchased the cabinets for the utility room I added a white 28mm worktop to my order, this is 600x3000mm in size and for about £25.00 is not only cheaper, will never need painting, and I will have a load left over for anything else I decide to make.

Of course just to make life interesting, the window sill area is not square! the side walls, rather than being 90 degrees are about 87 degrees, so nearly 1.5cm wider at the window than at the opening for the room.
As a result the sill has to be inserted at an angle and dropped into position.
The basic shape was cut fairly quickly, followed by a 45 degree chamfer on the rear edge to clear the external sill and a 30 degree chamfer on the left hand edge to ease dropping into place.
A few minor adjustments and we have a decent fit.
Finally secure it all into place and level using plasterboard adhesive.