Work started on the Flat roof area in early 2012.
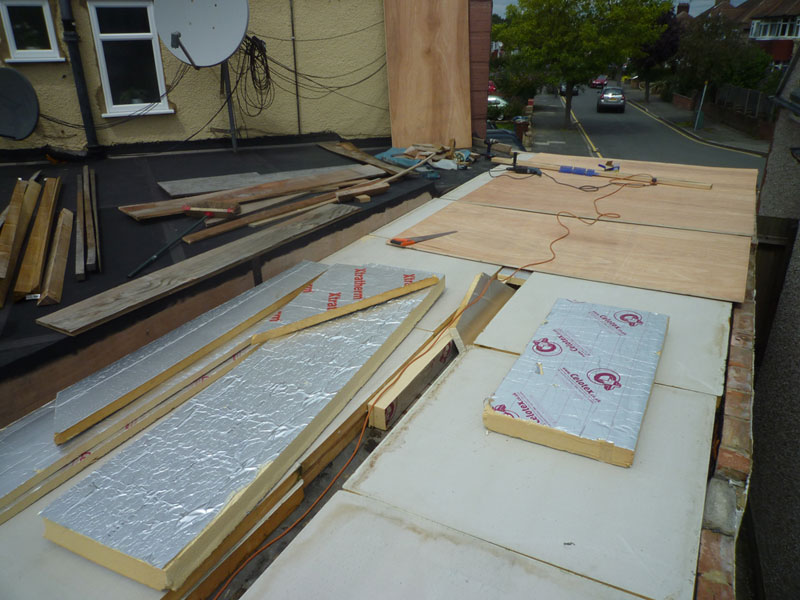
This work covered flat roof area over the family room, shower room and garage, increasing the insulation over the shower room and family room with 50mm of Kingspan, and adding 150mm of Kingspan to the roof of the garage (cinema/utility room) area, and converted from 3 separate roofs with parapet walls, to a single flowing warm roof.
Removing the parapet walls.
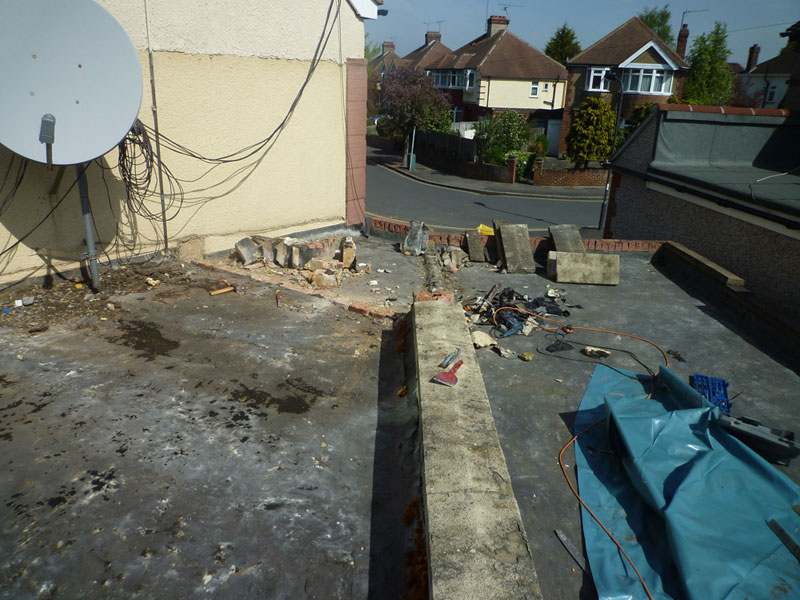
Family room roof removed.
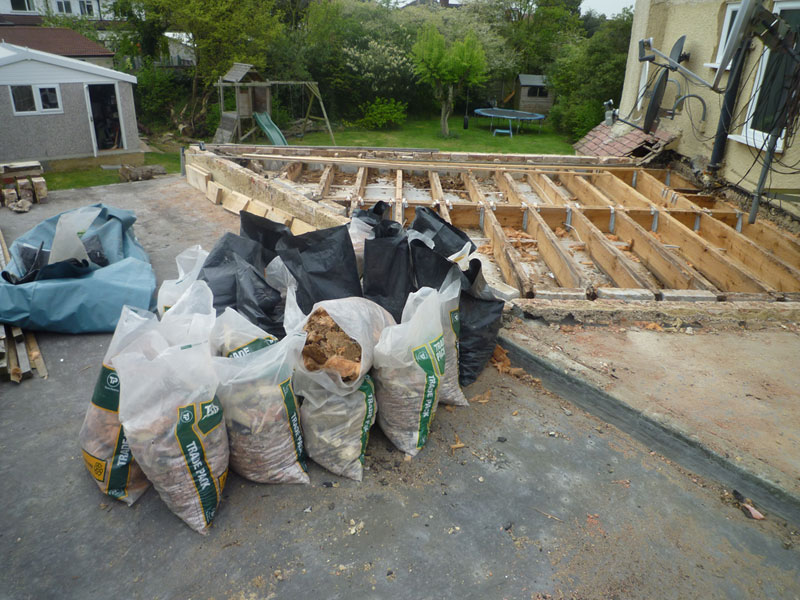
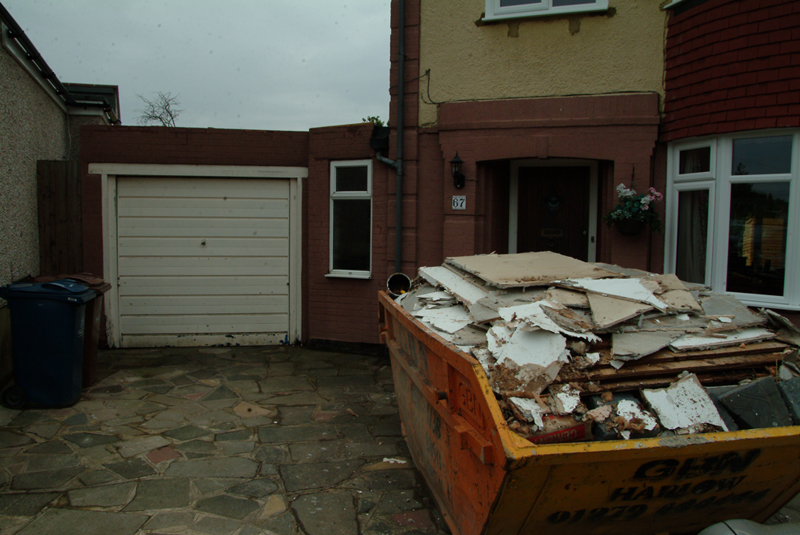
I was still owed a third skip from the loft conversion, so I used this as an opportunity for a free skip for removing all of the waste materials from the roof.
Rebuilding the family room roof.

Family room roof and Shower room roof covered, applying the rubberised paint.
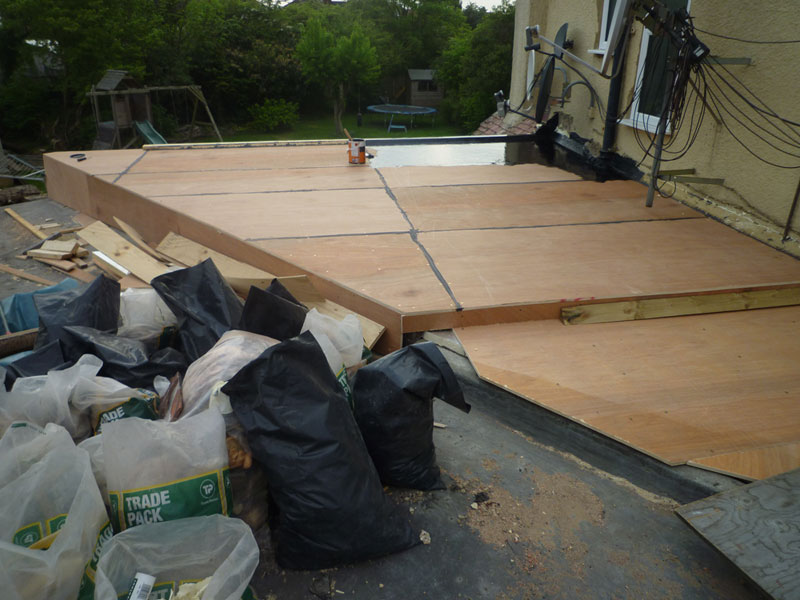
Insulation for garage roof.
Covering the garage roof.
After a year or so, the rubberised paint started to fail, so I am not going to recommend this for any one else to use.
No matter how thick I had put the paint on, it simply looked like it was washing away, and the joints I had covered with bitumen tape were also cracking.
So I decided to bite the bullet and redo the roof with fibreglass before it started to let any more water in.
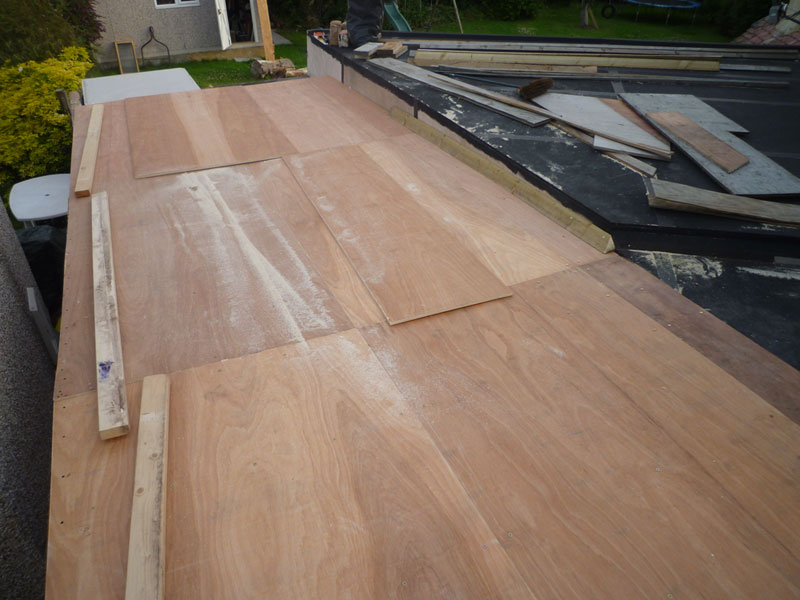
The process involved applying a layer of 18mm tongue and groove OSB over the top of the existing roof as a new surface layer.
Next step was to fit all of the edge trims and then join these to the roof with a 6″ fibreglass bandage before putting down the matting.
First apply 50% of the mixed resin directly to the roof, then place down the matting and then apply the other 50% over the top and then work it with a corrugated roller to ensure it is all an even colour and that there are no air gaps.
The above process is performed in 1x1m sections at a time to avoid the resin going off too fast.
Once the whole roof has been covered and allowed to dry, a coloured resin top coat can be applied.
Unfortunately it would appear that I did not take any photos of when I applied the fibreglass.