As previously mentioned I am using the Van Der Valk ValkPro+ P10 South mounting system.
The parts were ordered from Plug-In Solar, along with the solar panels for this roof, my pre-fab garage roof and the associated mounting hardware for the pre-fab garage solar install (this will be covered in a separate post).


The parts were simple enough to assemble having watched the above video a few times.
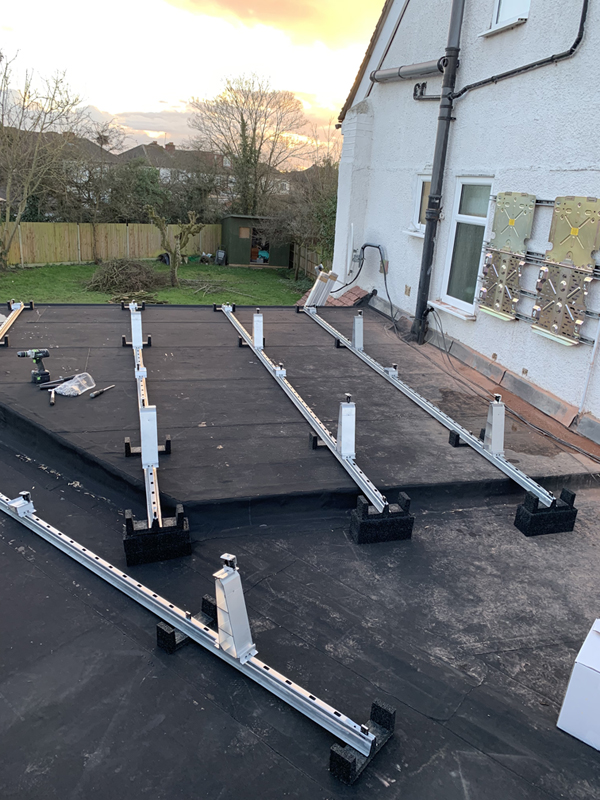

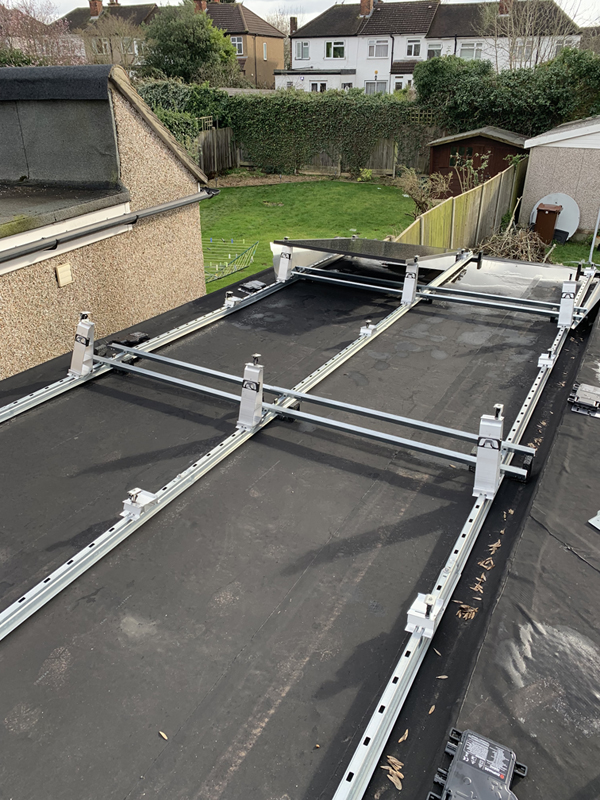
The ‘frames’ are just roughly laid out at the moment, it only took 30 minutes or so to assemble it all, but I still want to be able to move it if necessary for when I lift the batteries up to the flat roof area next weekend.
I will be using mass carriers for the ballast as I will also be using side panels as the frames are relatively close to the edge of the roof, they will also help reduce the likelihood of birds nesting underneath them, although I will also be using some mesh at the front and rear to help prevent this notion from the local wildlife.
This post sat in draft for a few weeks and as can be seen from the previous few posts, the batteries are now installed on the wall and the ballast was also lifted up to the roof area.
I also had my son help me lift all of the panels up to the flat roof, in order to take them off the drive and out of the sight of any potential thieves, we then put 10 of them on the back patio ready for my East/West installation and left a stack of 11 on the flat roof for this install.
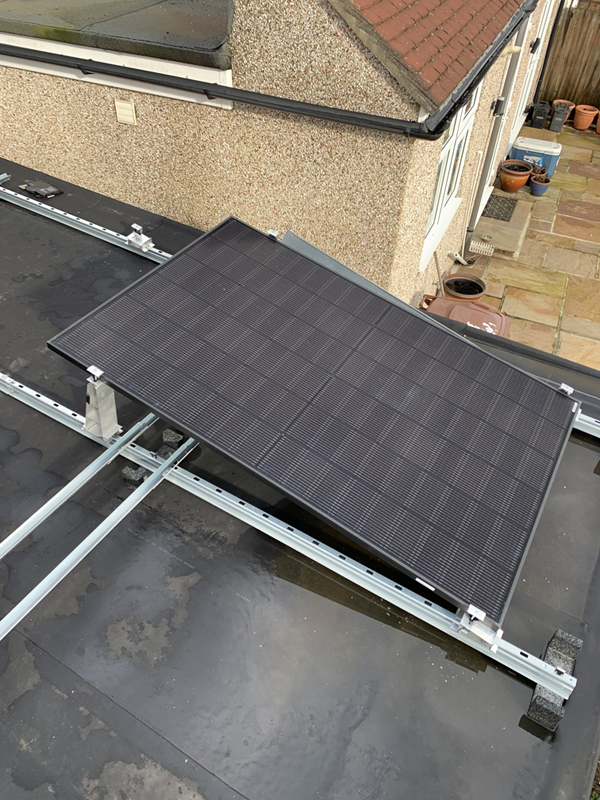
When I was ready to start laying out the panels, I cut a piece of wood to the same length as the width of a panel, just to get the various parts of the framework in roughly the right positions.
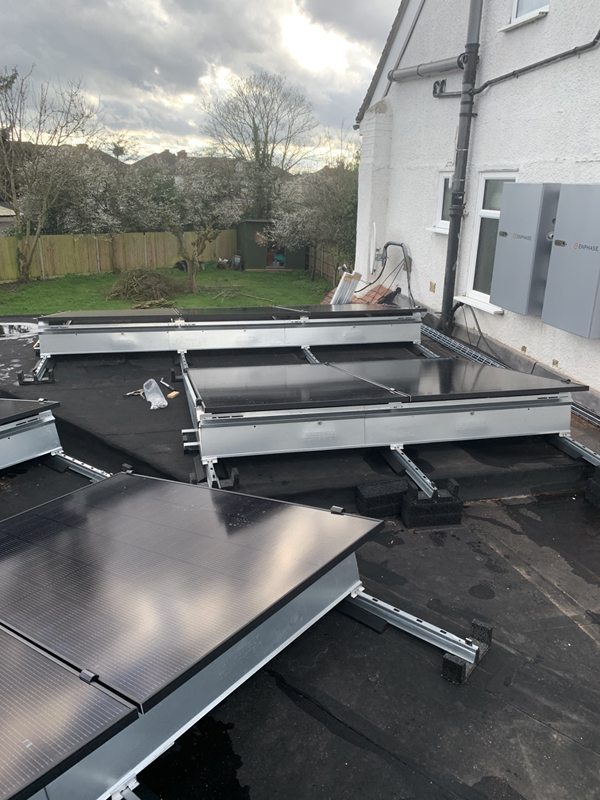
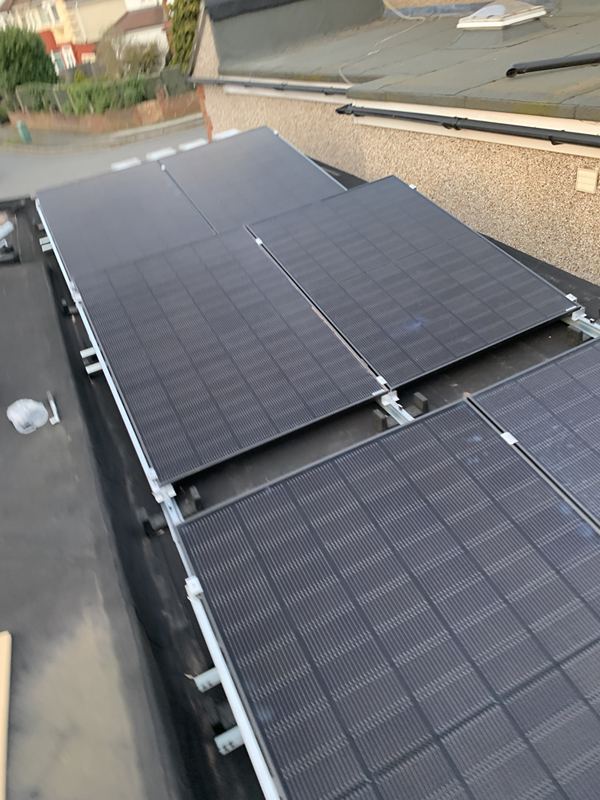
First panel in place:
Second panel placed:
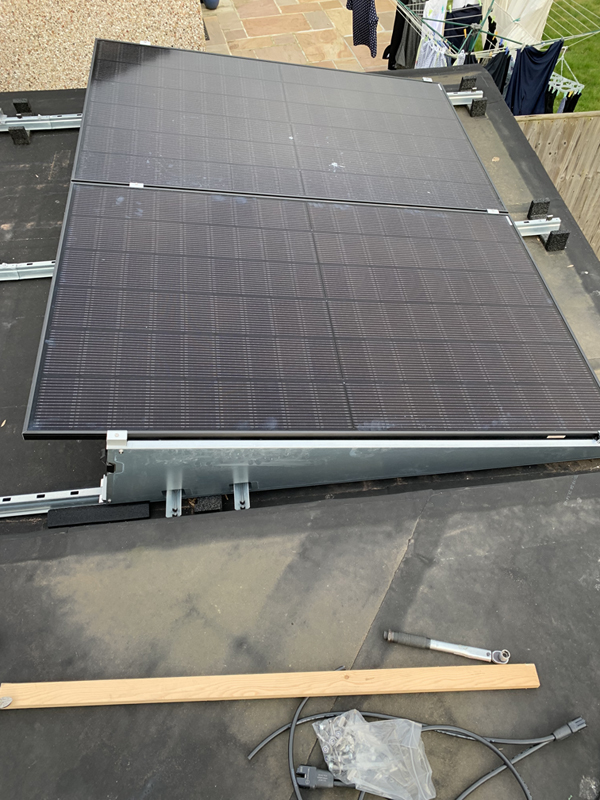
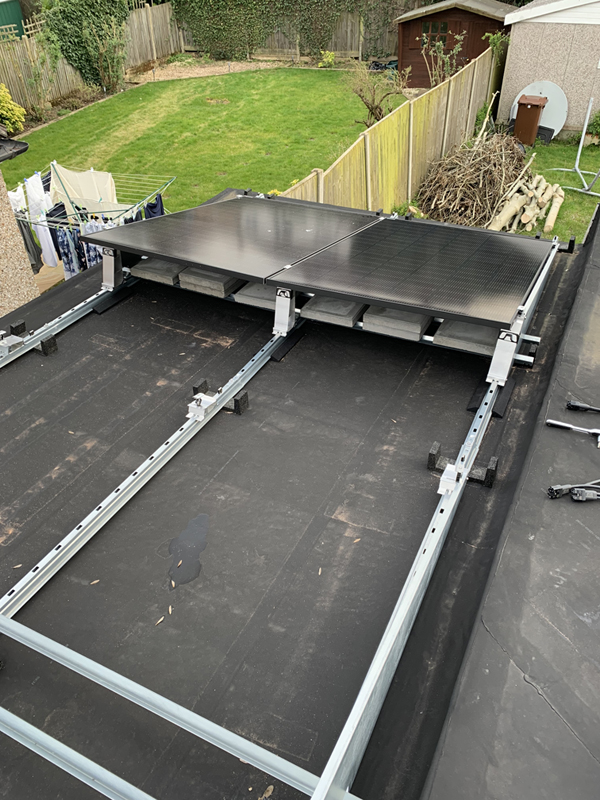

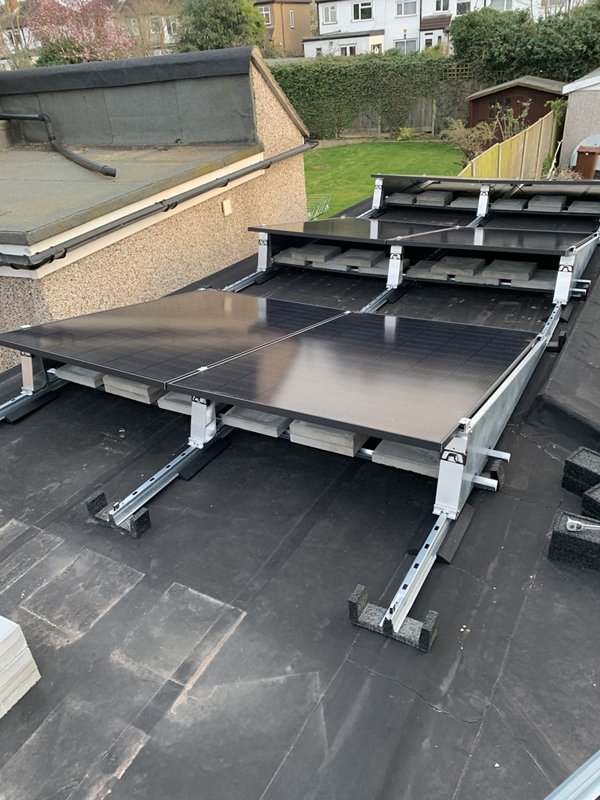
You can see that I have also attached the mass carriers and side panels as these pictures as it is more difficult to put them in place afterwards.
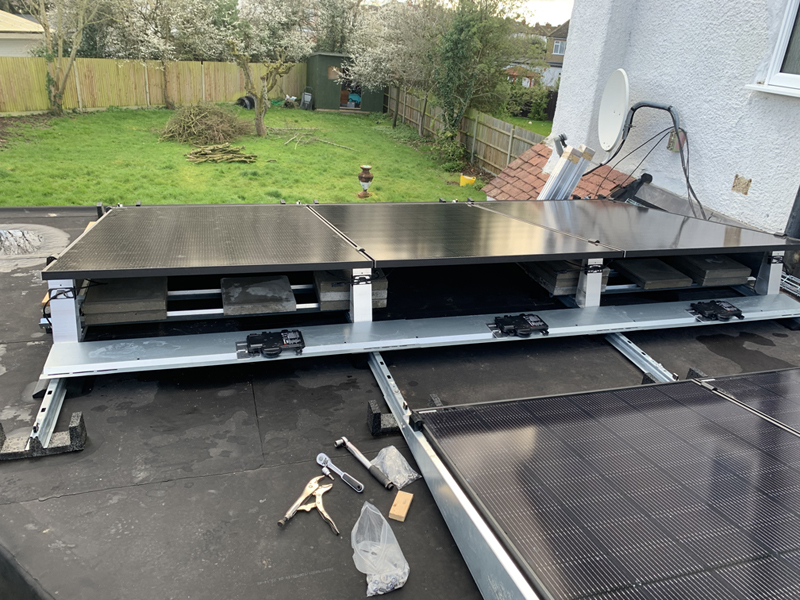
The pictures from the rear also show tha ballast slabs in place on the mass carriers.
All 6 panels for the Garage array:
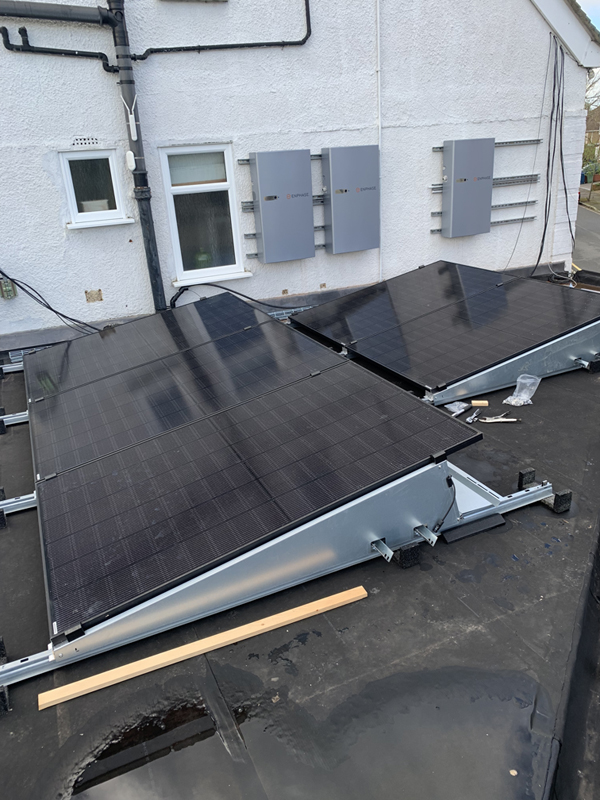
All 5 panels for the Office Array:
Installing the micro inverters on the rear covers:


The MC4 connectors are plugged into the micro inverters, but the IQ cable has yet to be run.
I had some issues with the supplied IQ cable in that the portrait cable is way too short to be used between rows of panels, it is only just long enough for use from one portrait panel to the next within a row. Even the landscape cable is too short for this. Fortunately I was intending to ‘centre tap’ each of the ‘strings’ of panels in order to reduce voltage rise between panels.
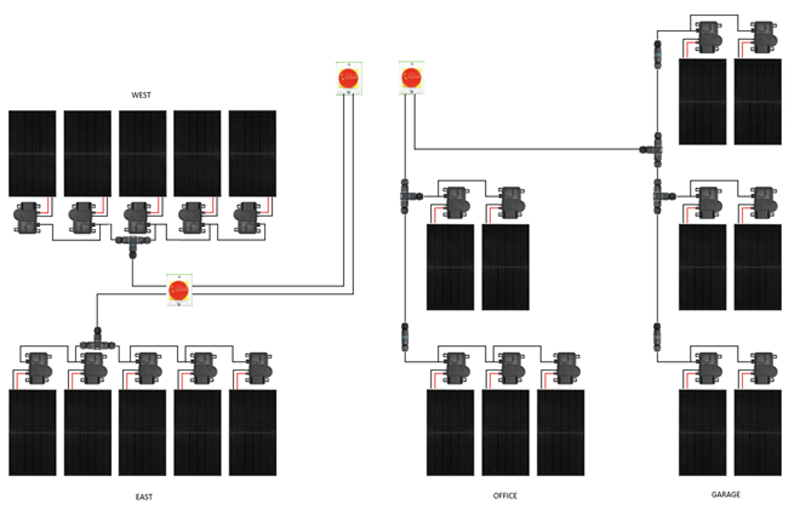
This means using some H07RNF rubberised cable between the various IP68 connectors. (I won’t actually be running 2 cables from the East/West array to the flat roof, these are 2 pairs of cores in a 4 core SWA cable).
I will use portrait cable for each ‘pair’ of panels and landscape cable for the ‘triplets’ (and the entire office array) as I have 10 portrait and 11 landscape lengths.
Rear covers closed up, I also shortened the piece of framing in the middle of this picture so it did not interfere with the side cover on the panel behind it.