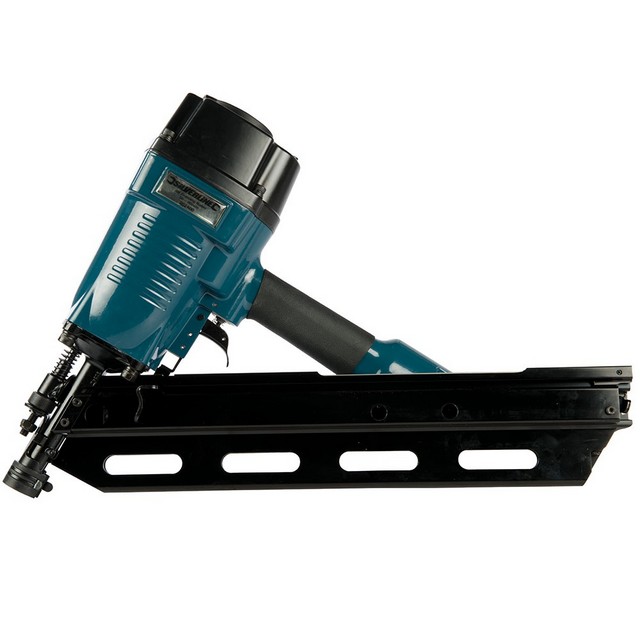
Most of the assembly of the shed will be performed using an air framing nailer I purchased from Cash Converters for £35.00 it was still new and in the box – normal retail for this is anywhere between £99.00 and £175.00.
The base is made in three parts:
The Skids
The Frame
The Boards
The Complete Base
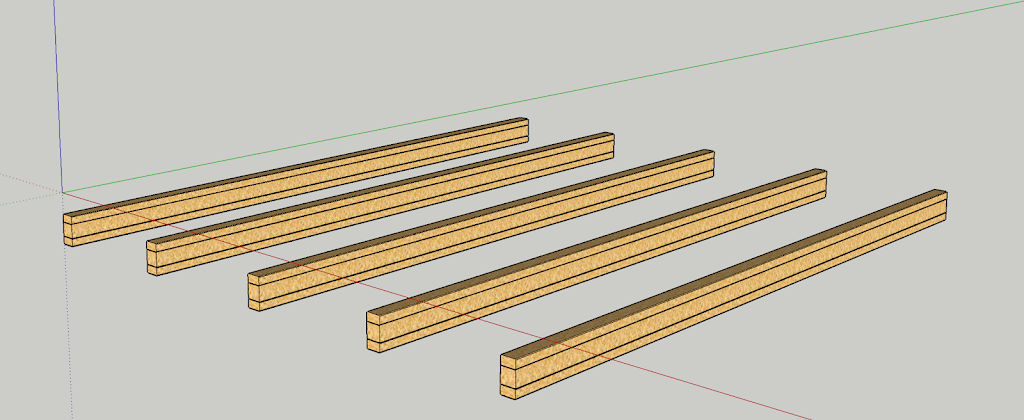
The Skids are made up of a 3’x3″ (75x75mm) piece of timber sandwiched between two pieces of 2″x3″ (50x75mm) timber, all pieces are 3600mm (11′ 9 3/4″) ) long – all pressure treated.
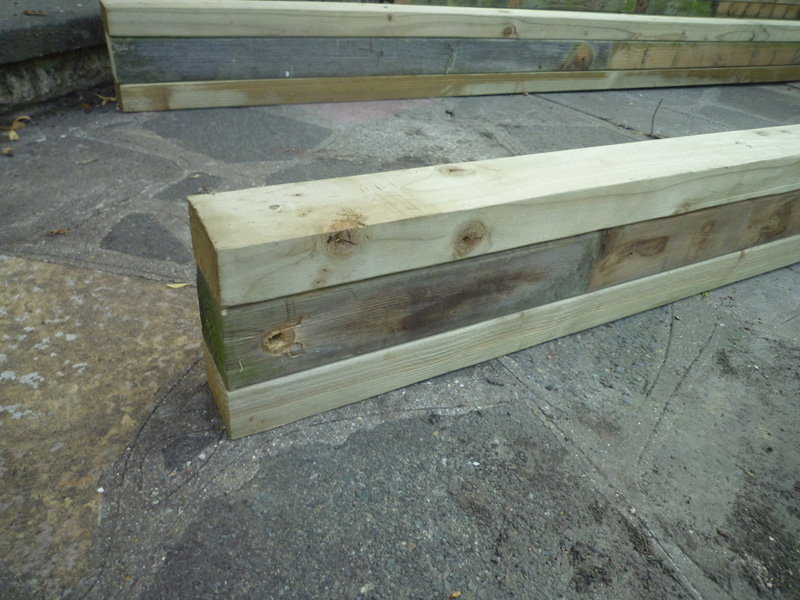
The middle 3″x 3″ pieces are sections of my children’s Jungle Gym that I recently dismantled.
The reason for the thickness is because the corner of the shed will sit on the raised section of the patio area.
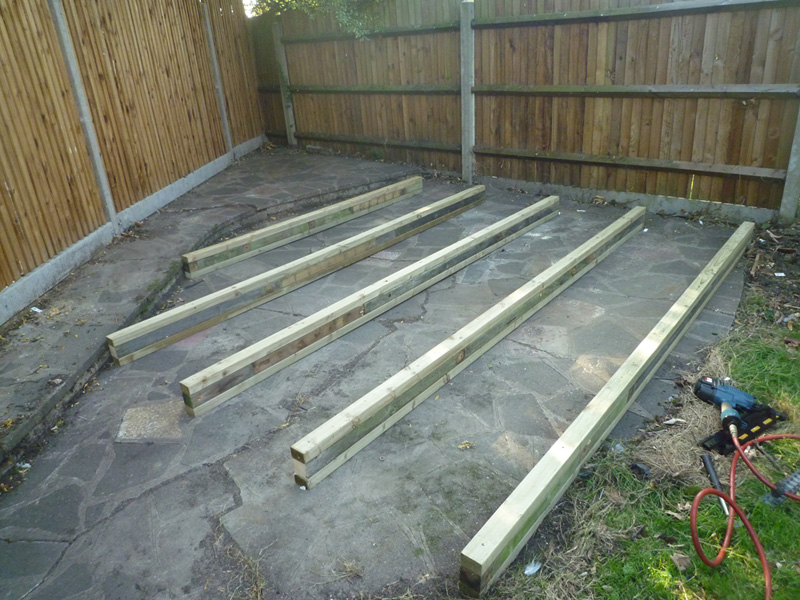
The rearmost skid is slightly shorter as the base will actually sit on the raised section of the patio.
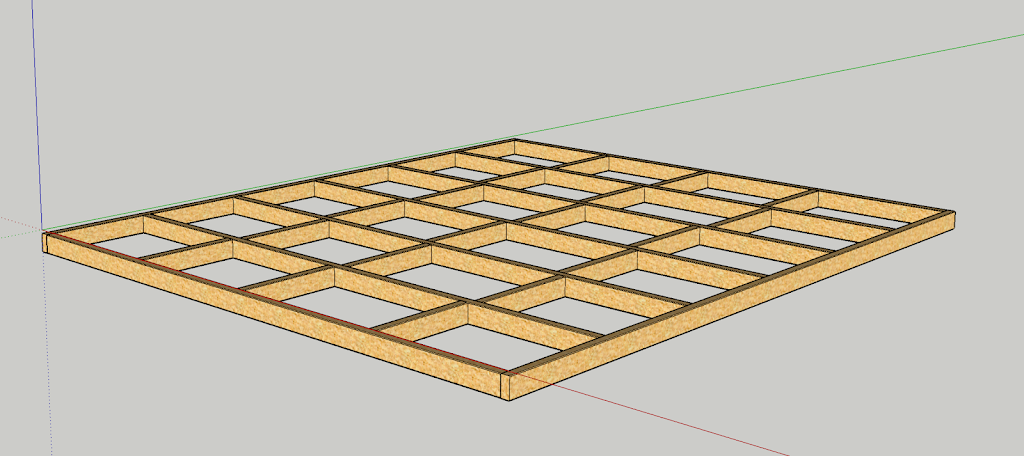
The base started off as a frame using 2 x 3600mm (11′ 9 3/4″) and 7 x 3000mm (9′ 10″) lengths of pressure treated timber.

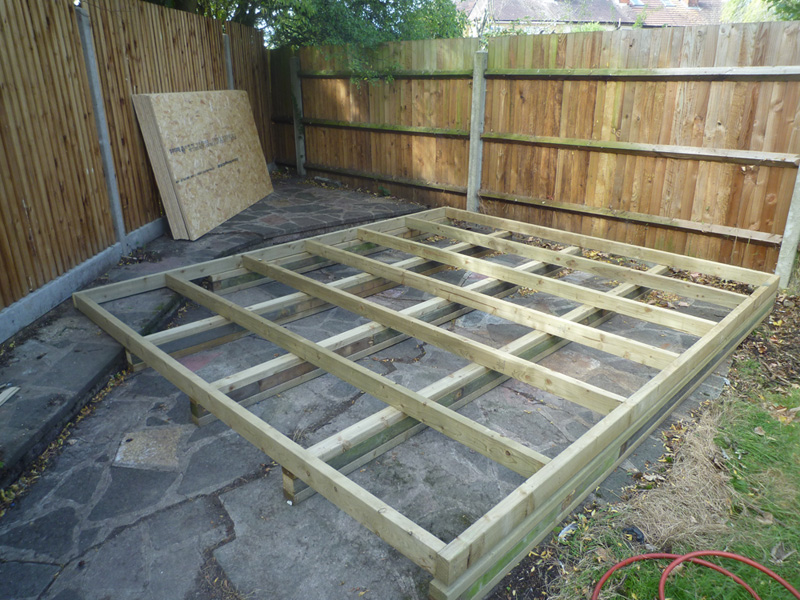
I then used 2″ x 3″ noggins again salvaged from the Jungle Gym.
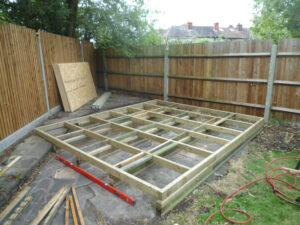

The cross members and the noggins are laid out such that the edge of a full board sits on a joist starting from either side, and the end of the board sits on a noggin.
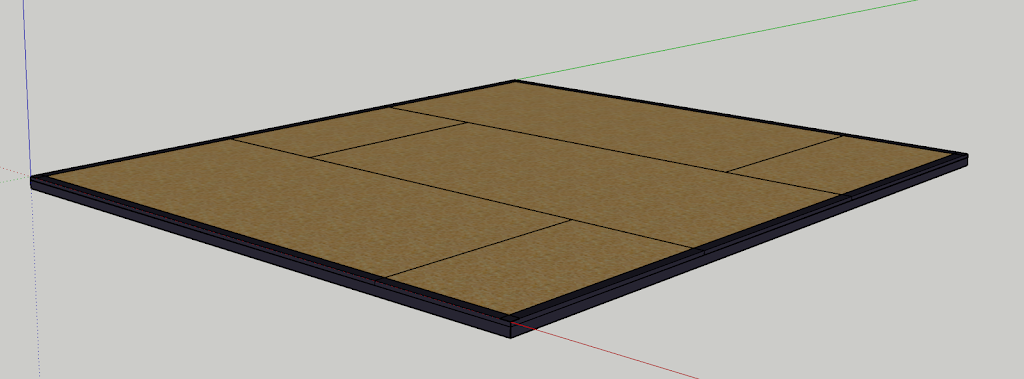
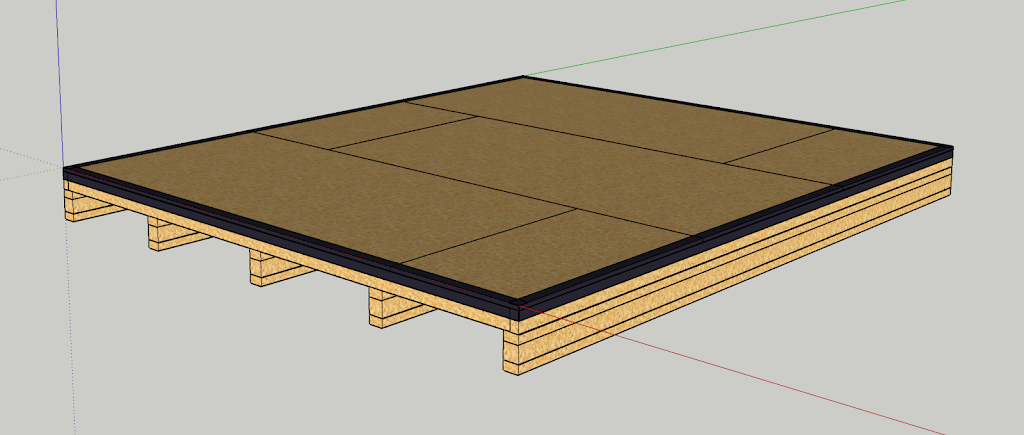
The boards are 2440 x 1220mm x 18mm (8′ x 4′ x 3/4″) OSB, 2 full boards and 2 others cut to size to fill in the gaps.


The boards are staggered front to back, the middle board is narrower than the full width boards on the outsides.
I then ran a 112mm (4.5″) DPC around the outside edge, 50mm (2″) onto the boards, the remainder hanging down the sides.
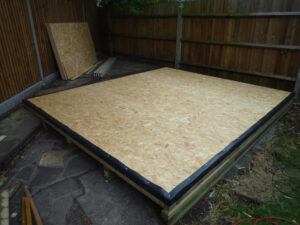

The DPC will help to protect the edges of the OSB from the weather, the external sheathing will also cover the DPC, so it will not be visible on the finished shed.
All of the framing work was performed using 90mm collated nails, the boards were secured using 60mm collated nails and the DPC was secured using 20mm clout nails.