Wednesday 7th September
I worked from home today, so that I could discuss the design with Ben.
He was interested in my changes, but pointed out a few things that may need adjustment.
With Victorian tiling, it is not simply a case of lay your edge pattern around the outside edge and then fill the centre section with the remaining tiles.
If you do it properly, then the main design is not allowed to have any partial tiles that are not a half or quarter of the original tile around the outside edge.
Additionally all changes in direction for the edge pattern need to line up with the main design.
As such, my new layout, whilst it made better use of the main set of tiles, still needed some adjustment such that the doorway angles would line up with the pattern.
After some more layout work, ben came up with a pattern that lined up with the front door as well as the lounge door, whilst keeping my wider design.
I was happy that the focus was now back on the main design and not being detracted from by the large ‘filler’ gaps of the original layout.
Now that everyone was happy, Ben marked out the design on the matting and started to fix the main design.
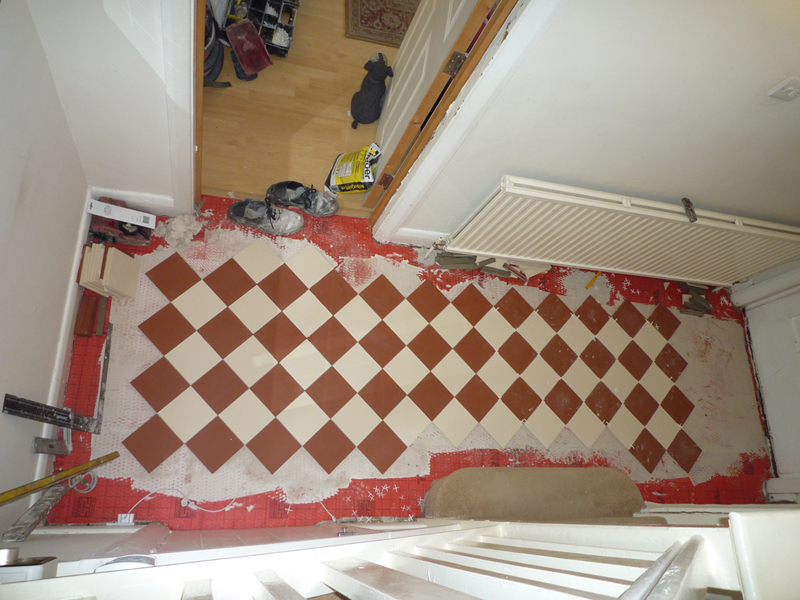
This is the progress by mid afternoon.
Ben then spent a decent amount of time cutting all of the half tiles for the edges.

This is the floor at the end of the day.
The gaps near the front door, lounge door and the edge of the stairs are to allow for the cuts in the tiles that will meet the edge pattern.
The edge pattern will be making 90 turns at these places, so these parts of the main design will be cut last.
Thursday 8th September
Ben worked on the edge design today, and in the main, I am happy with how it looks.
There are however a couple of items that are niggling me.
First, the design by the lounge door cuts into the edge design, which is not what we agreed on Wednesday morning, moving the edge design in by half a tile on either side would have allowed corners similar to the front door and not cut into the edge tiles.
Second, the edge design by the stairs on the one side cuts straight into the bullnose step, when moving it by half a tile on that side would have avoided the problem.
I am not sure if anything can be done about either of these niggles, as the edge tiles in both of these areas have been cut to be symmetrical to the centre of that piece.
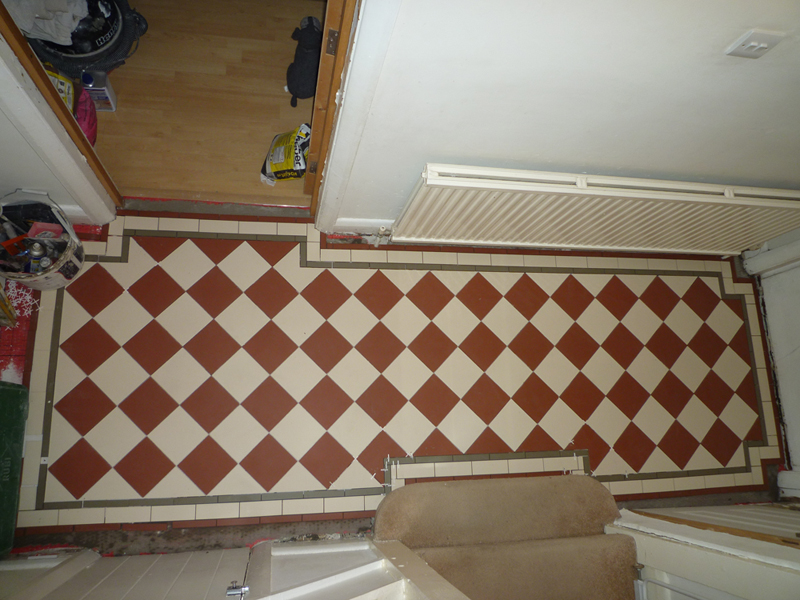
A view from the stairs of the full design.
Friday 9th September
Ben finished off the design by cutting and fitting all of the edge pieces.
Once the adhesive had set, he then grouted the floor and finally applied a coat of sealant.
Below is the finished design

The view from the front door with the console table back in place once again.
