This part covers the board cladding.
Left side covering
Right side covering
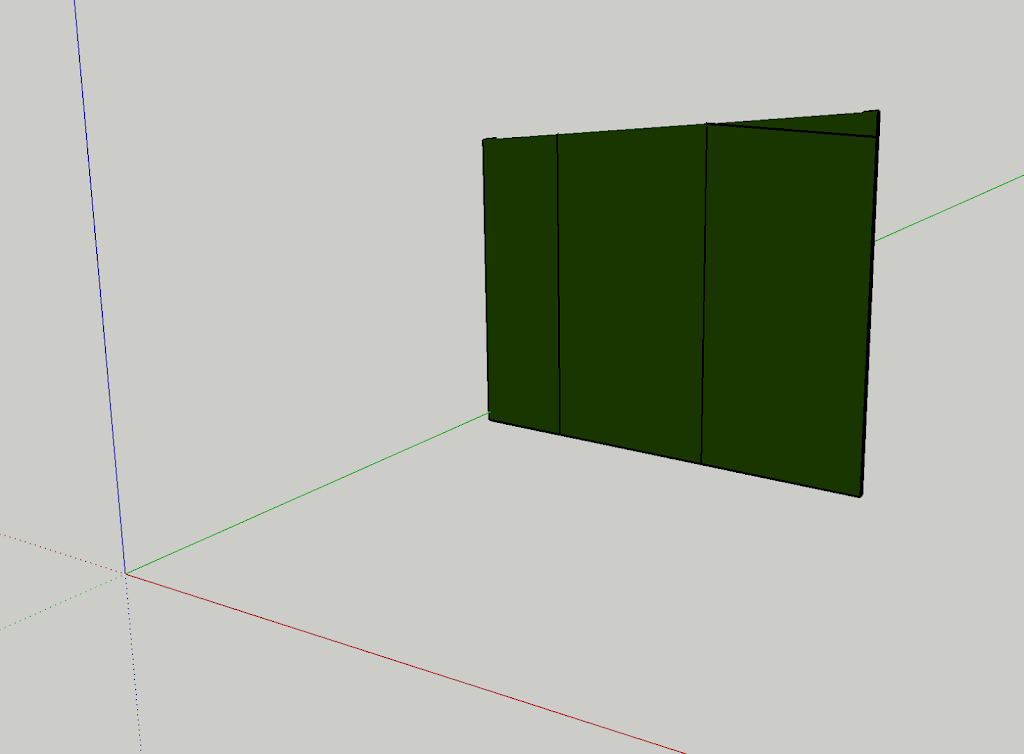
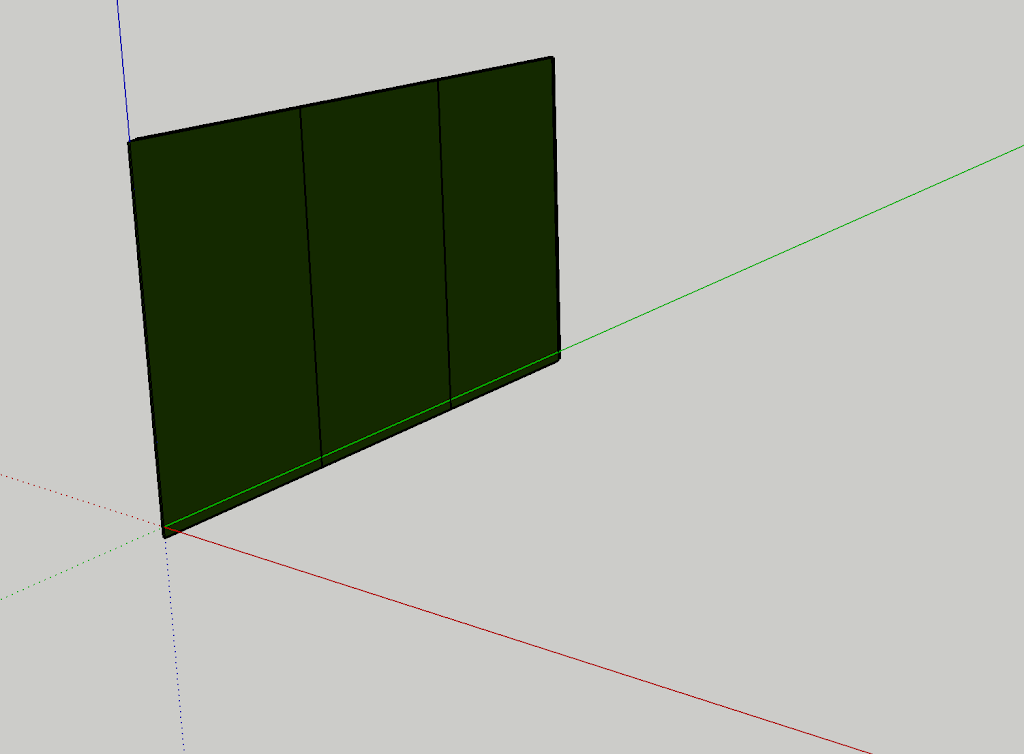
Rear covering
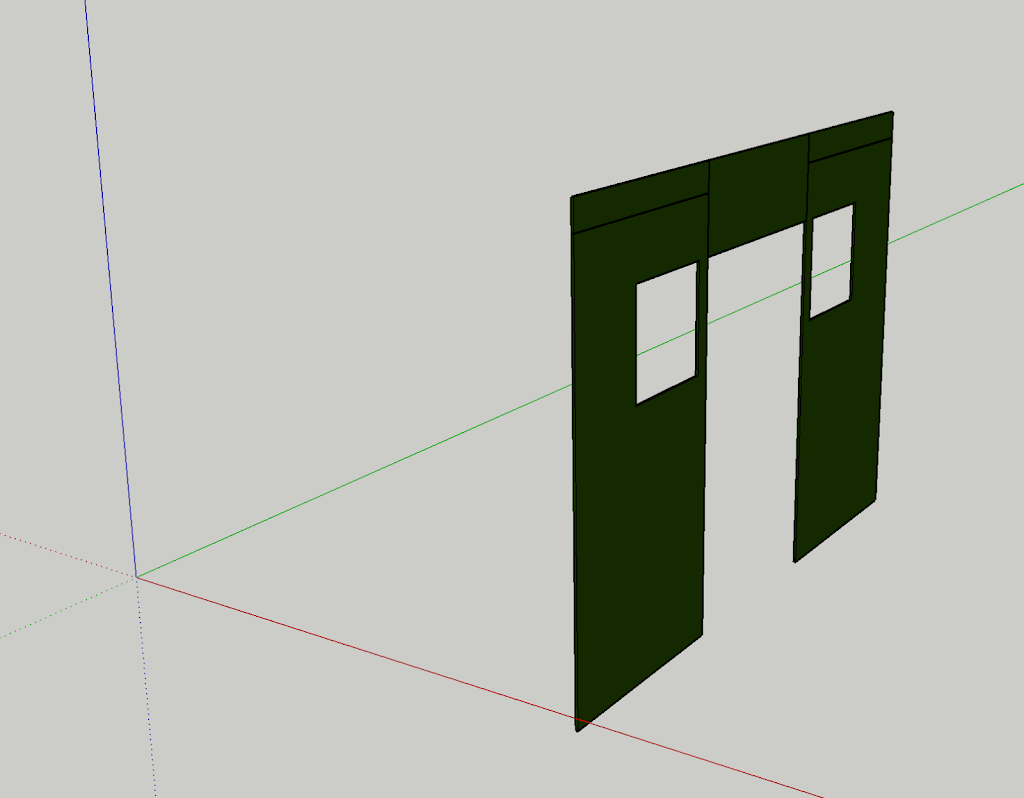
Front covering
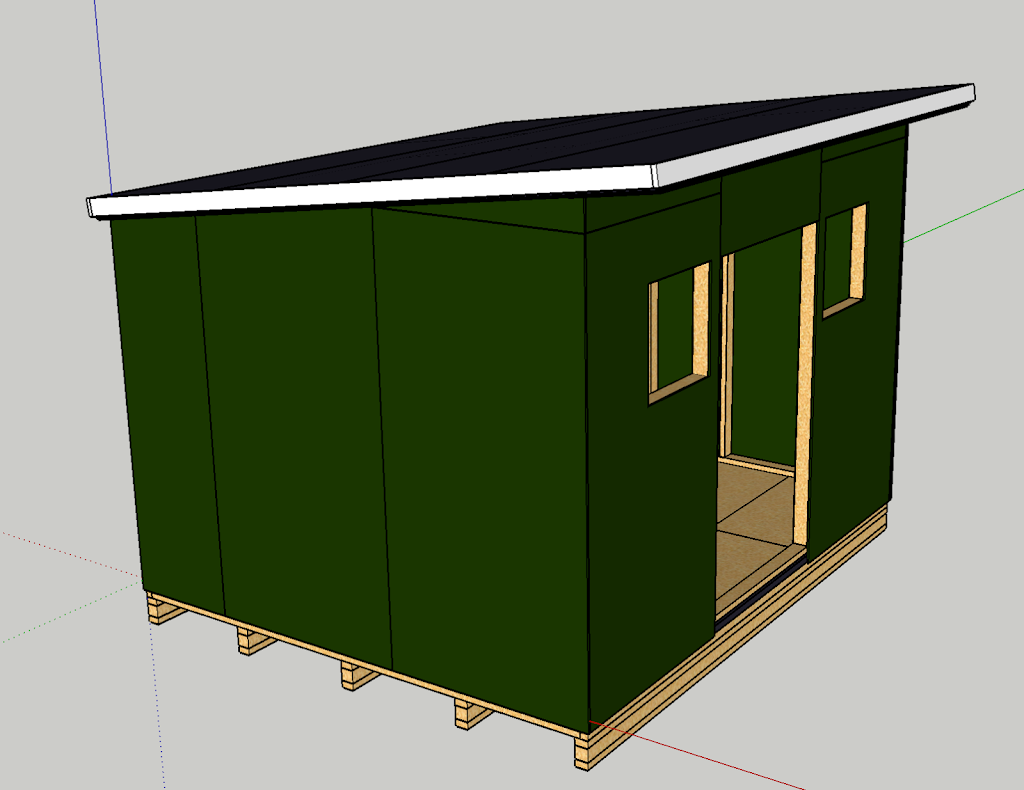
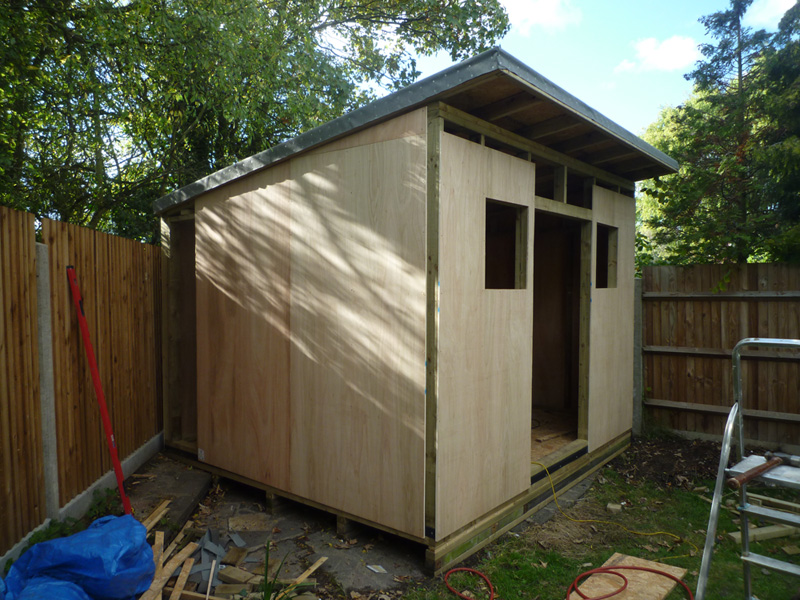
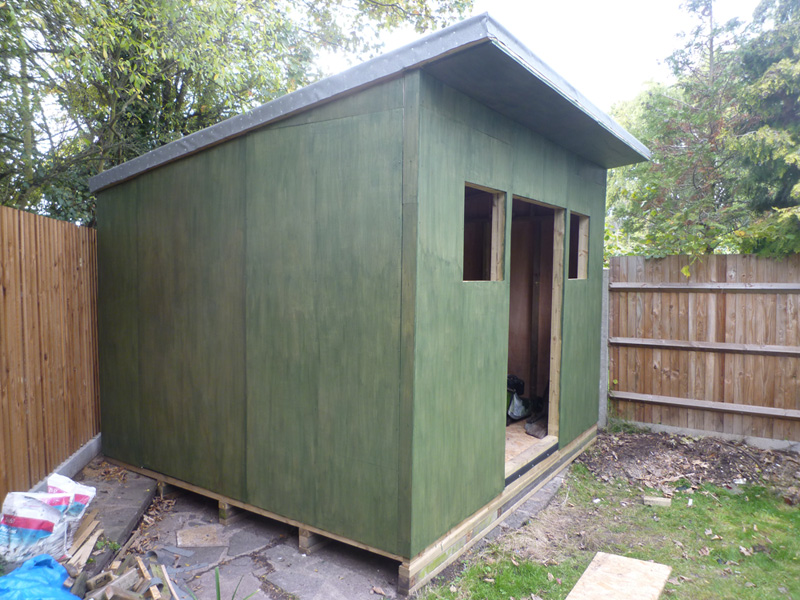
The story so far.
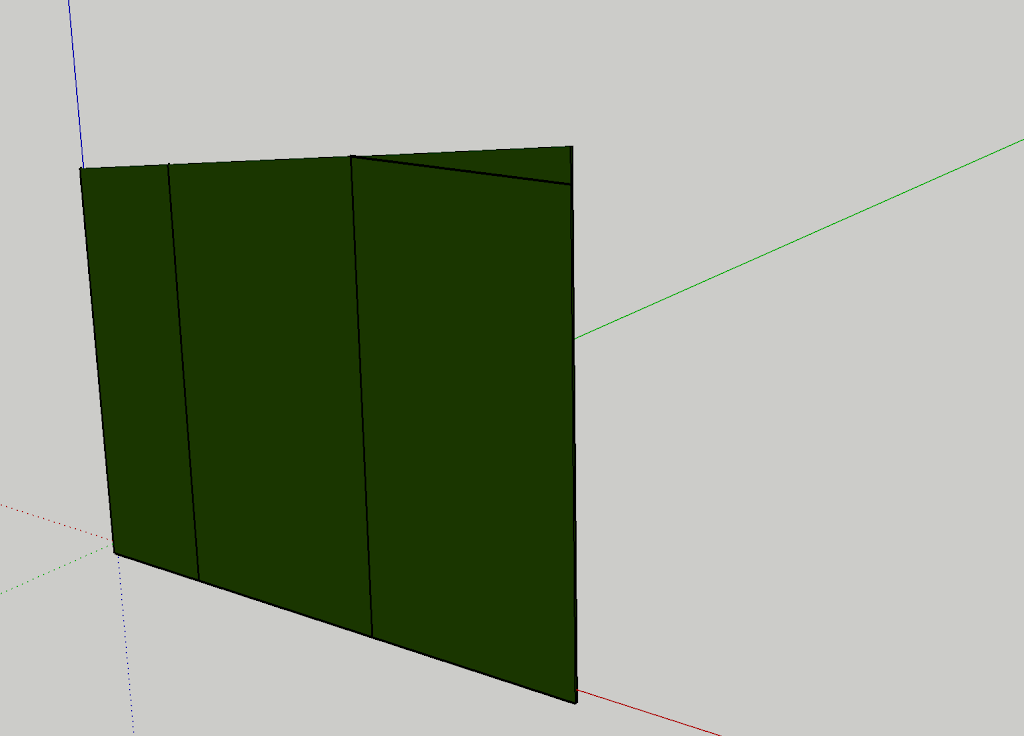
First panel attached.
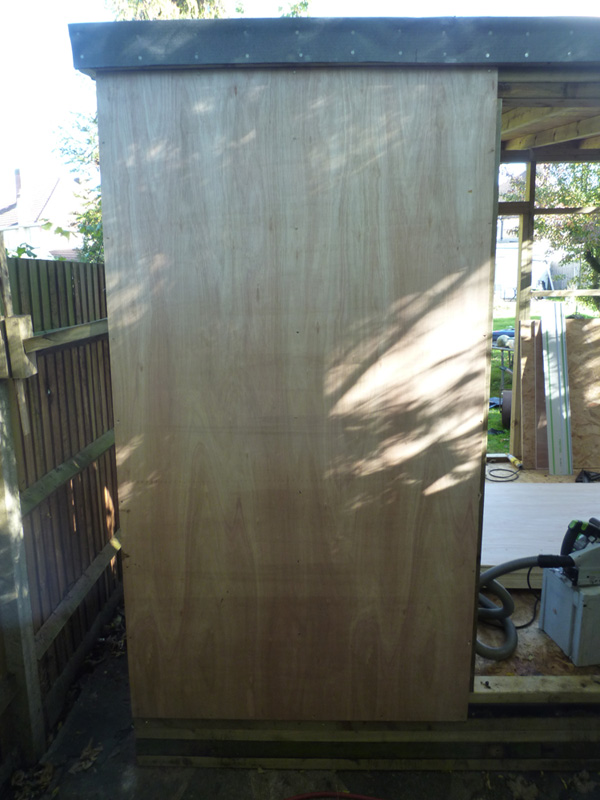
Whilst hanging the first sheet, I realised that the frame was no longer square and was leaning to the left, so I wedged some pieces of wood between the frame and the concrete post of the fence to square the frame back up.
Nailing the cladding in place would then keep the structure square once the wedge was removed.
These outer panels are full size 8′ x 4′ (2440x1220mm) sheets of 12mm sheething plywood.

Completed rear.
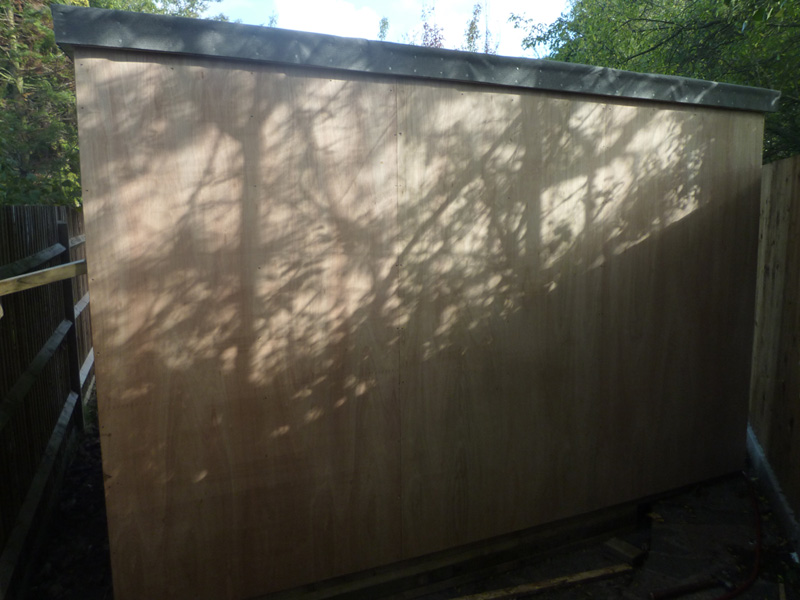
The middle sheet is cut to fit the remaining gap.
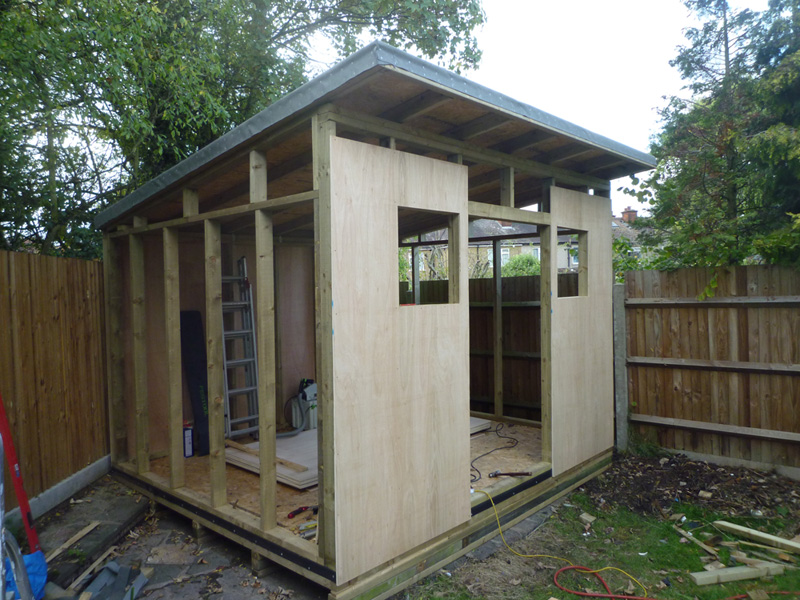
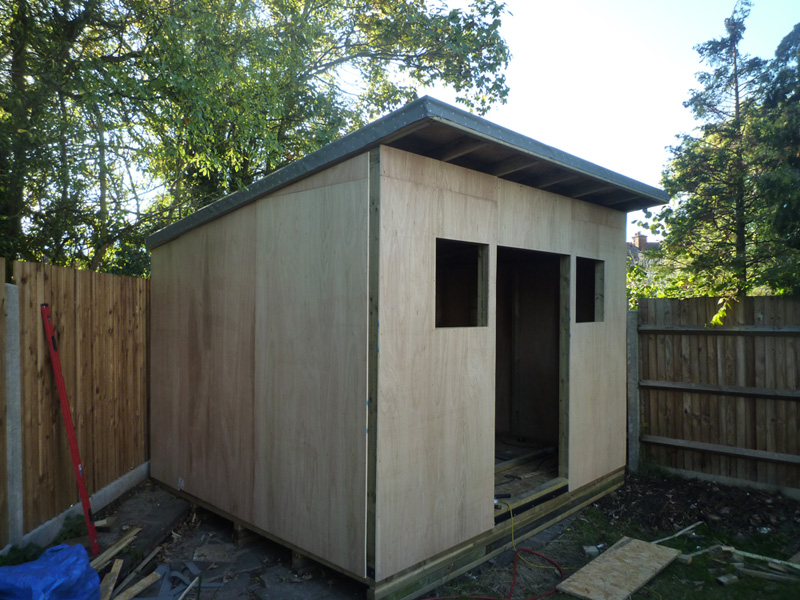
The front window panels are also full size sheets of 12mm sheething plywood with cutouts for the windows.
Left window panel.

Right window panel.
There are no pictures of sitting the left side panels as there was not really any space in which to take the pictures, however the process was exactly the same as for the right side.
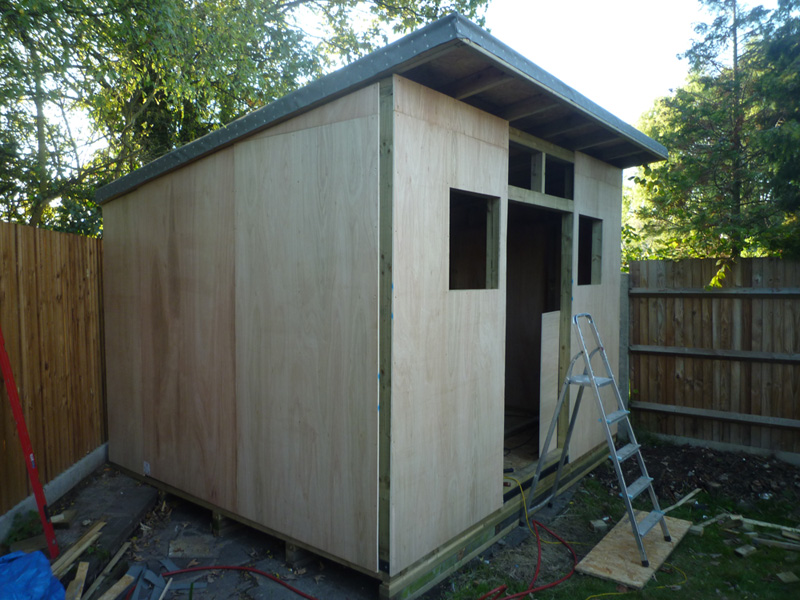
The first and second panels are full width, the first is also full height 12mm sheething plywood.
First right side panel.

Second right side panel, the off-cut fills in the space above the first panel.
Final right side panel.
Panel above the door.
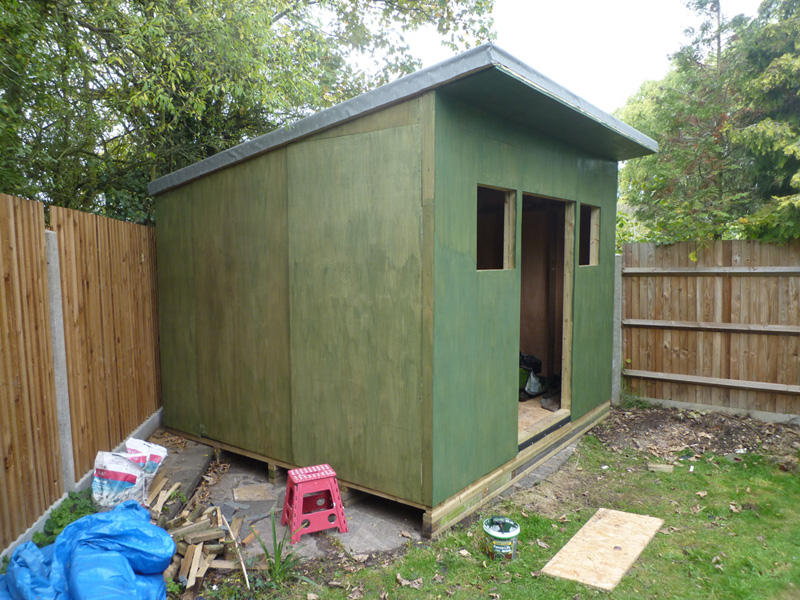
After two coats
I actually applied three coats, but did not take any additional pictures.