Sunday 16th April
With the flooring complete, I could now concentrate on fitting the skirting boards.
I am not a big fan of quadrant with wood flooring, so I left the skirting until after the flooring was done, so that I can have nice clean lines at the edge of the room.
The only joins in the skirting are at corners, all of the long walls have continuous lengths of skirting.
This is one side of the archway between the two rooms.
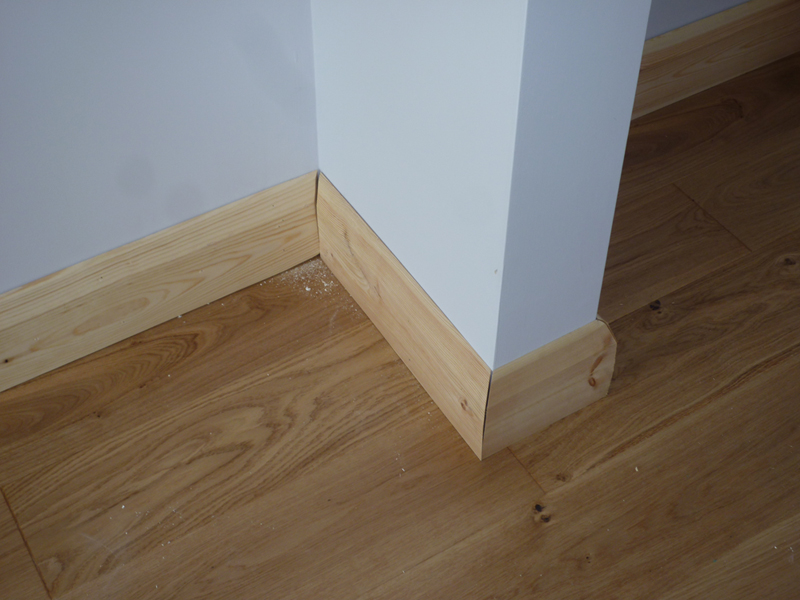
This is the other side of the archway, by the lounge door.
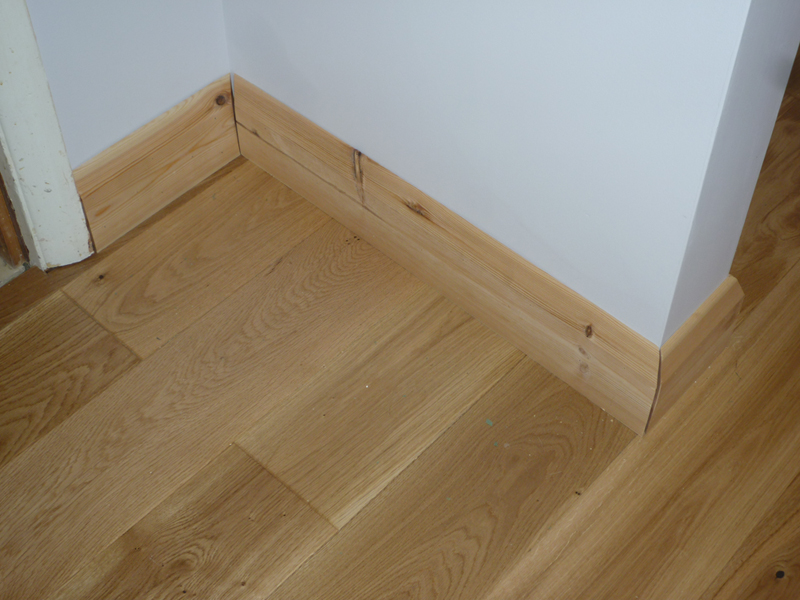
This is the bottom of the dining room near the french doors.
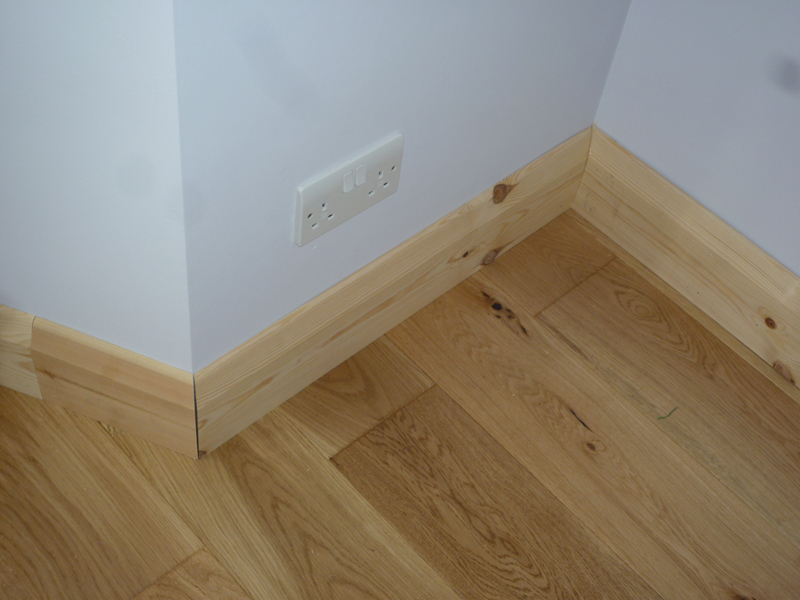
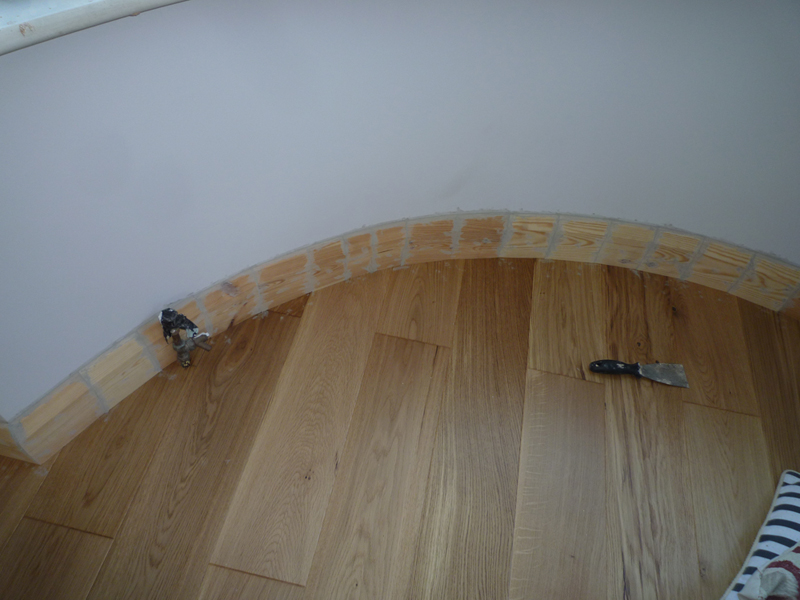
This is one corner of the lounge near the bay window.
Saturday 22nd April
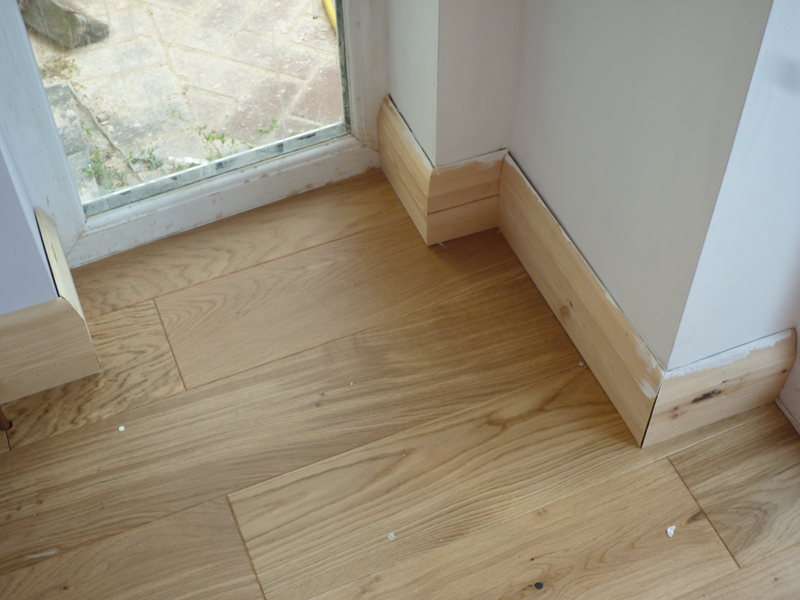
I finished off the skirting from the lounge door to the bay window,
and also around the bay window area itself.

Part way through attaching the pieces of skirting around the bay window, my Paslode finish nailer decided to play up and refused to fire any more.
So I gave up with it, ran a long air line from my compressor in the garage and completed the job with an air finish nailer instead.
Now was as good a time as any to refit the doors to the hallway and kitchen.

Sunday 23nd April – Thursday 27th April
Much of this time was spent filling, sanding and applying knotting solution to the various knots in the skirting prior to painting.
The majority of this work was carried out by my wife.
close up of one of the filled areas.

Thursday 27th April
All the preparation work completed, my wife was finally able to apply a layer of undercoat.

Bay window area.

Friday 28th April
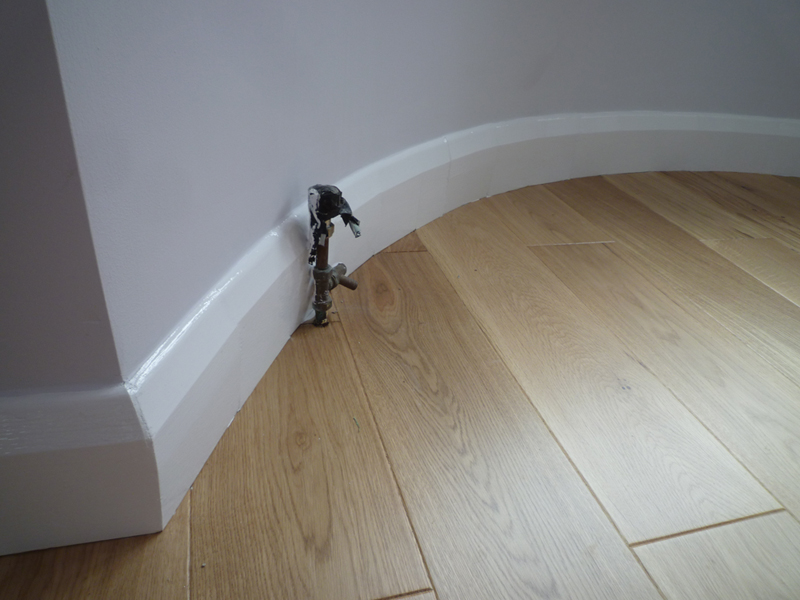
With ethe undercoat now dry, I was able to apply a layer of gloss to the skirting.

Bay window area
I also cut in the wall paint with the gloss and finished off painting the coving on the ceiling in the dining room.
Saturday 29th April
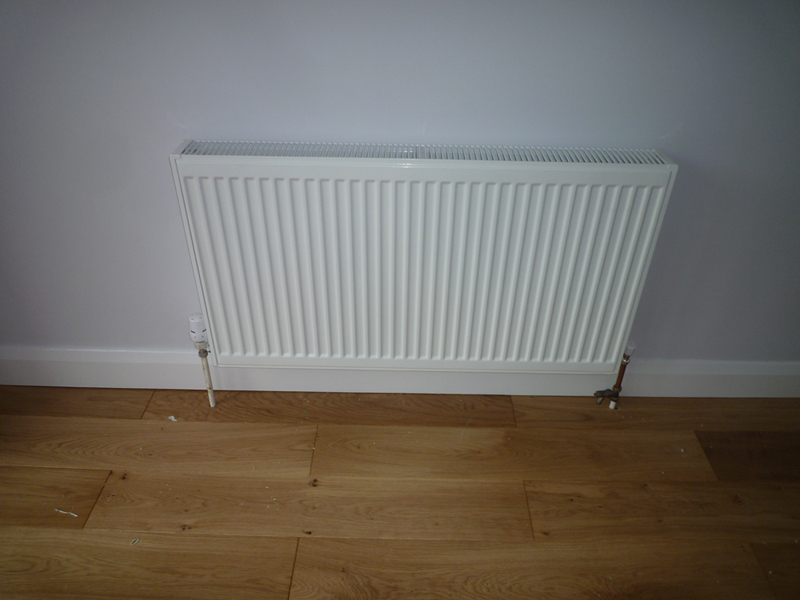
I spent most of the day fitting the radiators.
The two new ones were relatively straight forward, although some of the new angles on the connecting pipes are a little interesting.
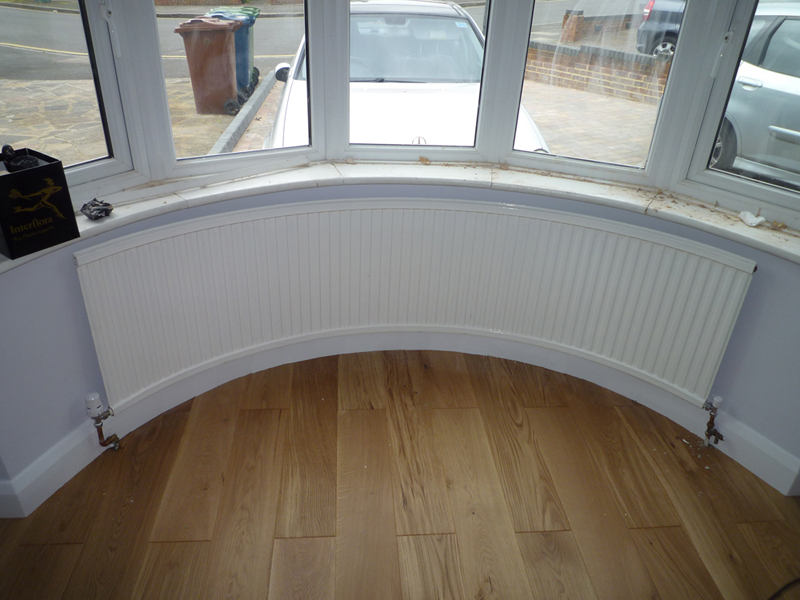
Fitting the curved radiator in the bay was an absolute nightmare and took the entire afternoon.
First, because of how the plasterer had built out one side more than the other, the curve on the wall was no longer anything like the curve on the radiator.
After mofing the three brackets three times each, I finally gave up on the middle one and successfully attached the radiator to the wall on the two outer brackets.
This is when I discovered that the remaining gap behind the middle of the radiator was less than half that required by the bracket!
With the radiator finally on the wall, I rebuilt both of the connecting pipes so that they would come somewhere close to lining up with the valves.
The moment of truth – water back on and the two new radiators both leak by the new thermostatic valves – there is not enough of a taper on the tail that goes into the radiator and so it does not seal well.
After draining the radiators (one somewhat explosively, due to an olive not grabbing the tail correctly, soaking myself and the wall/floor in the process), I coated the fittings in a liberal quantity of silicone and put it all back together and tested again with a much better result.
Sunday 30th April
Cleared out all of the remaining flooring, tidied up and vacuumed in readiness for moving the furniture back in.
The completed dining room.

The completed lounge
