The kitchen was the next project to be undertaken, this was again taken back to bare brick.
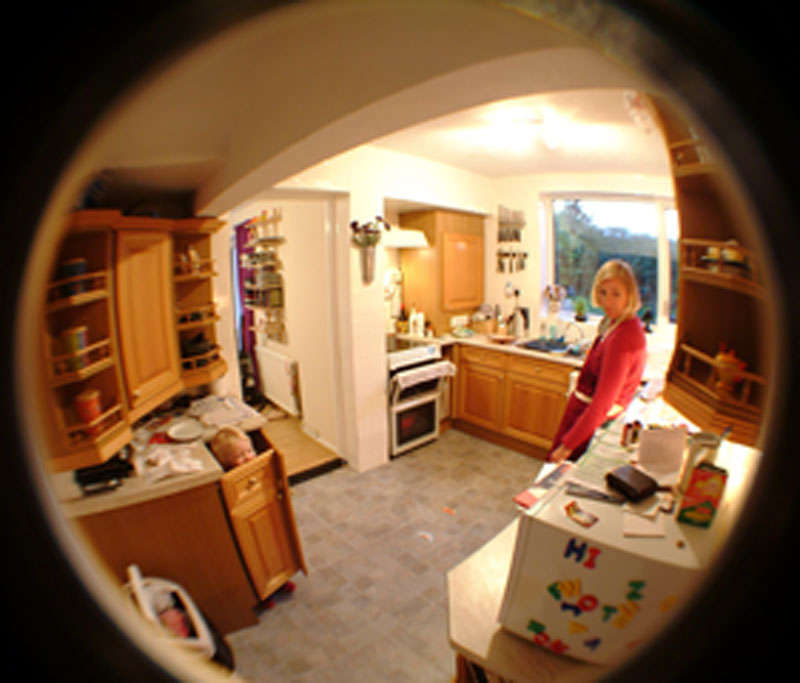
This is the only picture I have of the kitchen prior to the re-fit:
The walls in the kitchen had several layers of tiling, the top layer of which had been attached directly to a layer of wallpaper that had been applied directly to the bottom layer of tiles.
As you may expect, this top layer of tiles was not held on very well and actually came off in huge strips.
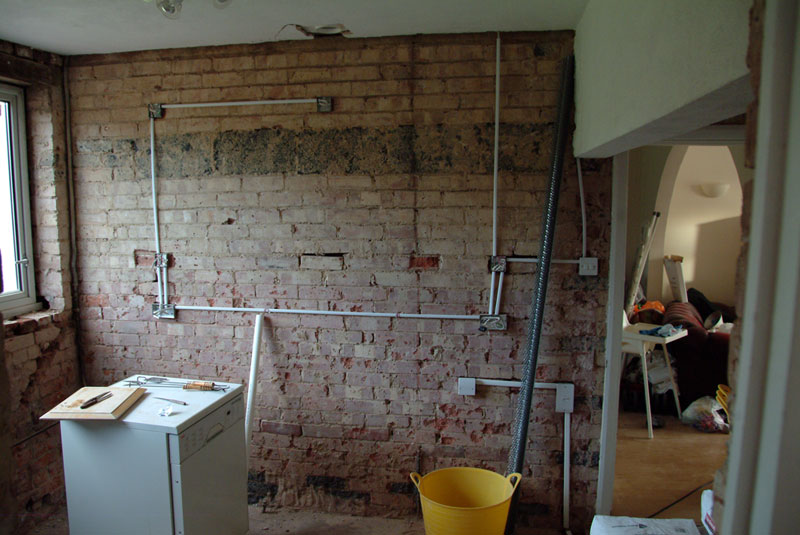
I ultimately decided to take the wall back to bare brick, after which I started running the new cables for the new kitchen layout.
Here is the newly designed kitchen layout in Vision format:
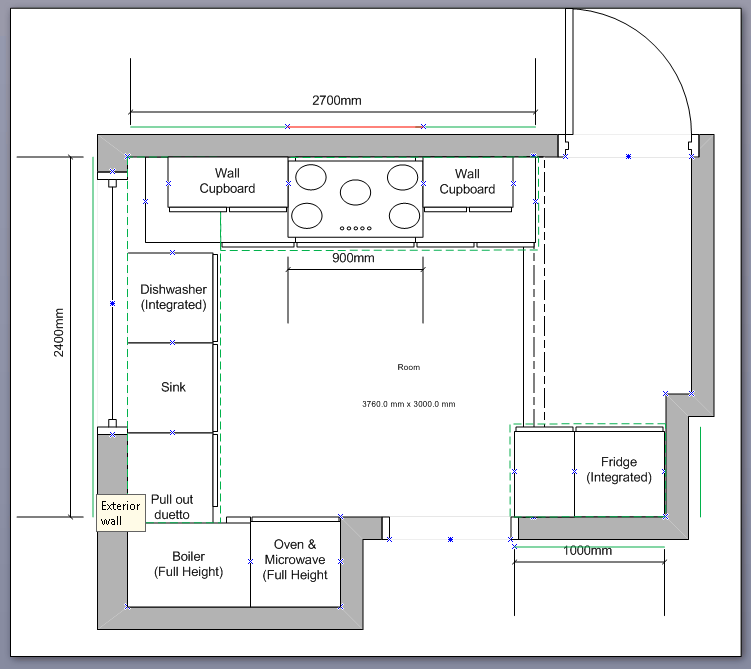
The hob has been moved to the opposite side of the kitchen, in accordance with modern kitchen regulations, where you are not allowed a hob in a small enclosure.
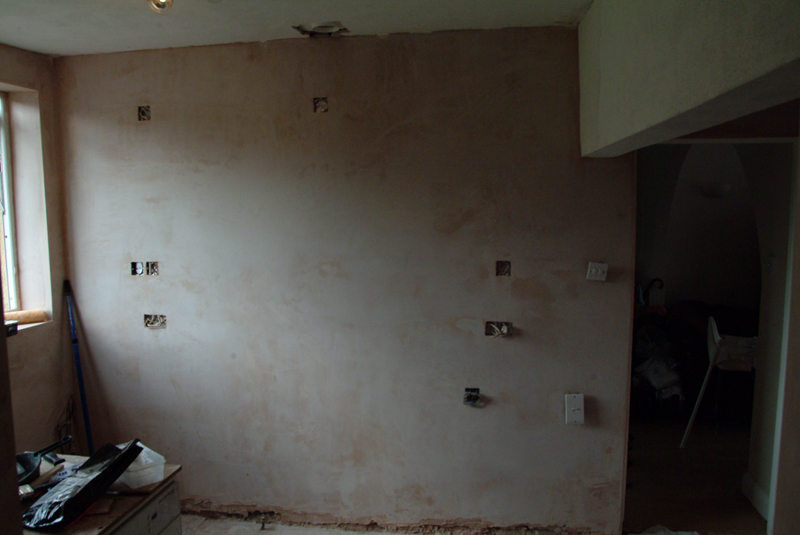
This shot shows the wiring for the sockets, lighting, cabinet lights, extractor fan, as well as the isolator for the hob.
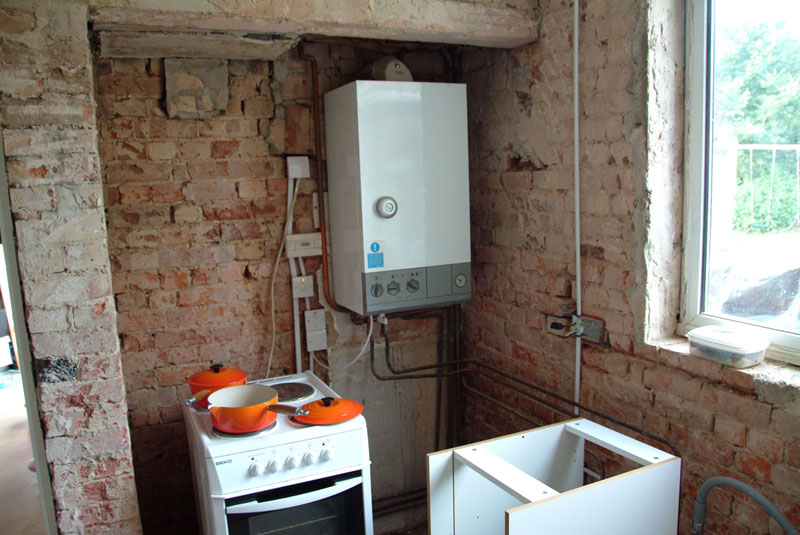
This one shows the wiring for the ovens, boiler and some more sockets.
This was probably just a few days before we finally threw out this cooker, the hob barely worked and the oven would not reach a safe cooking temperature, not great for a cooker that had only been bought about a year or two previously, even if it only cost £100.00, (note to self – never buy a Beko cooker again!).
A few bags of plaster to keep the plasterer going for a while

After plastering:

Dishwasher looking somewhat lonely in the middle of the kitchen.
