The next phase of the project for covering the batteries was to make a roof
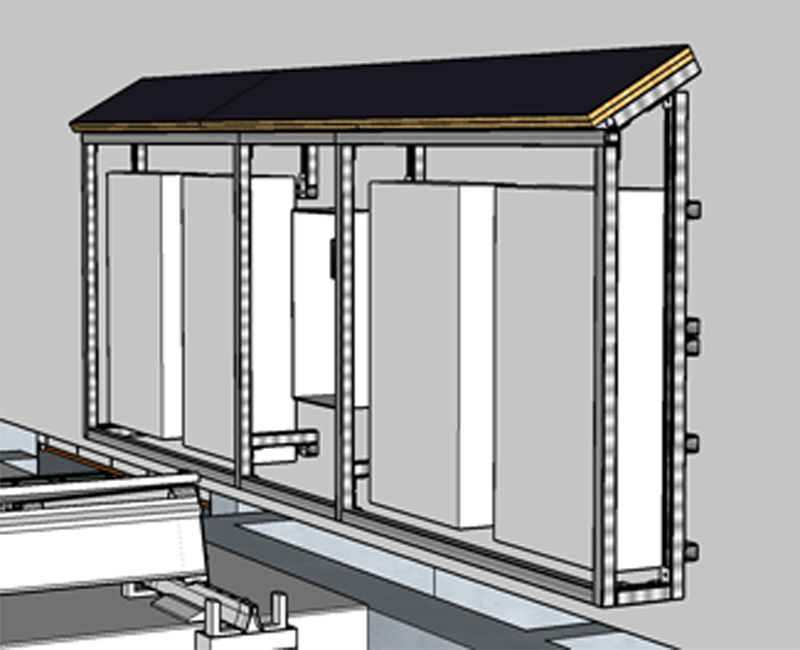 This is about 3,700mm long and 400mm wide, so cannot be made from a single length of board, as these have a maximum length of 2440mm.
I was originally intending to make it from a sheet of 18mm OSB, but would probably end up being rather too heavy.
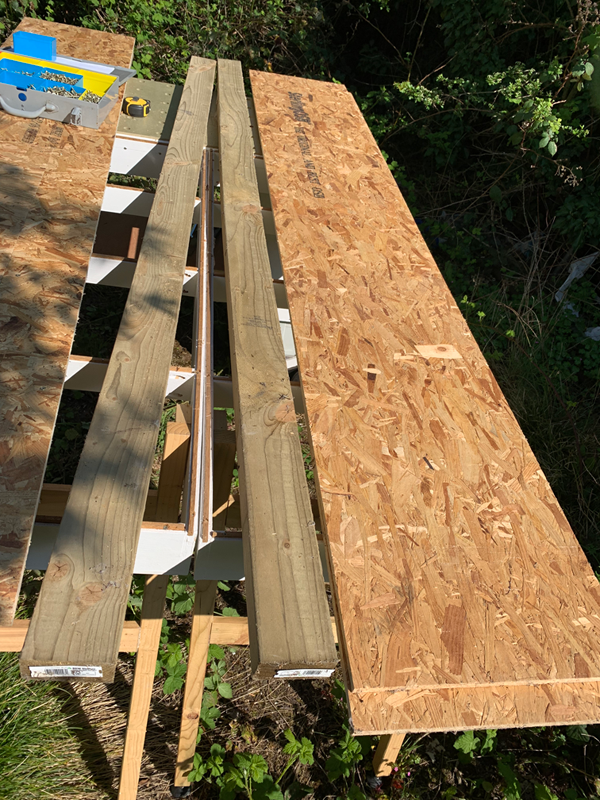
I had a full 9mm sheet of OSB and a number of offcuts from when I boarded and insulated the rear wall of my garage (I never did complete the rest it), so decided to use 3 layers screwed together (3 x 9 = 27mm), offsetting the boards on each layer.
I have a track saw with 2 x 1,500mm tracks that can be joined together to make a single 3,000m length.
It took many times longer to set up the workbench and track saw than it did to actually cut the various boards.
The 2,400mm lengths of timber shown were used to raise the sheet above the workbench itself so I did not cut into it with the saw.
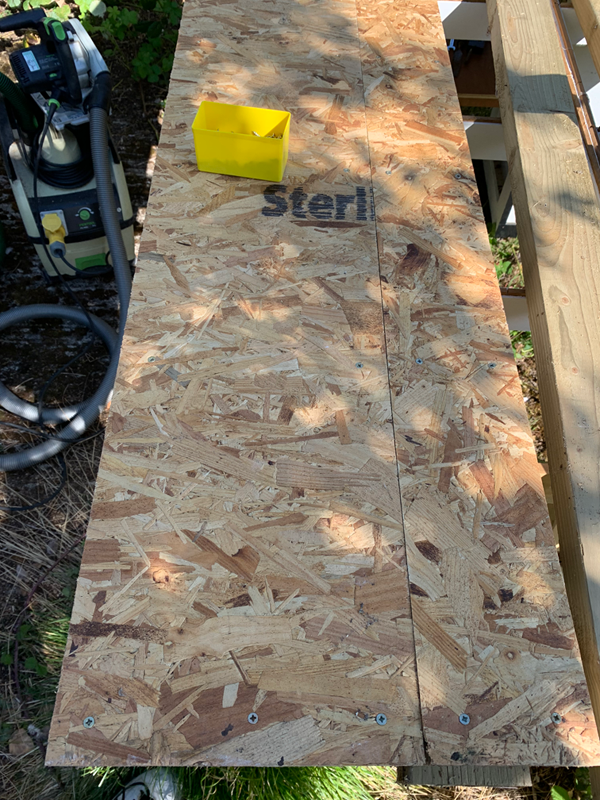
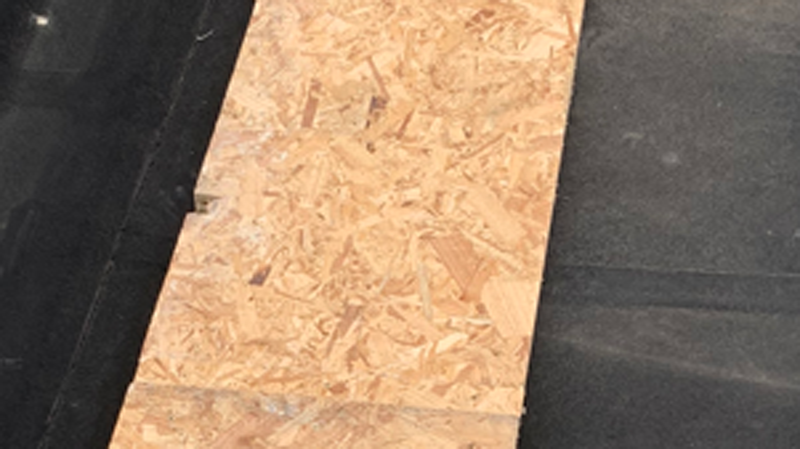
The full sheet was good for 3 pieces 2440 x 400mm and I found two off-cuts I could use for the extra 1,260 x 400mm and then the third one was made up from a couple of narrower off-cuts joined together to make up the 400mm width.
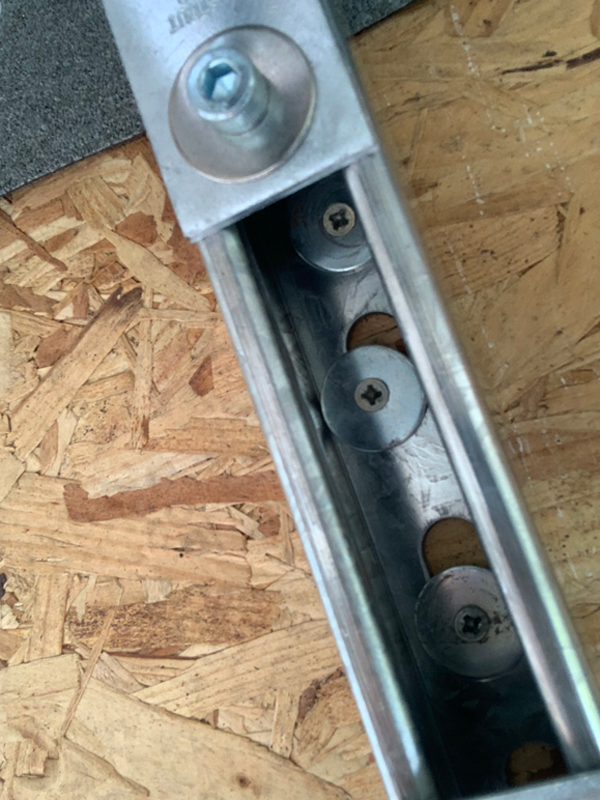
This picture shows the two narrow off-cuts screwed onto the end of one of the longer pieces.
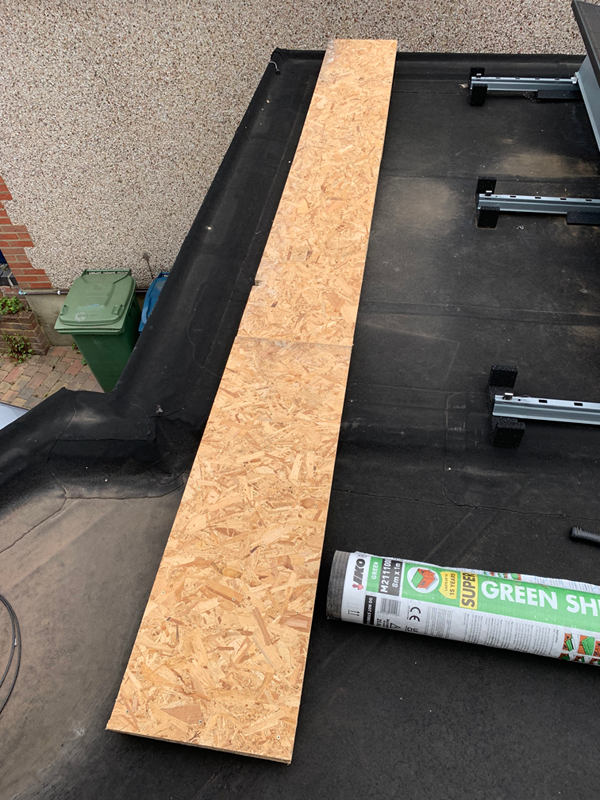
 I then took all the pieces up on the roof and assembled it there, so it was closer to where it needed to be and I did not have to lift the assembled item up 3m from the ground.
 I also needed to cut a notch in the back to allow for the gas pipe that runs up the outside of the house to feed the boiler in the loft.
The next step was to wrap it in fibreglass reinforced roofing felt.
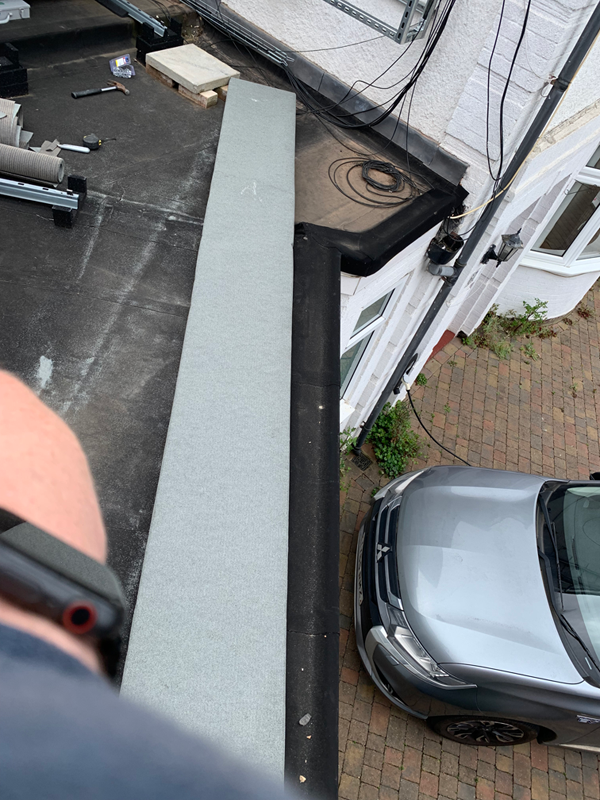
looks like I managed to get my left are in that shot whilst holding my phone up high to take the picture.
I was then wondering how I could hold this all in place whilst I secured it in place with screws through the top of the frame.
Ultimately I used some spare sections of Unistrut secured to each other to act as stops to prevent the roof from sliding off.
I did not have enough spare sections, so I removed the top and bottom pieces that join the left and right frames together as they are non structural and are only there to act as mountings for the central screen.
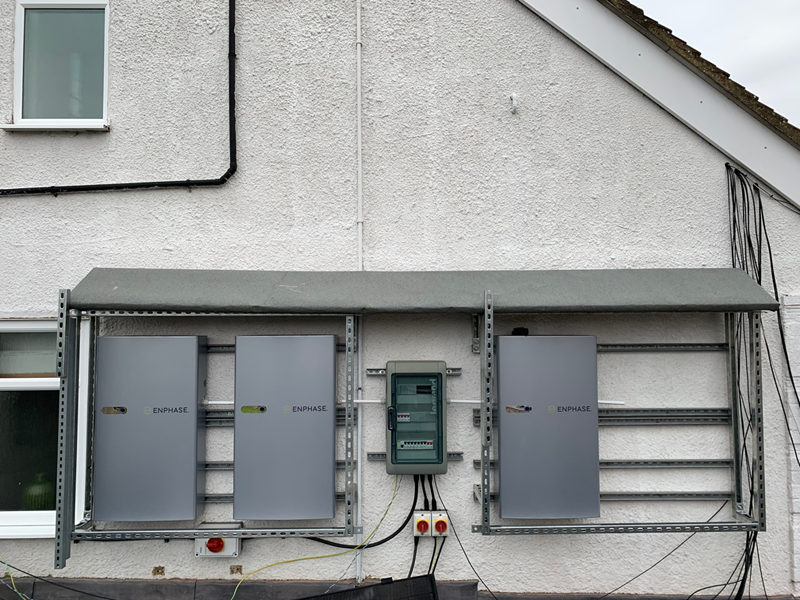
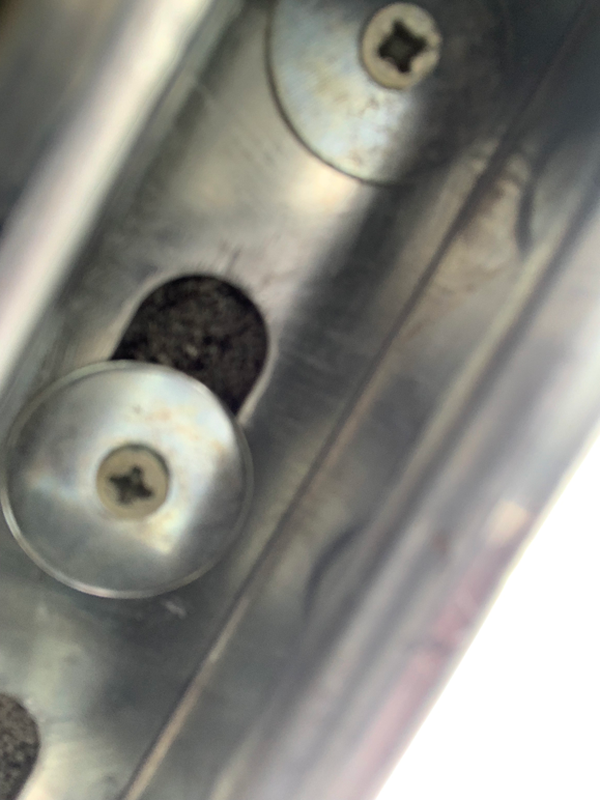
I then used 3 x screws with large penny washers to secure the roof to each of the angled sections of the roof frame.
Once secure, I removed the Unistrut stops and replaced the two pieces I had ‘borrowed’ earlier.
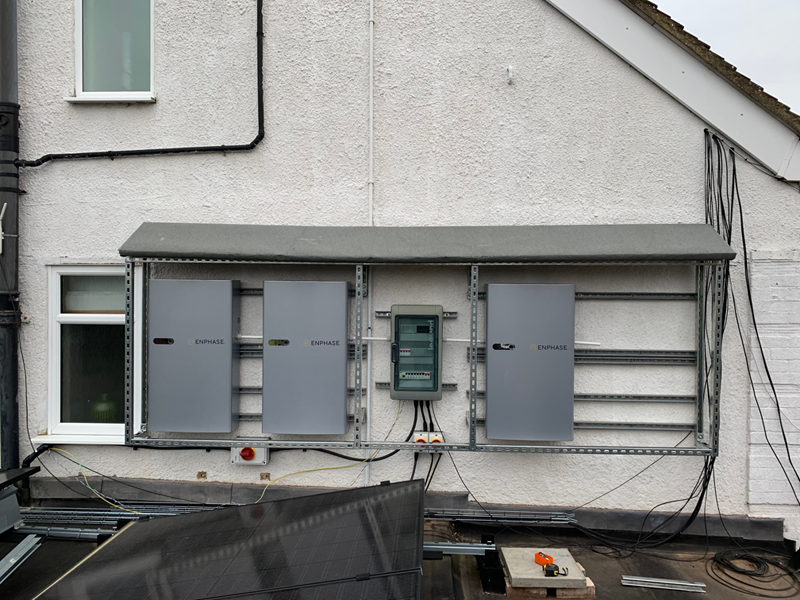 The roof appears to be sagging slightly in the middle, so I may look to raise the middle two angled sections to straighten it out a bit more.