Wednesday 5th October
The first task was to unpack the new TV, this is an LG OLED65B6V that was price matched by John Lewis with that of a cheaper supplier.

The bracket is a John Lewis exclusive item AVF JNL655, which has multiple mounting options, and although more expensive than many of the ones I could have bought on Ebay, will remain hidden behind the TV despite the low mounting position on the TV itself.

After working out which parts of the bracket I would require for the 300x200mm mounting holes, assembling the plate then attaching it to the TV, I set about fixing the TV bracket to the wall.
This involved locating a couple of studs in the wall that could be used for securing the rear part of the bracket with the supplied screws.
With the TV on the wall, I could now start to bring items through starting with the centre, main and rear speakers as well as the equipment stands as these cleared out a decent level of space in the family room next door.
I ended up moving the main part of the bracket so that the TV sits centrally between the main speakers.

I tried using an existing speaker stand that I had for the centre speaker, but although the screw holes all lined up with the mounting points on the speaker, it ended up being front heavy and tipping forwards under the weight of this speaker.
As such I ordered a Monitor Audio GS centre speaker stand from Audio Visual Online.

Sunday 9th October
Having the TV in its final resting place, I could now finish off the dado trunking, make all of the sockets live and run the cables for the TV.
I ended up changing some of the satellite cabling, as this TV has a satellite F type connector and it made more sense to run short cables from a triplex output directly below the TV than run multiple cables from the outlet hidden behind the equipment racks.
I ran a 5m HDMI cable as well as a 5m Toslink cable from the TV back to the equipment racks, the toslink cable is for audio out from the TV.
At this point, I decided it would be a good idea to try out the TV.
Any kind of high definition source looks amazing, however upscaled standard definition sources look awful.
To be fair to the screen, standard definition PAL these days is 720x576i, or 414720 pixels, whereas the 4K TV display is 3840x2160p or 8294400 pixels which is 20 times the resolution.
I have a few more tricks to try to see if I can improve on the standard definition picture quality and I will report back on any success or failure.
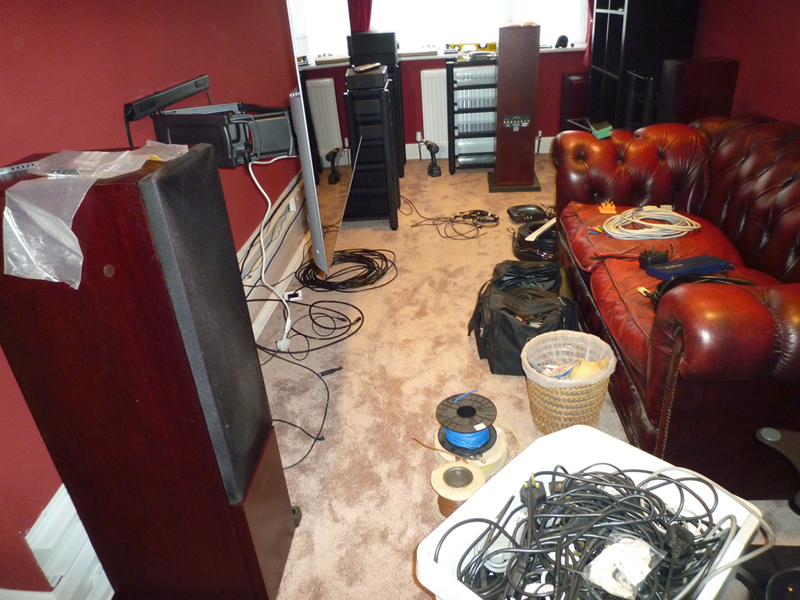
Next up was running the speaker cables from the speakers back to the equipment racks.
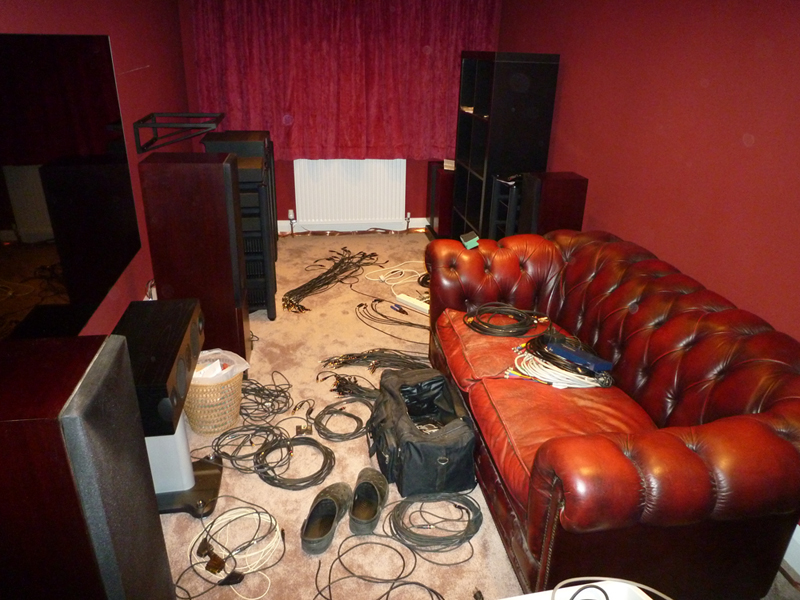
In the above picture you can see that I have populated some of the equipment racks, mainly with the power amps.
I connected the speaker cables to the power amps and then started running phono cables to connect the power amps to the pre-amp as well as a couple of source items.
Next up was power cables, and before I even powered on the tuner, its power supply gave up the magic smoke! Fortunately I have another tuner that I can swap in to replace it.
After powering everything on I then had to learn how to configure the Kisto pre-amp I had bought to replace the AV5103 I used to use.
After playing around with the menus for a while, I managed to replace one of the source items with where I had connected my CD player and was able to play some music for the first time.