My order from Motedis arrived yesterday, this was mostly pieces for my CO2 laser cutter project, but I added in the pieces for my Mini Kossel build as well as it barely affected the overall cost of the order.
Motedis include any left over pieces if you choose to have your items cut from standard 2, 3, 4 or 6m lengths, instead of specifying individual lengths.
I used GoNest 1D to optimise my cutting plan and allow for the kerf/waste generated by each cut.
This is 4 x 6m lengths of 20x20mm and 2 x 960mm lengths of 20x40mm aluminium extrusion cut according to my requirements.
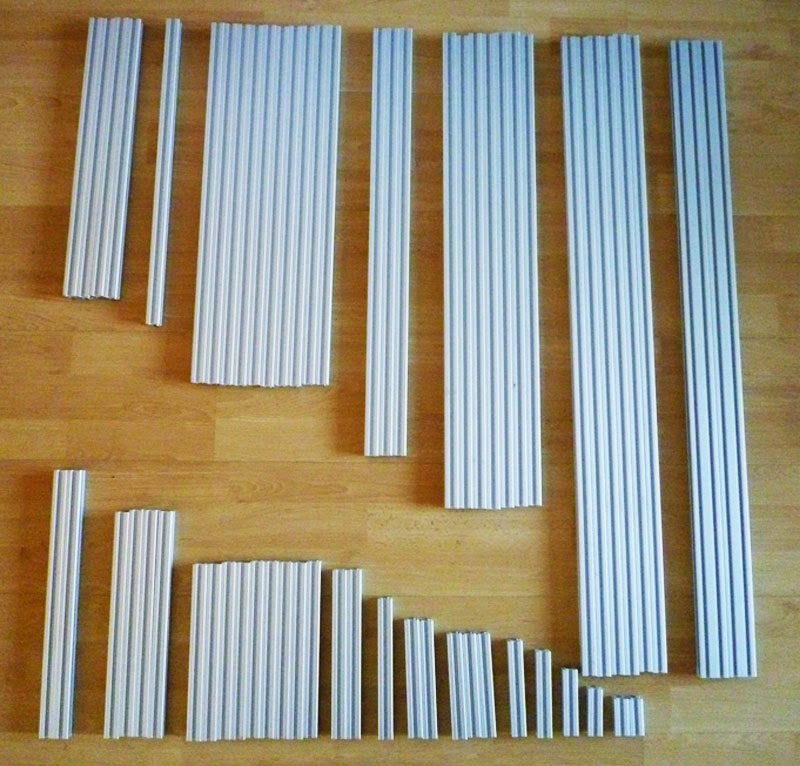
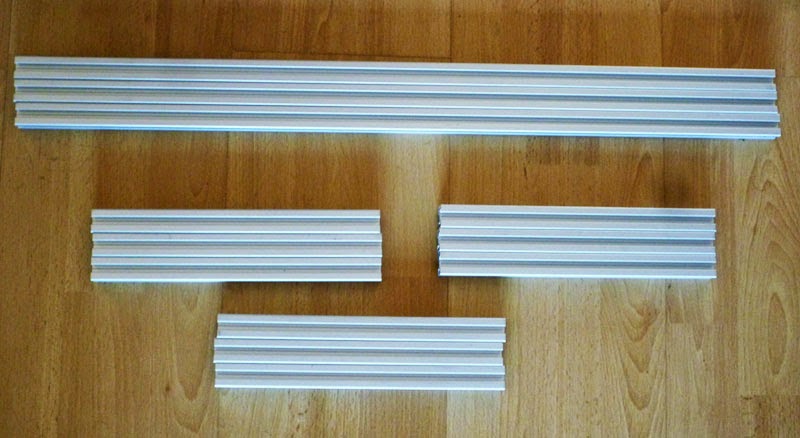
Here are the pieces for the Mini Kossel, 3 x 660mm and 9 x 240mm pieces of 20x20mm extrusion:
This is a total of 4140mm of extrusion, although you need to allow around 25mm per cut and ensure the remainder is more than 50mm. These pieces were actually cut from 2 different 6m lengths to minimise waste in the overall cutting plan.
A 6m length of 20x20mm extrusion from Motedis costs £17.21 ($26.50), so about £13.00 ($20.00) for the Mini Kossel parts
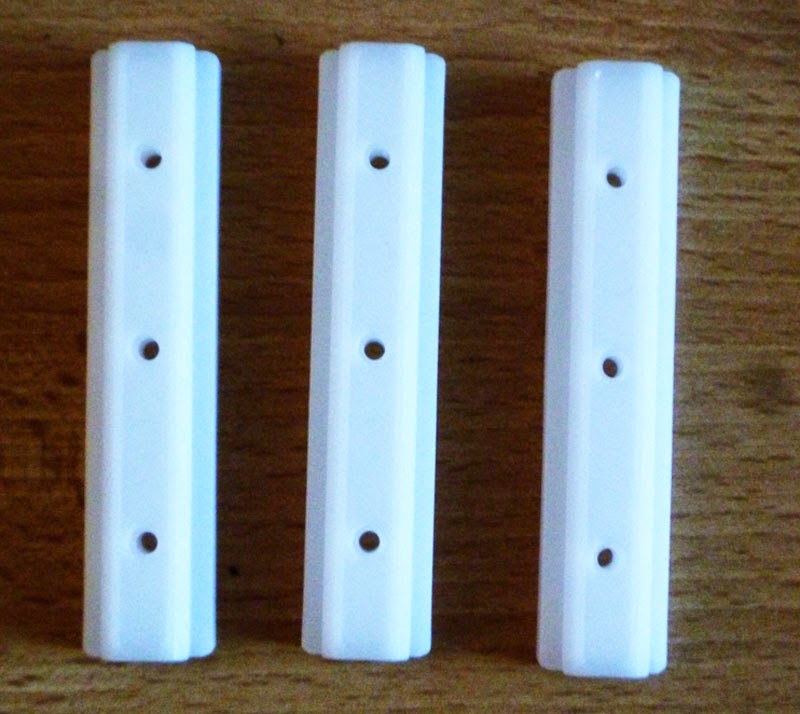
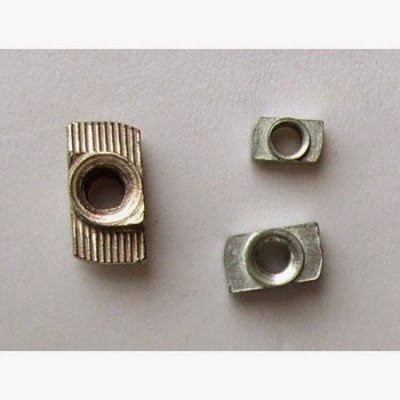
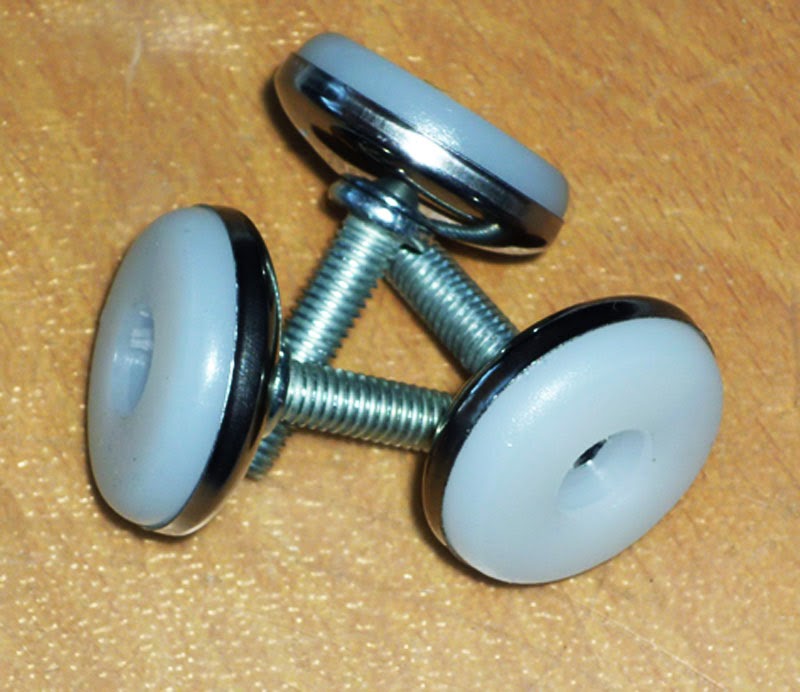
Here are the sliders that actually have surprisingly little slop and slide really smoothly on the rails, these were £2.09 ($3.25) each, they are injection molded from Acetal/Delrin/POM.
I have already pre-attached the T-Nuts and various other screws to the frame ends, to speed up the assembly process.
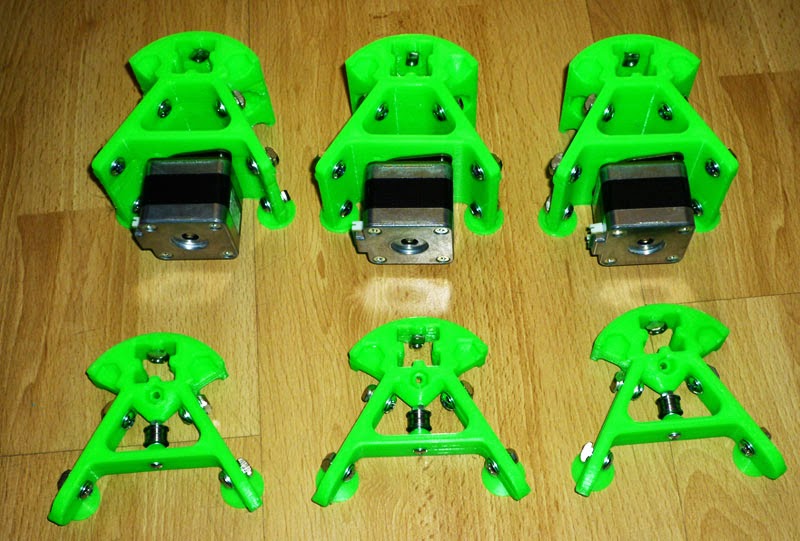
The M5 T-Nuts came from RobotDigg @ $7.50 (£4.80) for 100.
The M5 screws came from Orbital Fastners @ £3.95 for 100 M5x10mm and £4.06 for 100 M5x12mm screws. 36 of the M5x10mm and 6 of the M5x12mm screws were required, the rest will be used on the CO2 laser cutter project.
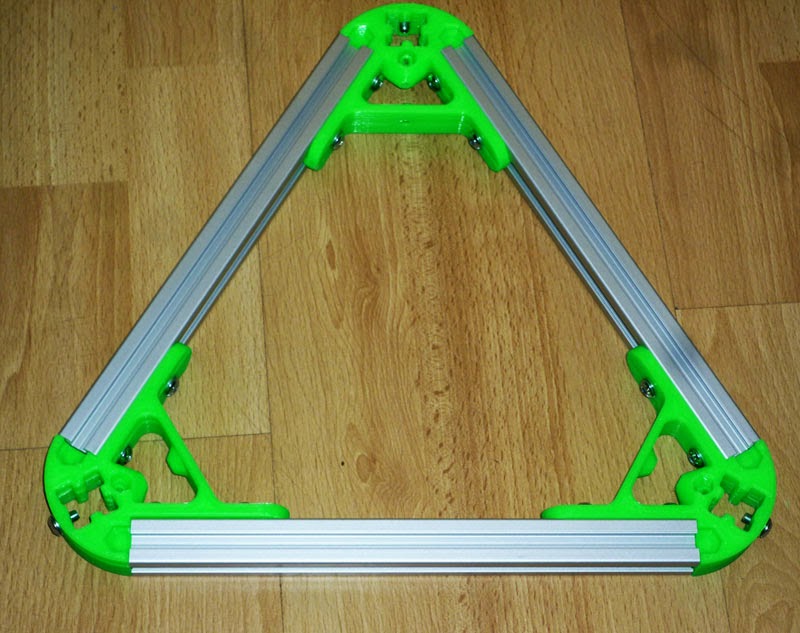
First I attached a 240mm length of the 20x20mm extrusion to each of the top mounts

then joined them all together
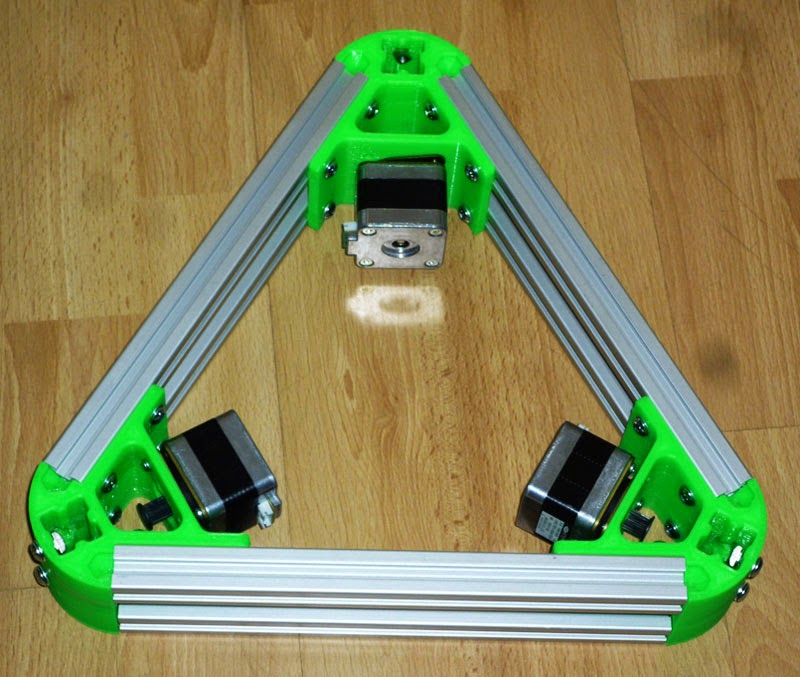
then attached 2 x 240mm lengths of 20x20mm extrusion to each of the motor mounts
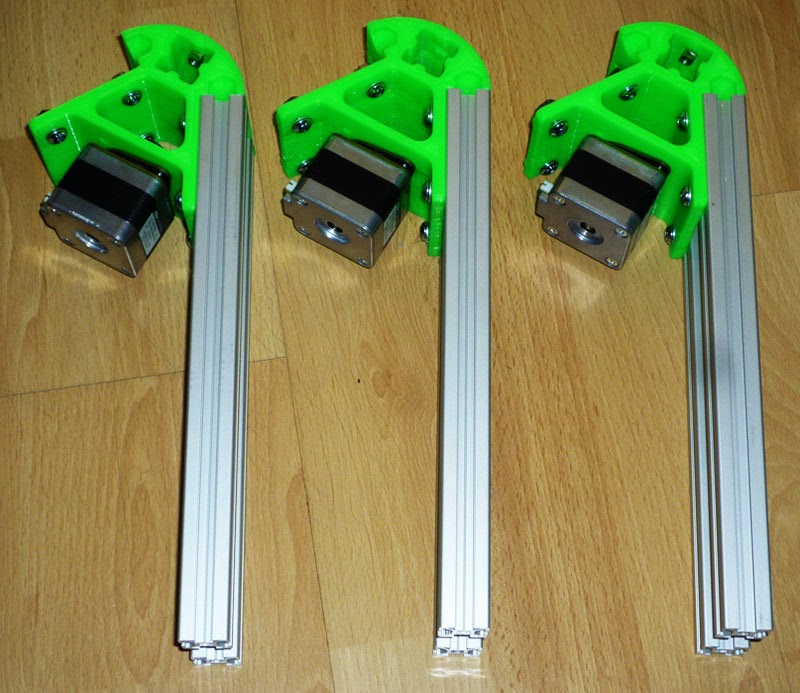
and joined those together.
Checked the top and bottom frames for squareness relative to each other.
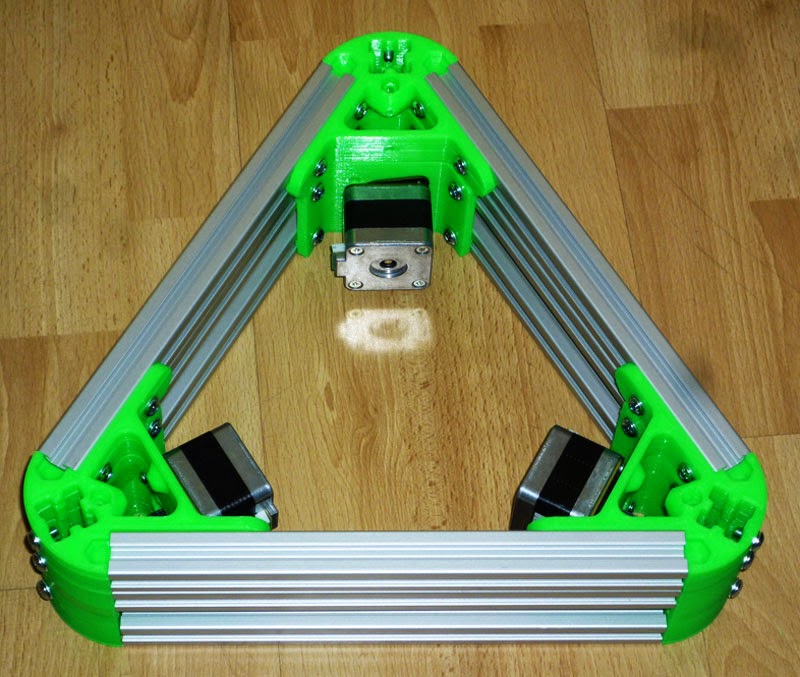
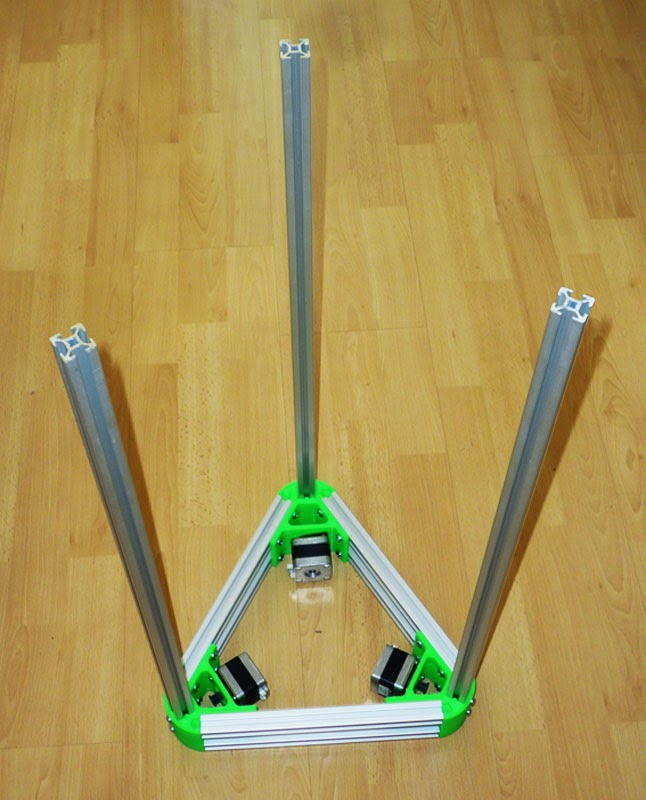
Next Inserted the 660mm lengths of 20x20mm extrusion into the motor frame
and finally attached the top frame.
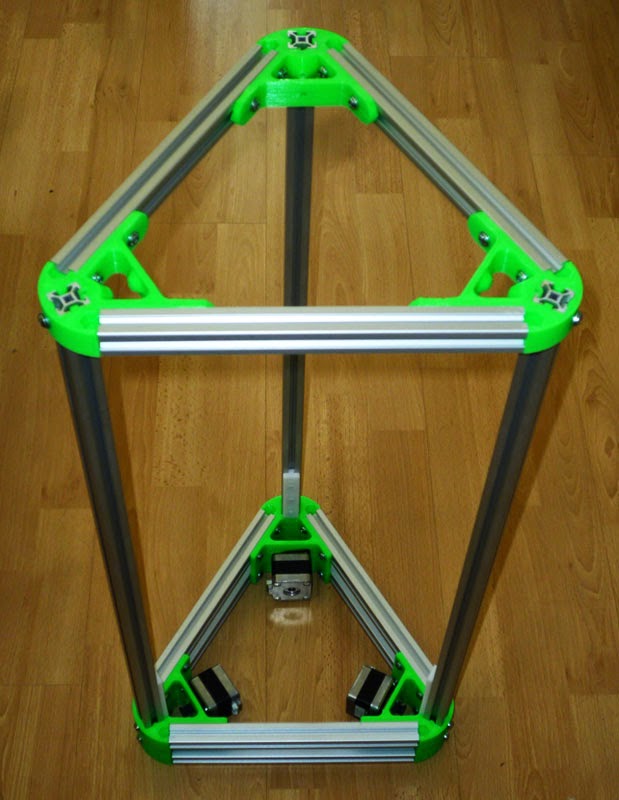
You can also see the sliders in place in this picture.
The top frame is not in its final position just yet, the top mounts need a little more TLC so that they can be attached/removed a little better, they are still very stiff at present.
I also need to have a think about modifying the carriages so that they can be attached to the sliders and still line up with the pulleys and motors.
A while back I bought a set of 8 M6 feet, for use with my CO2 laser cutter project, for £3.21 ($5.00) from ebay seller gadgetskingdom, I only actually need 4 for the laser, so I decided to use 3 of the remaining 4 feet for the Mini Kossel.
The end of the extrusion is designed to be tapped M6, however because of the gaps around the central hole, it is not really designed to be tapped with conventional straight flute taps as they may break when all of the teeth try to re-engage after the gap.
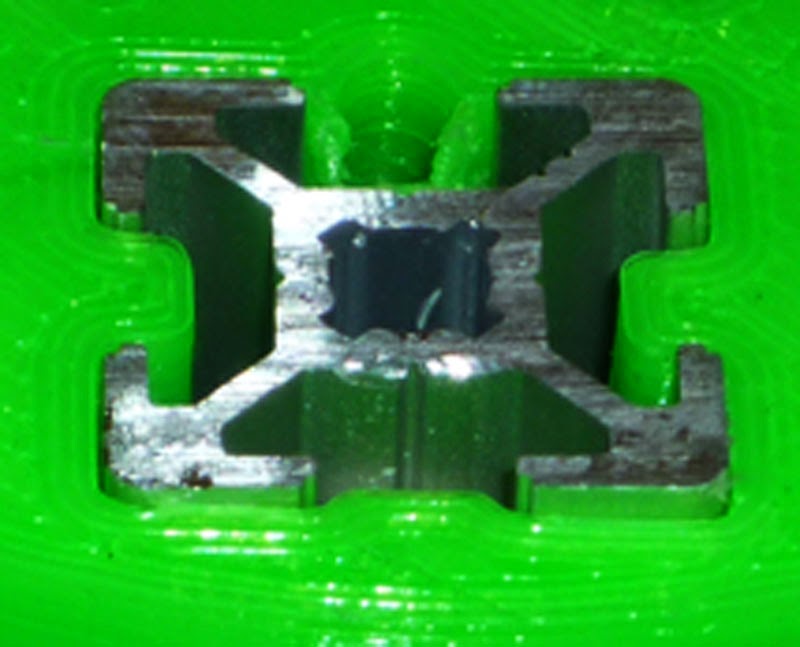
Instead this type of hole should be tapped with a machine or spiral flute tap. These taps also eject any continuous waste upwards, like a drill, so they can be used on blind holes without the risk of filling the hole with chips.
I bought a set of Europa spiral flute taps for £50.00 ($77.50) at the recent Model Engineering Show at Alexandra Palace, the set comes with the correct size drill for each tap size.
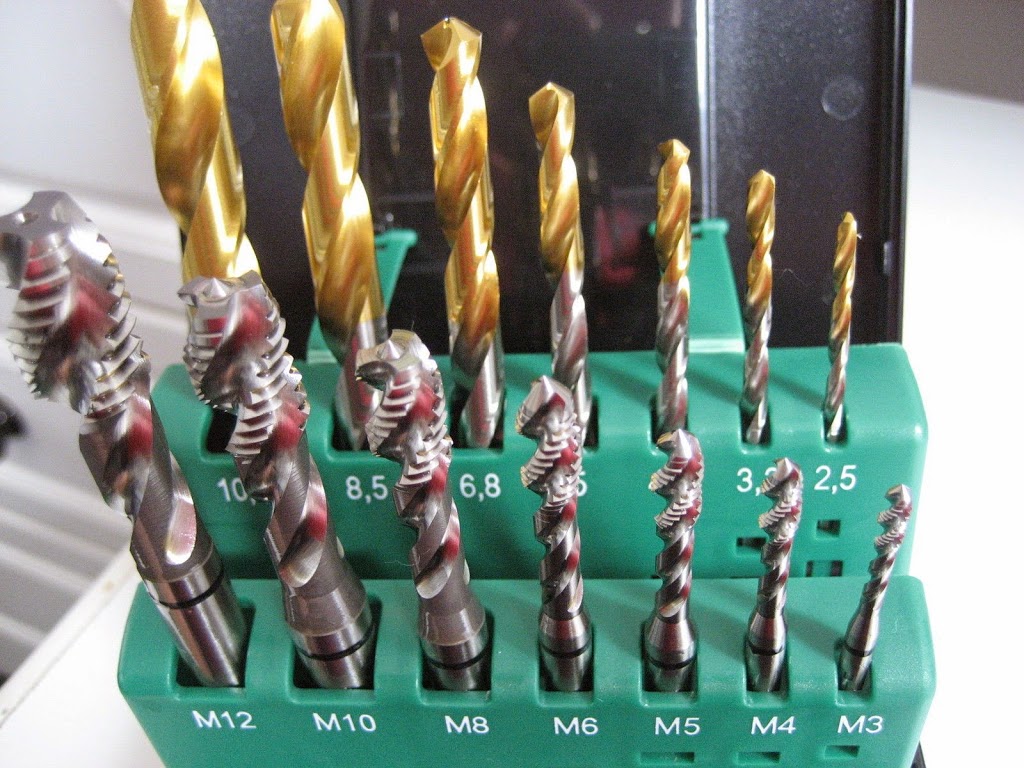
These made short work of tapping the extrusion and left some perfect threads for installing the feet.
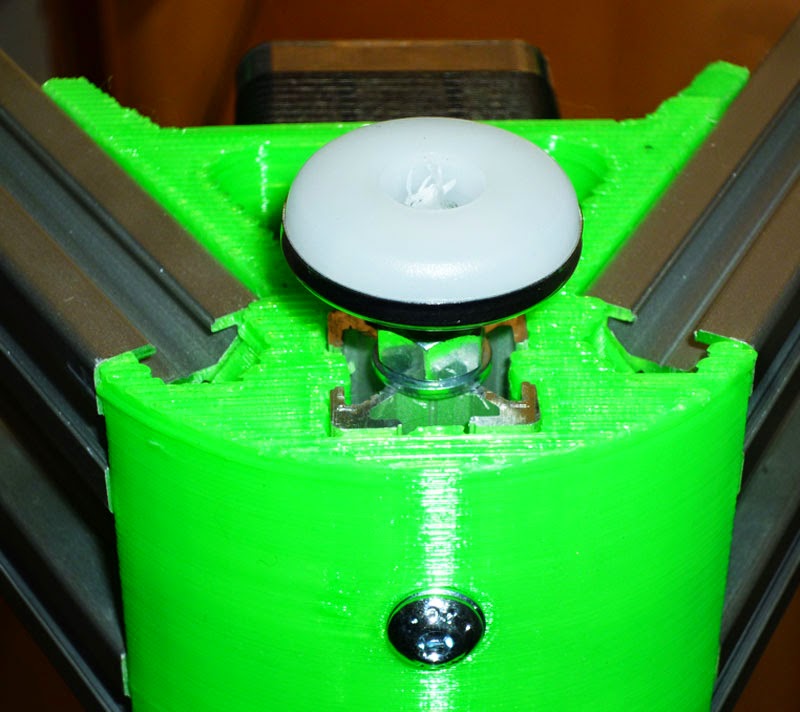
3 feet will always self level, but the adjustment is useful for making the build platform level on however uneven a surface the unit may be placed on.
Artificial grass
i like this post, we visit again for more updates , thanks for sharing this article.