Swapping in the new Ramps 1.6 board was simple and straightforward, I then programmed this with the same Repetier firmware I had prepared for the previous board.
I powered it on and this time no magic smoke and all the motors were behaving as they should, they just needed to be calibrated for steps/mm which was easy enough to achieve – just tell the asix to move 100mm and measure how far it actually moved, then make the calculation for the new steps/mm and enter that into the eeprom setting and test again, rinse and repeat until satisfied with the result.
I tried powering on the heated bed, but unfortunately it was not heating up.
There was power at the terminals, but the connections to the circuit on the PCB had failed due to overheating when attaching the new longer power cables.
I decided at this point that rather than buy a new PCB heated bed, I would buy a 12V 200W silicone bed heating mat with a built in thermistor for £14.33 from Ebay Seller beauty_makers.
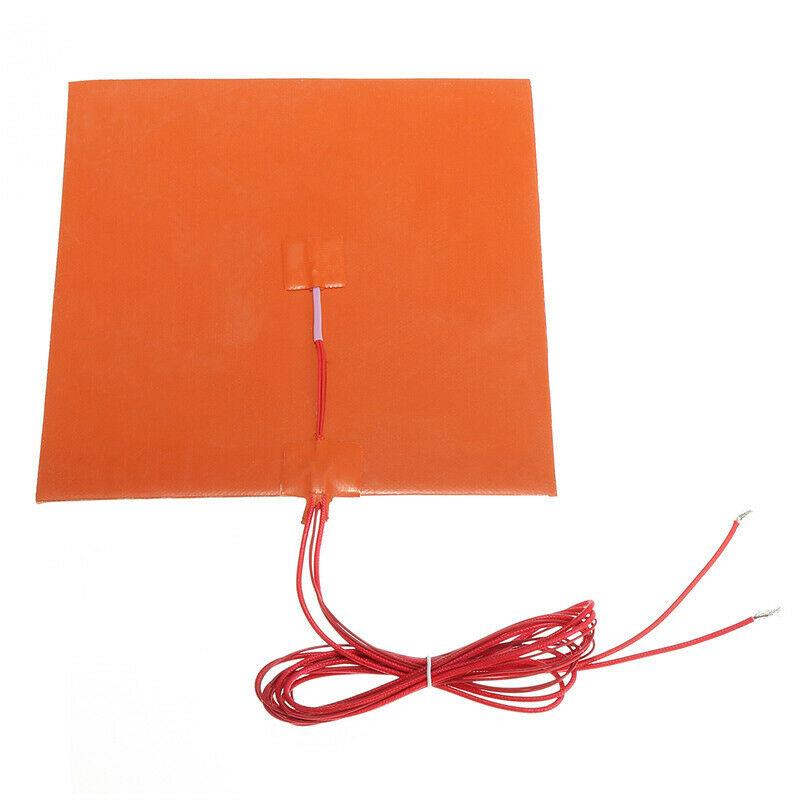
I could then attach this to the underside of my PCB and hopefully this would provide a more even heating of the bed than the original PCB.

I had numerous emails with the seller trying to determine which thermistor they had used, but never received a decent answer.
Turns out it uses what Repetier refers to as type 8 or ATC Semitec 104GT-2 which is the same type as I have used on my extruder.
In use this new heated mat can take the bed from room temperature (around 23C/74F) to 55C/130F in under a minute with a nice even spread of heat.
The extruder took a while to calibrate as it seemed to change how much filament it pushed with each set of steps/mm I configured and I ended up going around the loop half a dozen times before it finally pushed 100mm when asked to push 100mm.
I then had an issue where one of the Z motors was not working at full strength and skipped a large number of steps, this turned out to be just a loose connection on one of the motor wires.
Finally, after manually levelling the bed, I was ready to try and print something.
As far as print and slicer settings go, I just carried on using all of my settings from my old Prusa i3.
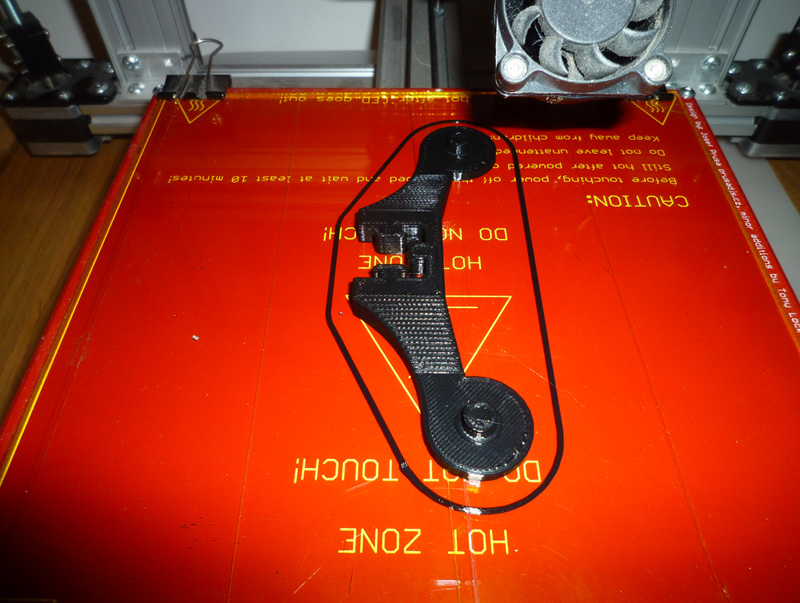
I needed a spool holder and had decided on using the SUSH Slide-On Spool Holder from Thingiverse.
This is the first of 4 of these items.
Two of them side by side (just placed – I only printed one at a time).

608 skate bearings fitted and then attached to a section of 20×20 aluminium profile.
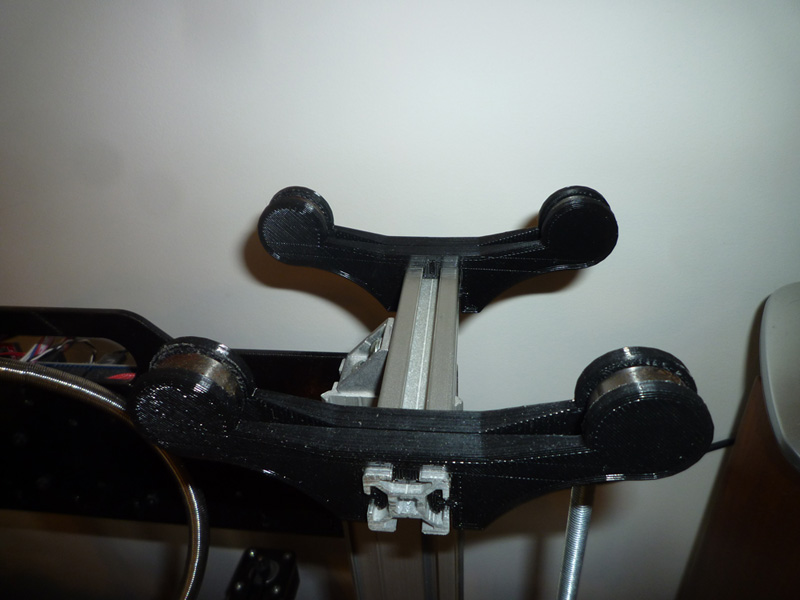
A little fettling was required for the bearings to fit snugly (they were a fraction of a mm oversized) and also on the inner corners so they would slide onto the aluminium profile.
Printer with spool sat on the new holders.
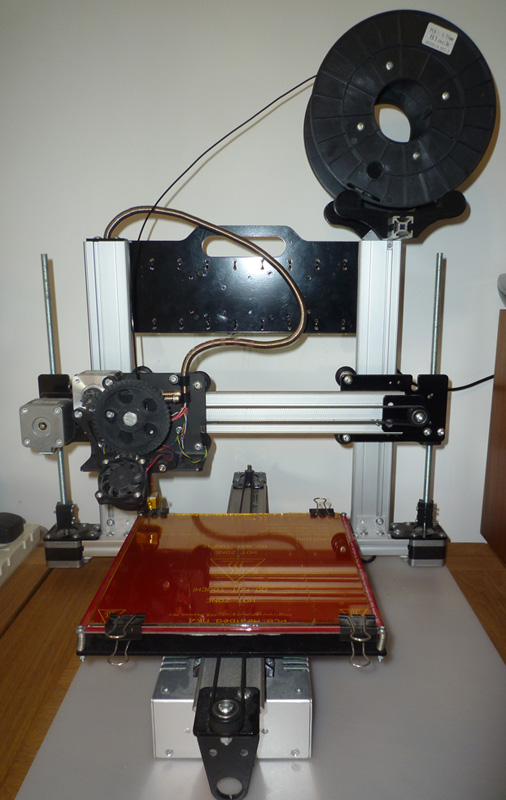
The spool rotates freely on the bearings and the spool holders can be adjusted together or apart to accommodate different spool widths.