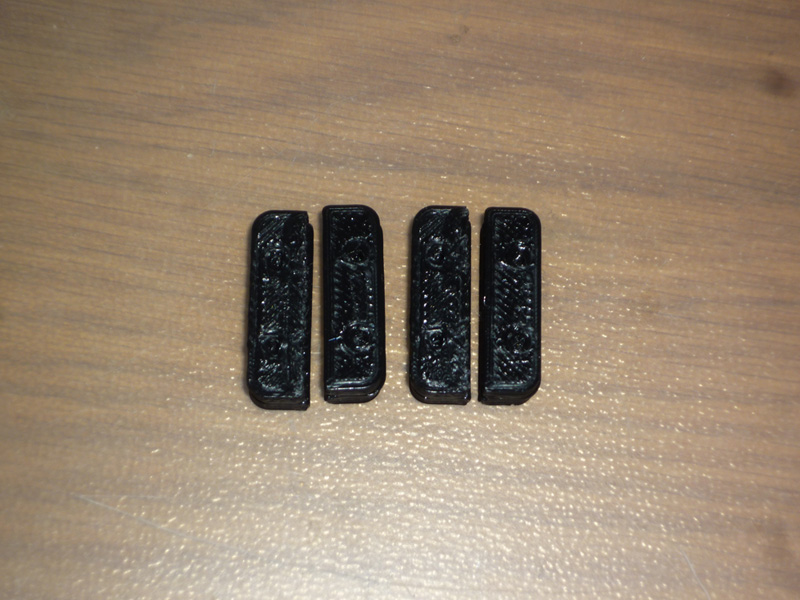
There were a number of parts that needed to be made/printed, either because the kit did not actually contain any printed parts, or because I decided on changes/upgrades to the base Hadron build.
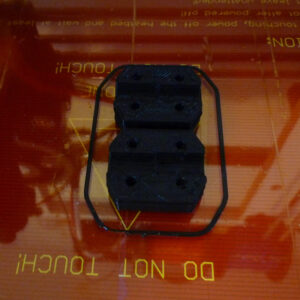
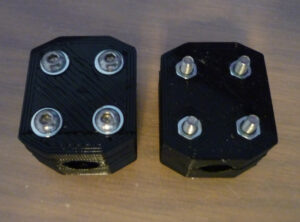
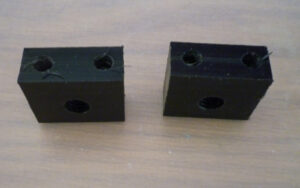
Some belt grips, one set for the X and one for the Y axis.
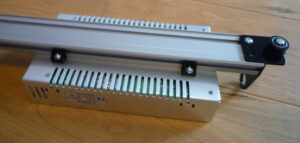
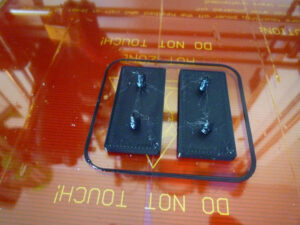
Some brackets to attach the power supply to the underside of the Y axis – these are a design by inventaholic available on Thingiverse.
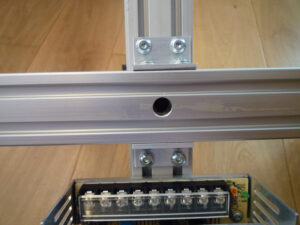
Brackets attached and the power supply centred on the Y axis profile.
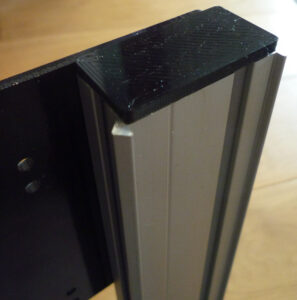
A pair of end caps, one for each of the Z axis profiles.
Here is a closeup of one in place.
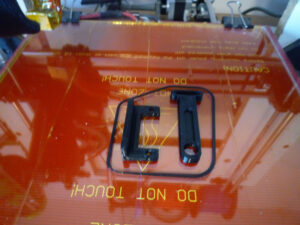
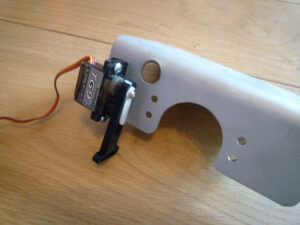
I want to try using auto bed levelling on this printer, so I printed a couple of parts to use with a 9g servo that allow it to be attached to the underside of the extruder platform. The bracket is a design by delavar, the arm a design by zennmaster, both available from Thingiverse
Here they are attached to a servo, I am still awaiting my shipment of microswitches, so again this will have to wait.
The extruder platform did not come powder coated, so that is another item on the to-do list.
For the Z axis lead screw couplings, I thought I would try a design by nophead, also available on Thingiverse.
It makes use of some plastic tubing over the end of the motor shaft for a tight fitting yet allows for some flex in the threaded rod whilst still ensuring a coaxial connection between the threaded rod and the motor shaft.
I made a couple of lead screw nuts from a piece of acetal/delrin, these will work in conjunction with the stabilising arms that came with the set of parts.
If I install a spring between the lead screw nuts and the stabilising arms, I will in effect have an anti-backlash nut, since they are both threaded.
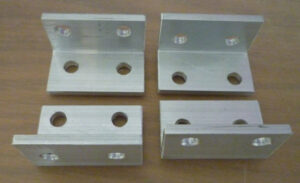
The build calls for 4 x Misumi HBLSD5 brackets, that Misumi sells for 0.88 Euros each (plus P&P), or I can buy an equivalent on Ebay for £2.50 each, but I decided to buy a 1m length of 20x20x3mm aluminium equal angle for £8.98 and make my own.
They are 34mm long so the cost in raw material (including wastage) for all 4 was under £1.35 for less than 150mm of material, and plenty left over for other projects.
Two of the brackets on the underside holding the Y axis Makerslide to the 20×20 profile.
