I actually made these parts back in October 2015, but simply forgot to post an update.
I wanted to make use of one of my many salvaged laptop power supplies to run the Mini Kossel, and since I intend to try using a sanded acrylic print bed, I won’t need 10A to heat it, as such I only need enough power to run the extruder and the motors.
I have decided to use a 24V laptop PSU to power the extruder and motors and then a DC-DC Buck converter to supply the 5V for the Sangionololu internal electronics.
Trying to lose 19V as heat through a 7805 voltage regulator seemed somewhat excessive, whereas the Buck converter should only lose minimal heat as it is around 95% efficient.
The DC-DC Buck converter at £0.87, is more expensive than £0.10 for a 7805, however the power savings will make up the difference in no time.
In order to fit the DC-DC Buck converter, you also need to skip installing the C5 (0.33uF) and C6 (0.1uF) capacitors, I fitted a 3 pin header in place of the 7805 itself.
This is the DC-DC Buck converter attached to the back of the Sanguinololu board.
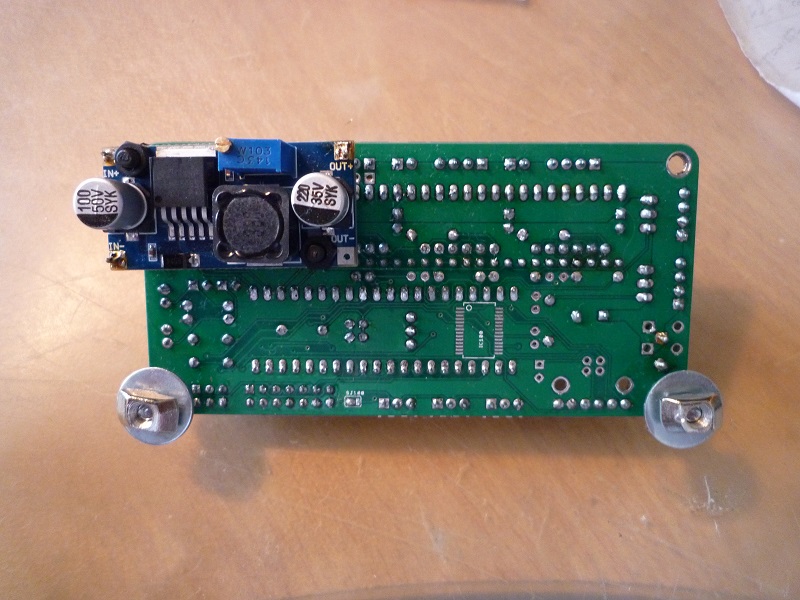
You will also note that I do not bother installing any of the FTDI related parts IC100, J1, C7, C8, C11, C15 or C16, as I prefer to program the chip via the ICSP interface and communicate with it via a bluetooth module on the serial pins.
Here is the top showing how it is wired in place of the 7805 voltage regulator.

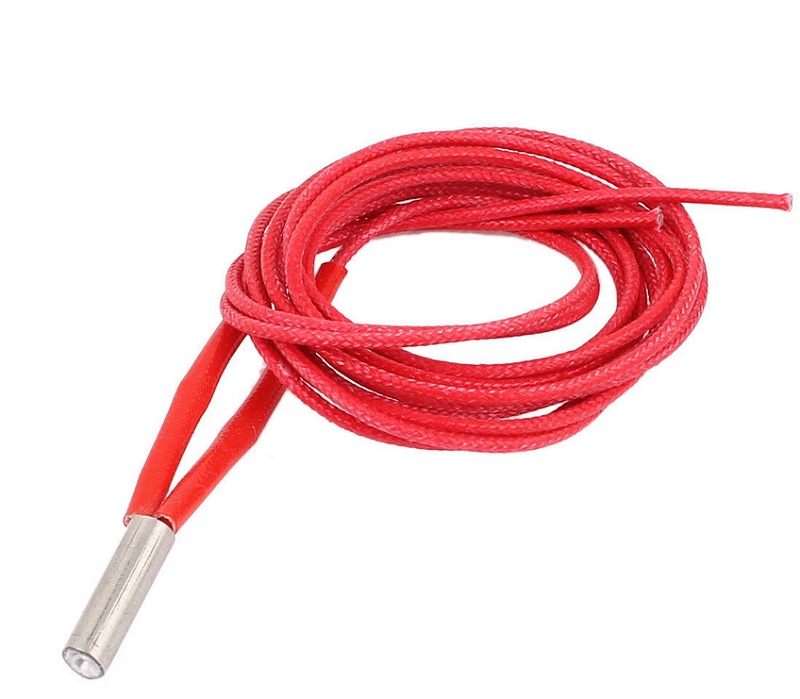
I am also using a 24V cartridge heater
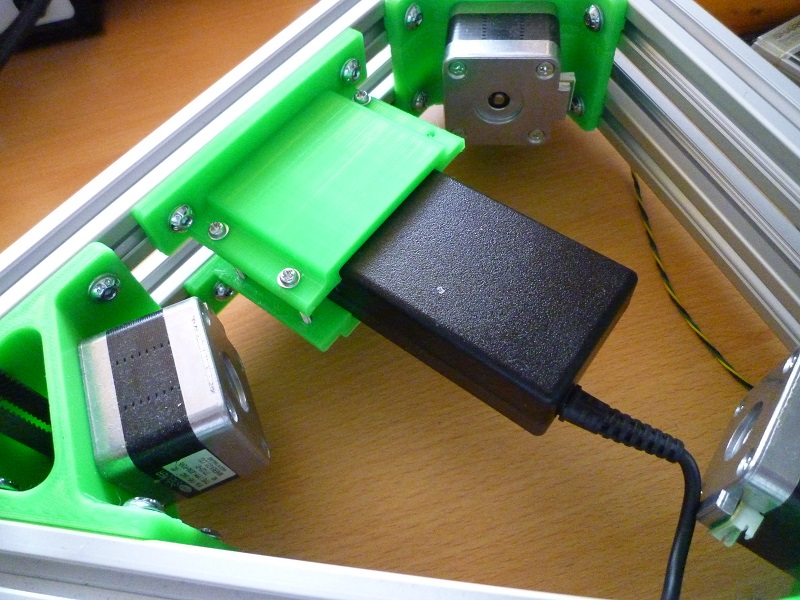
I needed a bracket to hold the laptop PSU, so I designed one in Sketchup and then printed it.

Here it is attached to the frame with the PSU held in place.
Here you can see the socket for attaching the mains cable between the two lengths of 2020 extrusion.
