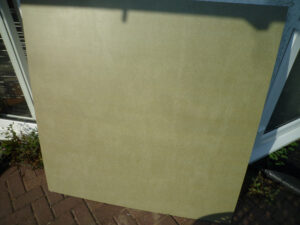
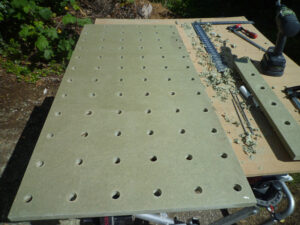
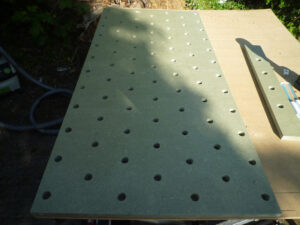
For the worktop I gave a sheet of moisture resistant MDF a couple of coats of varnish on both sides, to try and prevent warping, plus it means that I don’t need to worry about which way up I install it each time, before cutting out a worktop rectangle.
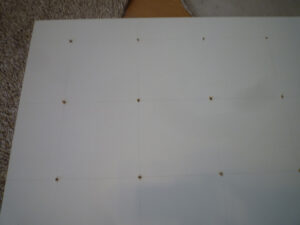
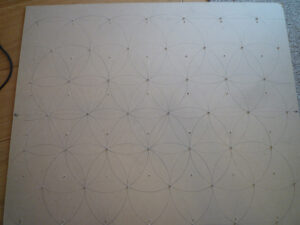
First I drew out a 90 degree grid on one side of a sheet of 3mm hardboard that was previously the back of some old kitchen cupboard (so effectively free).
Then I drilled 3mm holes at all of the intersections.
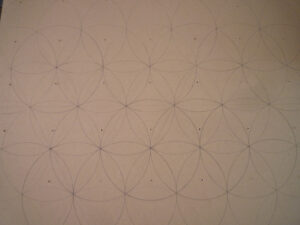
Then I turned the board over and drew out an isometric grid pattern
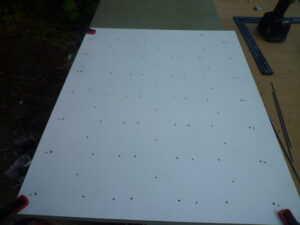
For the first worktop, I want a 90 degree 96mm spaced grid, so I make use of the white side of the template and line it up with the left corner of the worktop.
I also used the template to make a pattern jig from an off-cut of the MDF (therefore also free).
To make this, I drilled 3mm holes at the ends and 2mm holes for the intervening 4 holes, I then drilled out the 4 holes on my pillar drill using a 20mm forstner bit so I knew they would be perfectly straight, the point on my Zobo forstner bit is 2mm, hence the 2mm pilot holes.
I then checked the edges of the holes for parallelism with a straight edge.
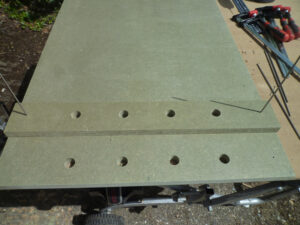
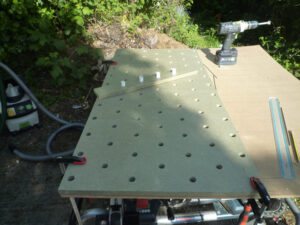
The jig is then held in place using a pair of 3mm tungsten welding wires while I drill out the 3 holes with the forstner bit.
Row number two.
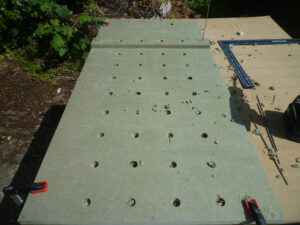
Rinse and repeat for the length of the worktop.
Then using the same holes, turn the template round to drill the holes on the sides.
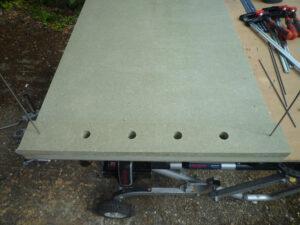
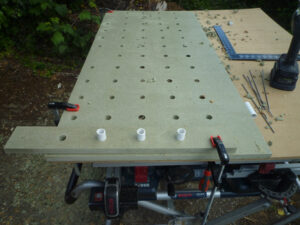
I used a few lengths of 20mm plastic conduit to line up 3 holes in order to drill a fourth, either one of the middle two holes or an end hole as shown below.
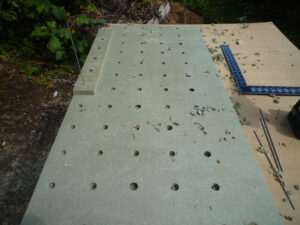
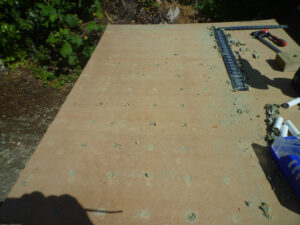
This is the rear of the worktop, where as you can see there was very little tear out, thanks in part to the layers of varnish.
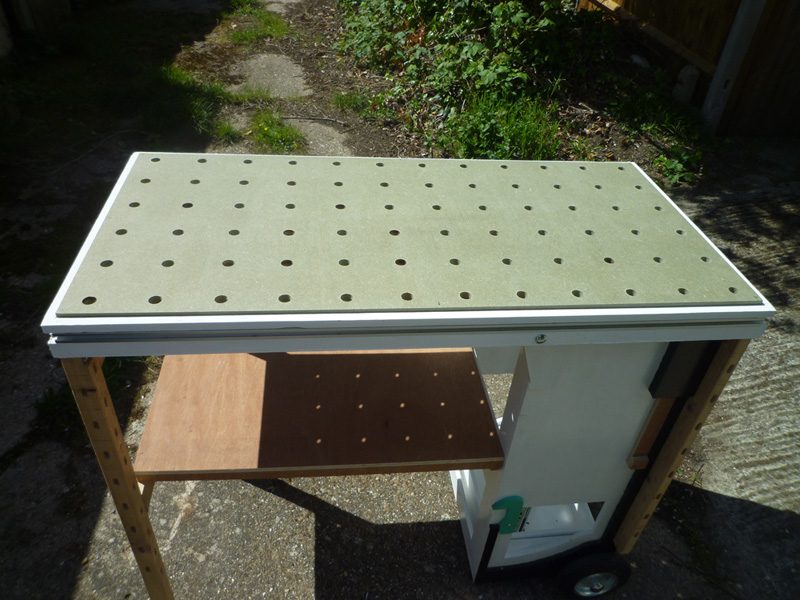
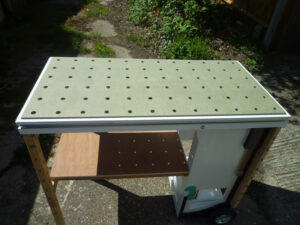
Here it is installed in the workbench.
The spoil board looks a bit worse for wear, in fact I actually went through it in one place!
I then cut a second worktop and drilled this one with the isometric pattern from the other side of the template.
The finished isometric top.
