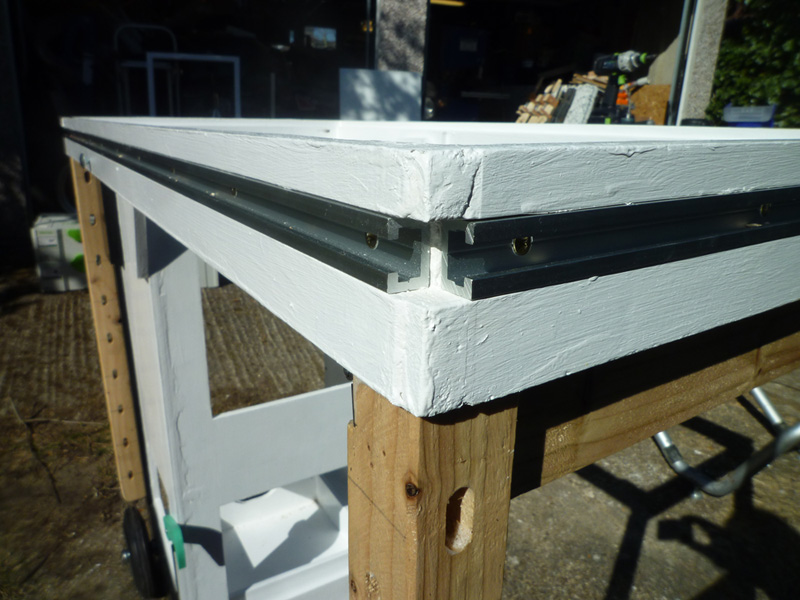
The T-track was purchased from Rutlands via Amazon (because Rutlands seem to have temporarily dropped this line) at £53.95 for a pack of four 48″ pieces, three lengths are needed for the edge of the worktop, so £40.46 for the three required and one for some other use elsewhere.
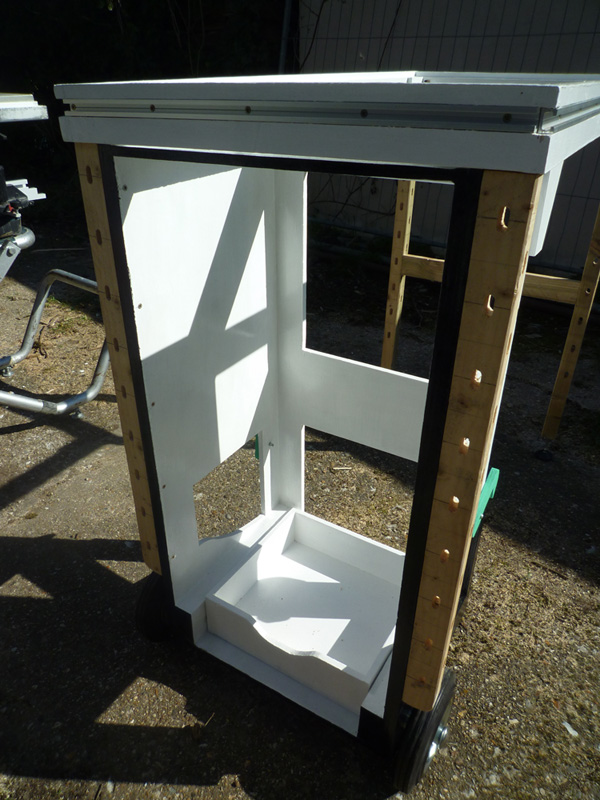
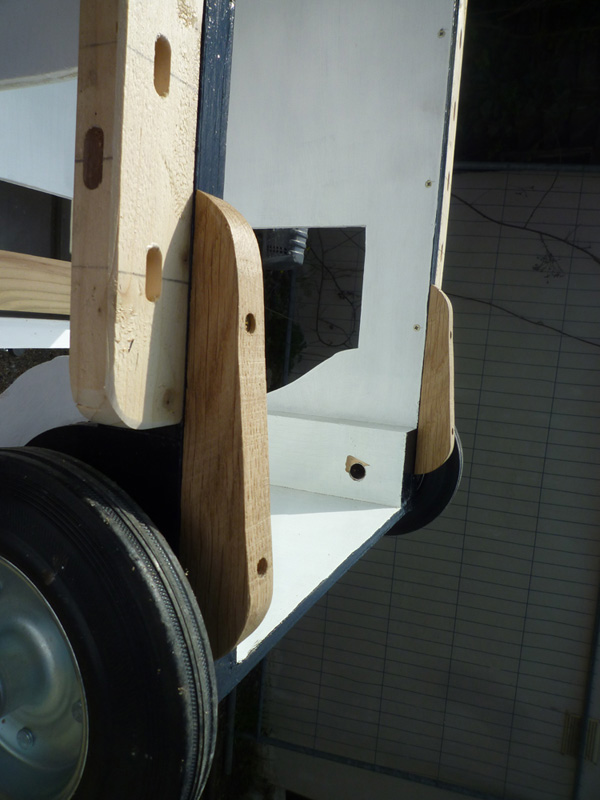
Next I shaped the ends of the front clamping posts and attached these using screws from the inside of the cabinet.
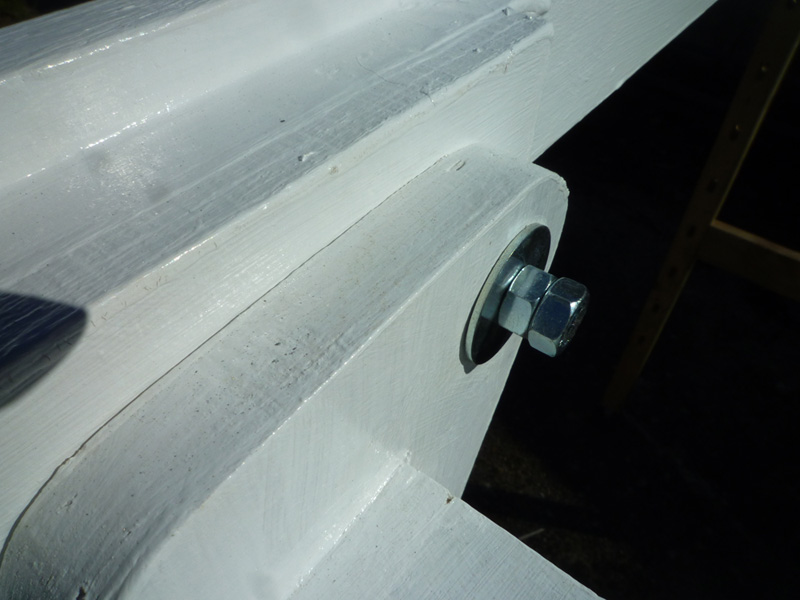
The worktop surround is attached to the cabinet using coach screws and a couple of nuts. I later discovered that the second nut sticks out too much for the stiffening shelf to fit past, so I will have to revisit this item. I was going to use a nyloc nut, but it was causing the coach nut to twist in the frame, so I may run the nyloc down another bolt first to cut the initial thread in the nylon.
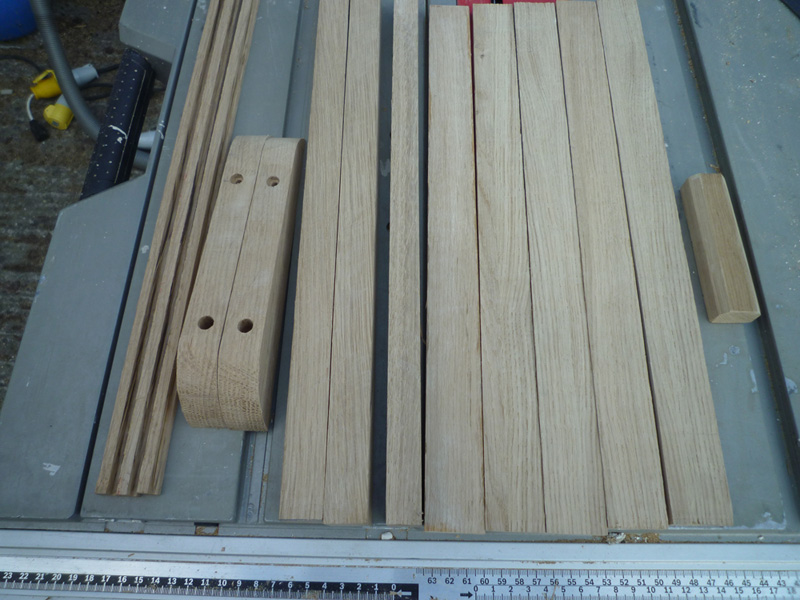
Here are all of the hardwood pieces, many of which were cut from parts of our old oak front door, I kept all of the thick parts and just threw the thin panels. the drawer fronts were cut from one of the oak drawer fronts from our old kitchen (I also kept all of the doors and drawer fronts).
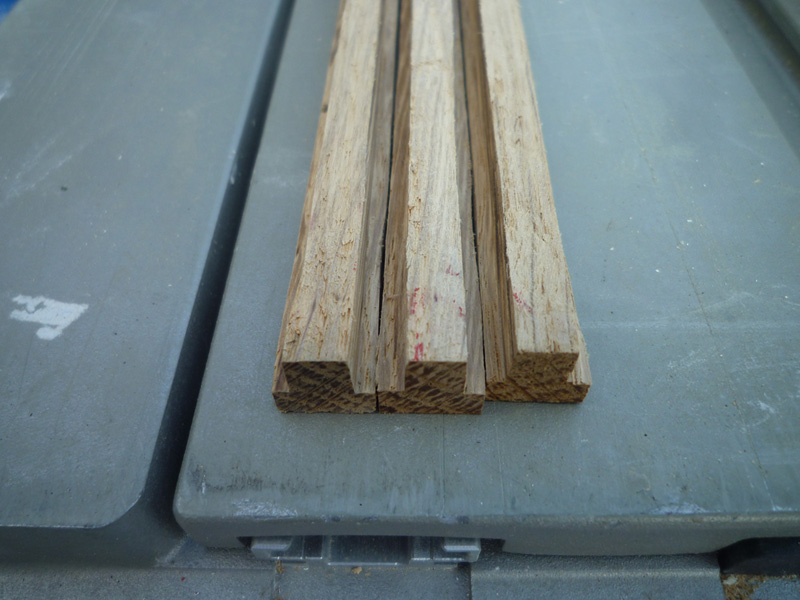
A close-up of the T shaped pieces, these were made on the table saw, and started off 12mm square and then I cut a blade width rebate on each side, adjusting the height of the cut until they fit in the t tracks nicely.
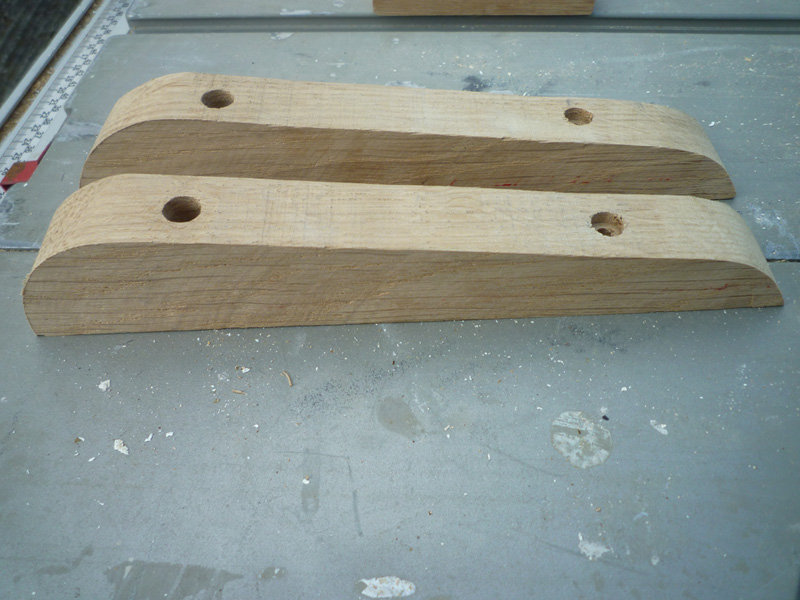
The bumpers were cut to shape on the bandsaw, I drilled and counterbored the holes while the pieces were still rectangular to ensure they ran perpendicular to the back edge.
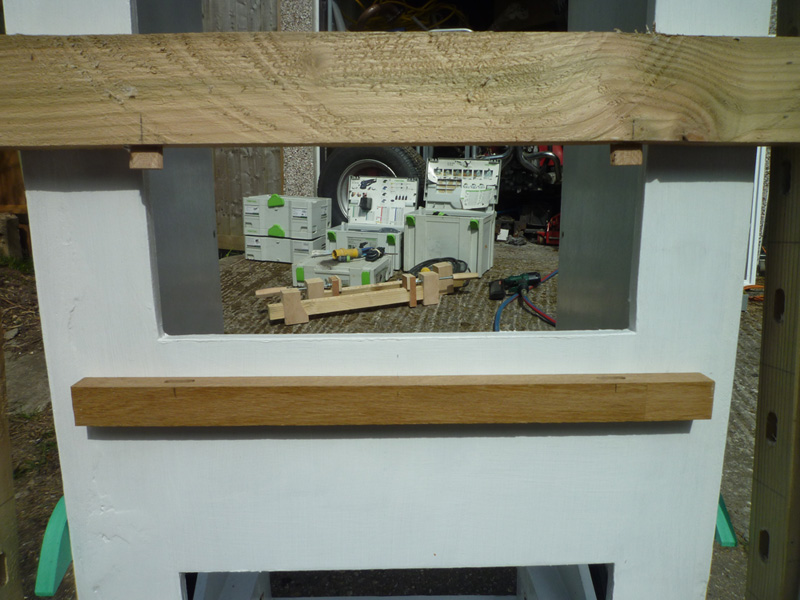
all of the hardwood parts were given 2 coats of varnish before being attached. Here are the bumpers fitted to the frame.
The strengthening shelf was glued and nailed together after I had cut the dominos in the end pieces.
Same goes for the shelf support, shown here before I glued in the dominos. The support is screwed in place from inside the cabinet.