I decided it was about time I did some more work on the skins for the laser cutter. The supplier of the Dibond only cut the skins to size, they did not cut out any of the details.
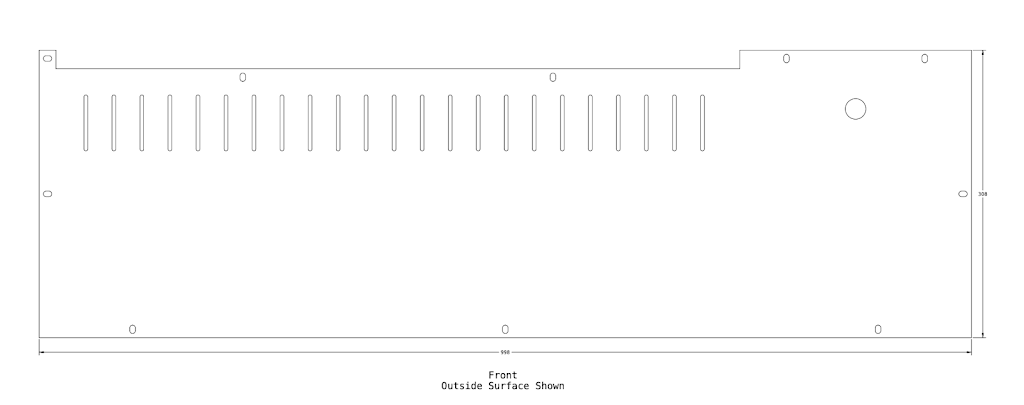
The most involved piece is probably the front panel, this is the design as provided with the skins plan.
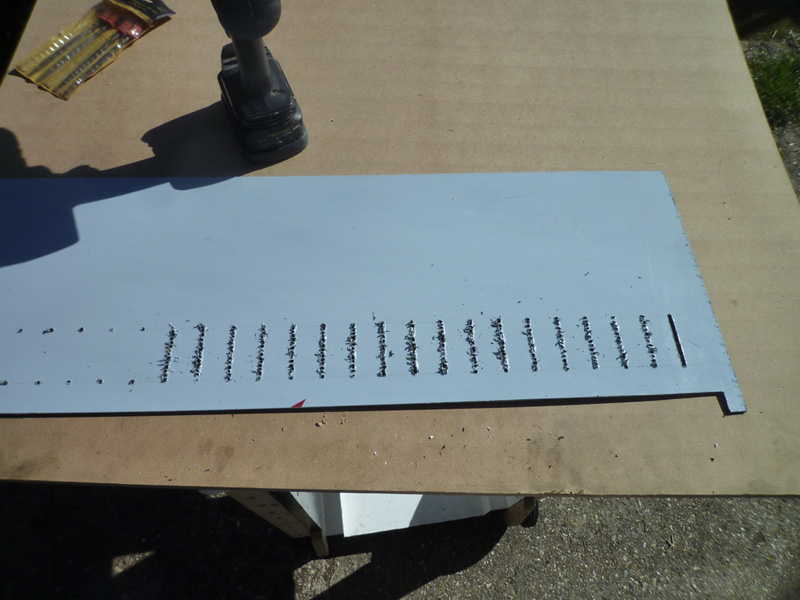
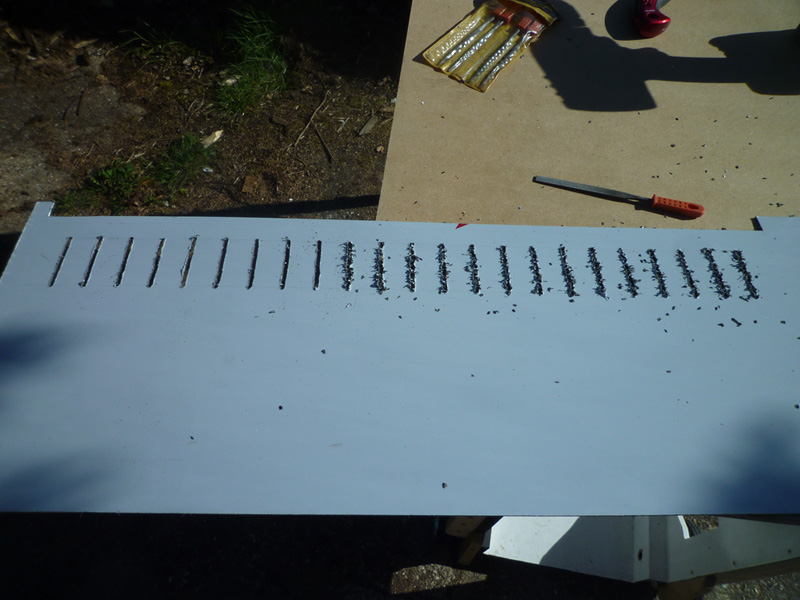
then used the same bit to break the gaps between the holes
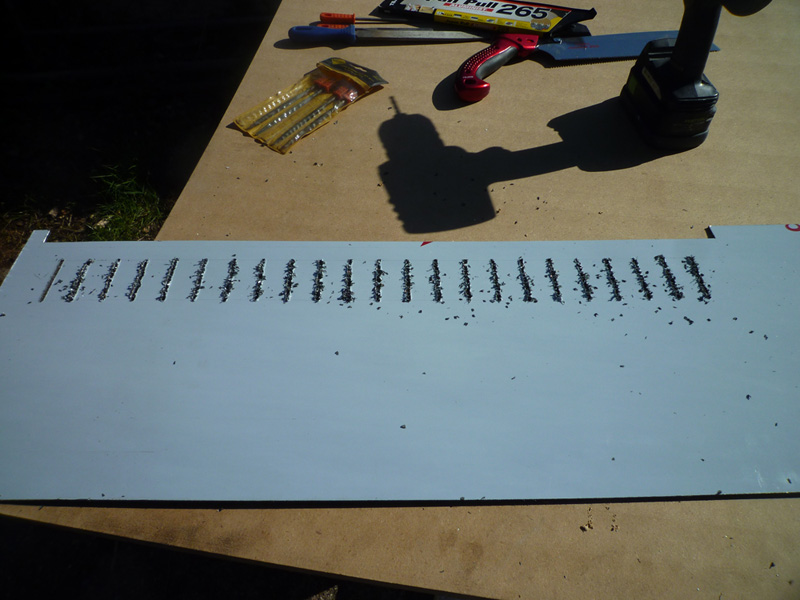
I then used a set of needle files to clean up the edges on the front and the back.
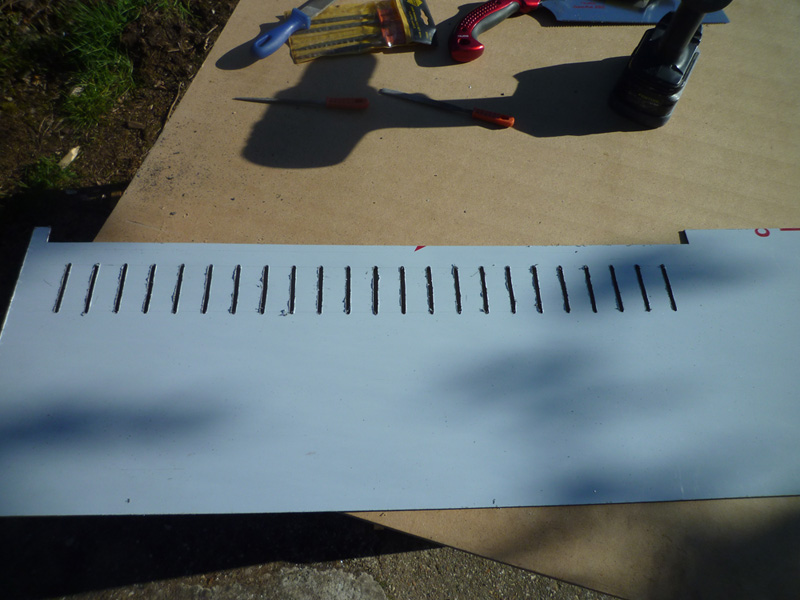
Finally, I used a full sized flat file to take the slots to final dimension and also straighten the lines some more.
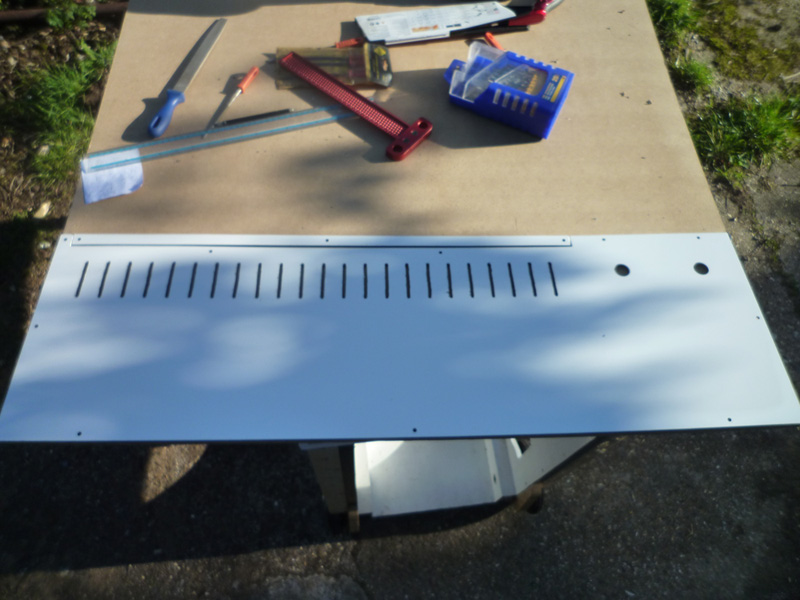
After removing the protective film covering, some final de-burring before drilling the mounting holes and the two 22mm holes for the switches
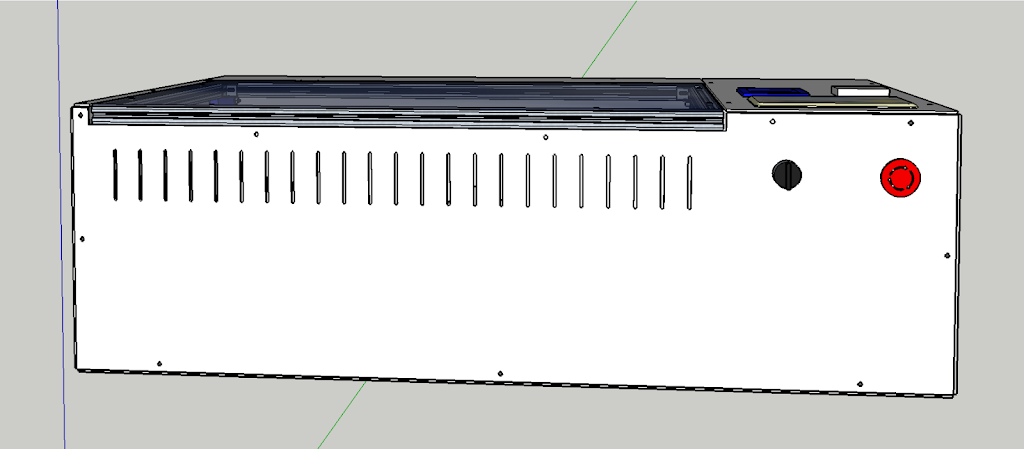
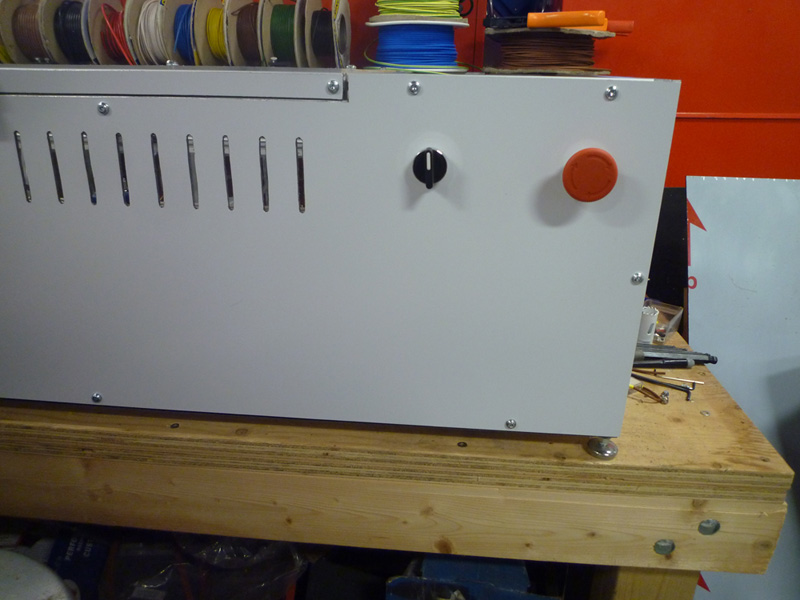
Here it is attached to the front of the laser cutter with the two switches installed.
I purchased a couple of sheets of 750x500x3mm perspex back in 2015 at £5.99 each, the first step for the lid cover was to cut it to size.
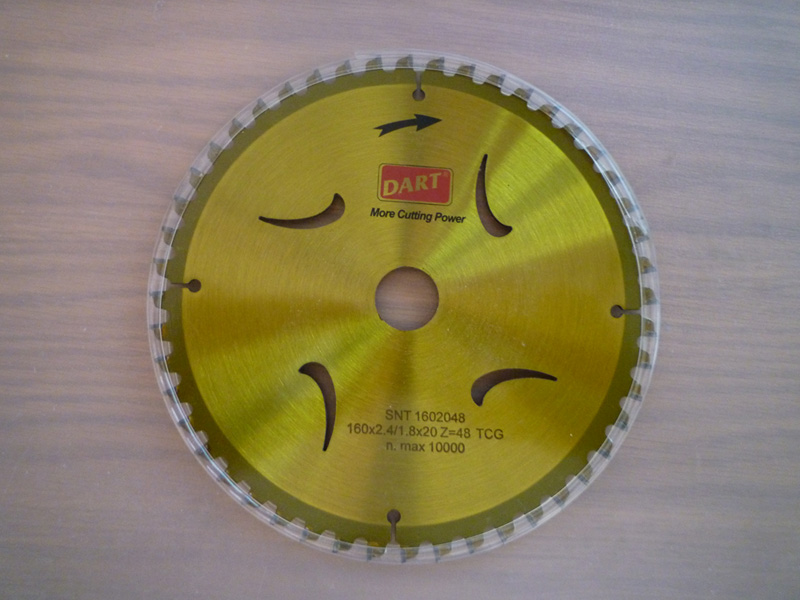
I also bought a blade for my track saw that is specifically designed for cutting plastics and aluminium and has a negative tooth angle to help reduce chipping and tear out.
For anyone interested, it is a Dart Gold TCT Alu Saw Blade 160mm diameter, 20mm bore, 48 teeth and 2.4/1.8mm kerf part number SNT1602048.
I set the depth of cut to be just into the spoil board and made the first cut.
Whilst it did not splinter or chip, it did not stay at a constant depth and also generated a load of molten plastic swarf at the front of the blade.
I slowed the blade down, applied more pressure during the cut, progressed the saw slower and this time the cut was much better.
I then cut the other edge to size and drilled the mounting holes for the t nuts and cut the slots for the hinges.
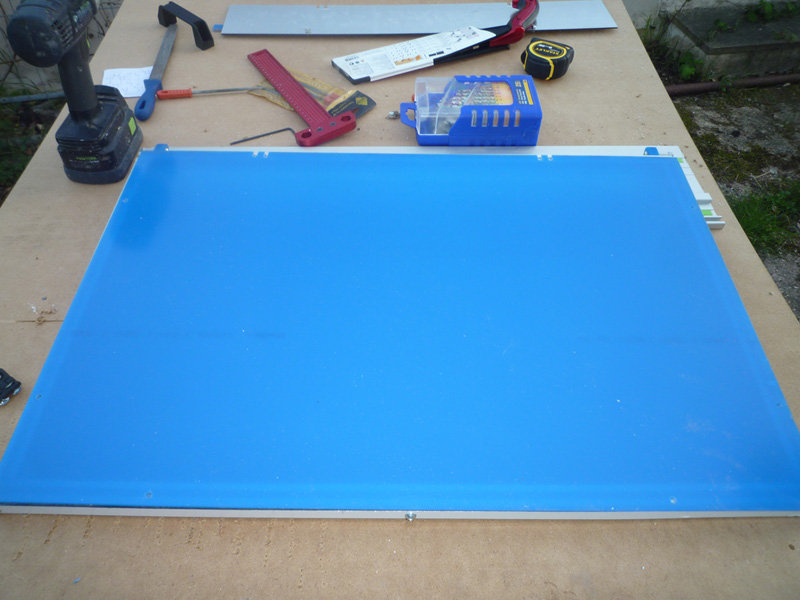
Finally I removed the blue protective film and attached the perspex to the lid.
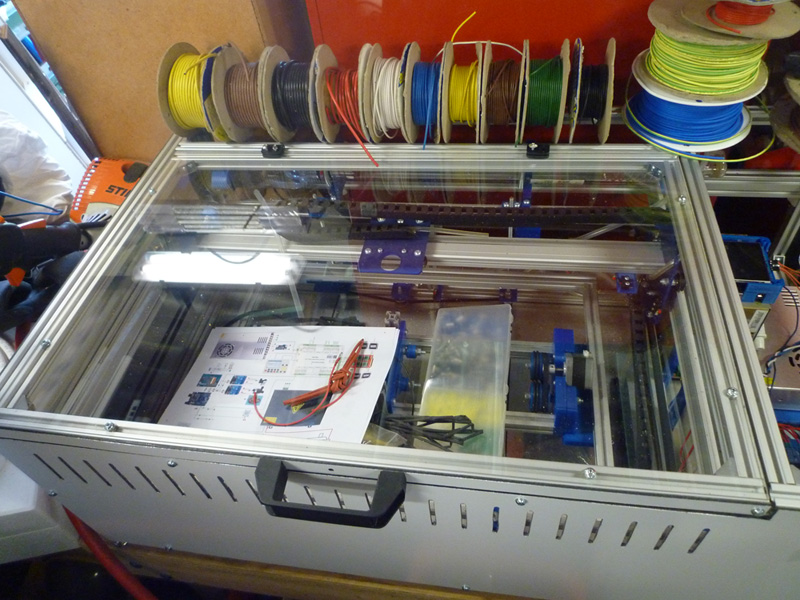
The handle is a bit loose at present, I don’t have any washers the correct diameter and the screws I am using are a bit long, this will be sorted when I find some suitable washers.
You can see from the above picture that I am also mid way through wiring it all up, but that will be covered in a separate post.
I have also now run out of M5 T Nuts, although I have ordered another 100 they should be here soon – I will also need these for my Hadron Ord Bot build.