I have always intended to make my own mirrors for this laser cutter following the example of Tim Wehr on his Blog.
To my knowledge I have never thrown out a hard disk from any of my many computer builds over the years, as such I have quite a stock to make use of.
I dismantled a suitable candidate following the instructions in Tim’s Blog.
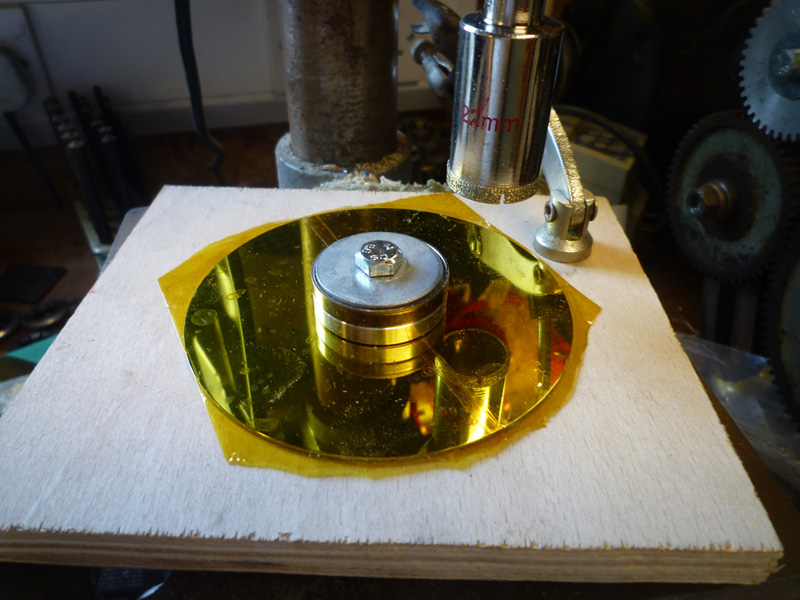
I actually did this over a year ago and then the disk platter has been sitting on my work bench ever since, as such the upper surface is a little worse for wear, but the lower surface is still pristine, so we will use that as the primary side.
I covered the surface of the platter with kapton tape in an attempt to stop the surface from getting scratched.
I drilled a 13mm hole in a scrap piece of plywood for the the original mounting flange to fit through. and attached the disk platter using some penny washers on either side and an M6 nut/bolt.
I have a clamp on my drilling platform that can hold items in place, I placed another penny washer under the plywood to level it up under the clamp and I was ready to go.
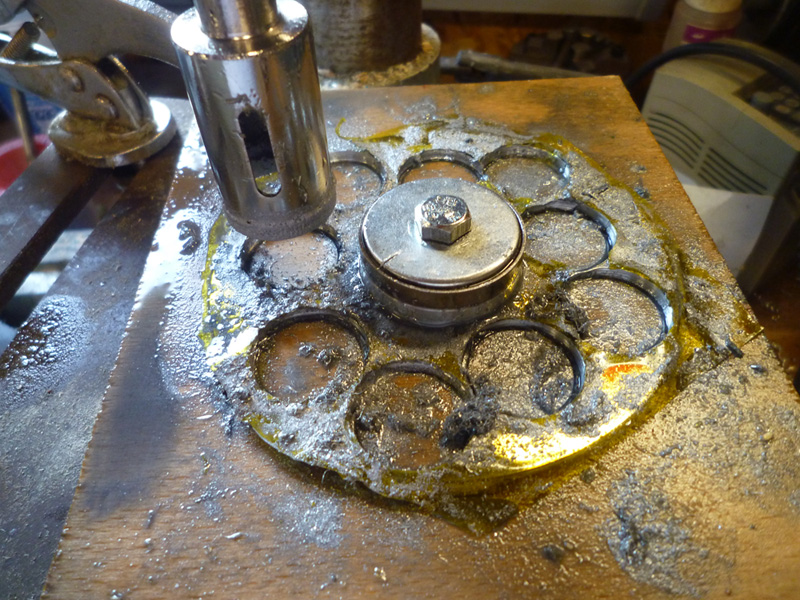
I did purchase a 22mm hole saw for cutting out the mirrors, but decided to make use of some diamond grit hole saws I purchased several years ago for cutting holes in tiles instead as I thought they would probably give a smoother finish.
The idea behind using a 22mm hole saw is that the finished dimension should then be closer to the required 20mm.
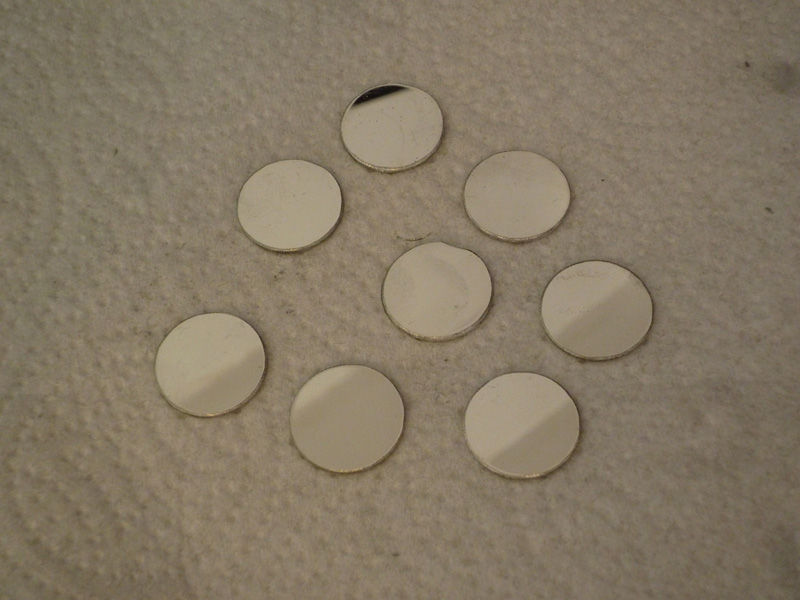
I used WD40 as a cutting lubricant and was able to cut 8 discs from the disc platter
The mirrors all needed de-burring from both sides, but I am pleased with the results.
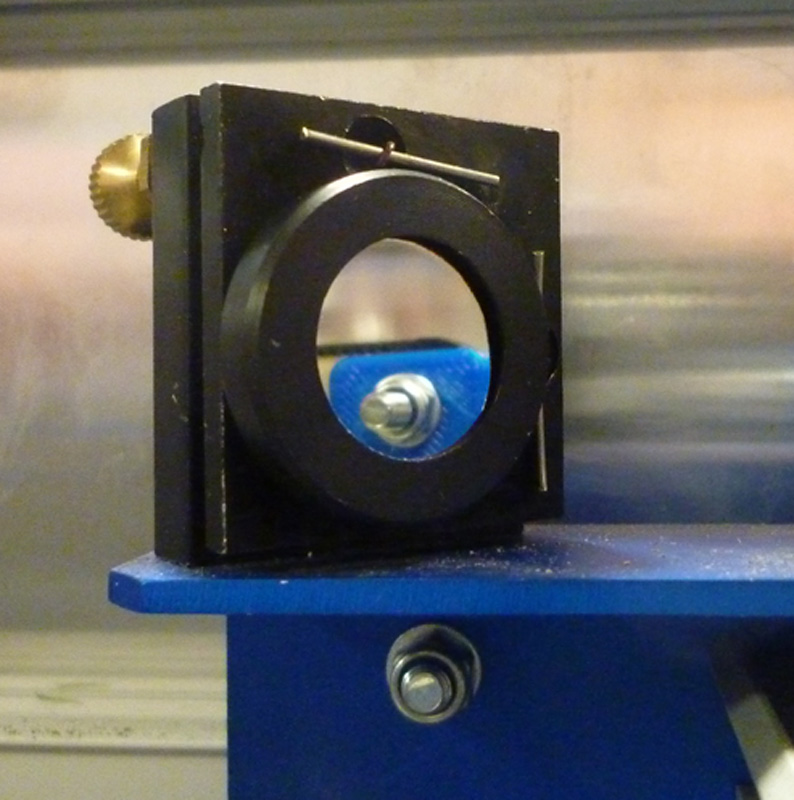
When fitting one to a mirror holder, I noticed that it was somewhat loose, so I added a few layers of kapton tape to the back and now it sits nicely in the holder.