My Wife, whilst extremely tolerant of my various projects, has decided that she does not want my laser cutter in the house, as such it needs to be relocated to the garage/workshop.
I broke up and dumped all the cabinets from our old kitchen a few months back, that I had been storing in the garage, under the premise that we were no longer going to re-use them in the utility room part of our garage conversion, but buy a new set of cupboards instead.
This also made some space to allow me to move my motorbike from the garage next to the house to the garage/workshop at the bottom of the garden.
I needed to do some additional re-arranging, but there was a suitable location that I could put the laser cutter, I just needed to build a bench for it.
I still have a load of offcuts of wood from our loft conversion, as well as various other lengths that I bought at various points for other projects, plus this was an opportunity to use the sheet of plywood that I cut lengthways in half for my main workbench, only to discover that I had made the workbench too deep and the half sheet of plywood did not fit!
As such this bench was not actually going to cost me anything, other than time, as I already had all of the materials, bolts and screws required.
The intended size of the bench was 4’x2′ (1220x610mm) or 1/4 of a 8’x4′ (2440x1220mm) sheet of plywood.
I tend to use a combination of both metric and imperial measurements when making items like this workbench based on whatever figure on the tape measure is closest to a whole number.
So long as I am consistent for a given measurement, all is fine, plus many of the raw materials are still effectively produced in imperial sizes and trimming them to metric round numbers just adds additional work.
I am using lengths of Planed All Round (PAR) 2″x4″ (42x95mm) timber, so again the raw material is more inclined towards imperial measurements than metric.
I also had a set of casters that had been left by the previous owner of the house that would be perfect for moving this new bench around.
The bench design is effectively the same as that of my main workbench, which in turn was inspired by the Work Bench for Mere Mortals.
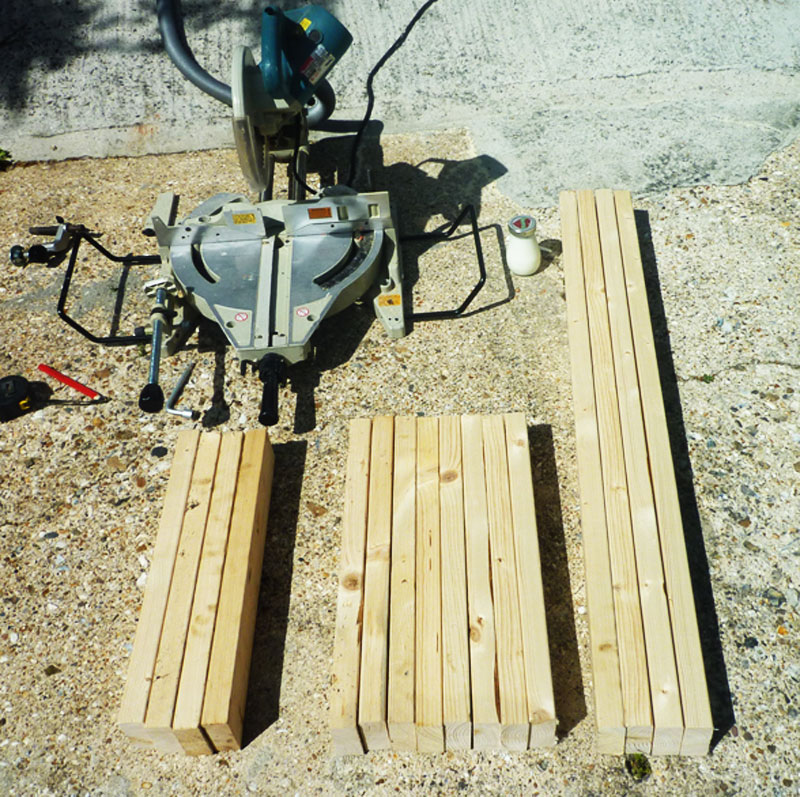
First I located 4 suitable offcuts for the ends and cut them all to length in my chop-saw.
I can clamp 4 pieces together with the horizontal vice to cut them together, this both saves time and ensures that they are all exactly the same length.
Next were 4 x 4′ lengths for the long sides, I already had one of these, the other 3 were cut from new lengths of timber.
Then I worked out what other offcuts I had that would be of a suitable length for the legs to avoid having to cut up too many new lengths of timber and still have a reasonable height after installing the casters and 2 thicknesses of plywood for the top.
I found 4 of these and cut the remaining 4 from 2 of the pieces I had cut down for the sides, they were all cut to the same length in 2 groups of 4.
Here are all of the pieces ready to start construction.
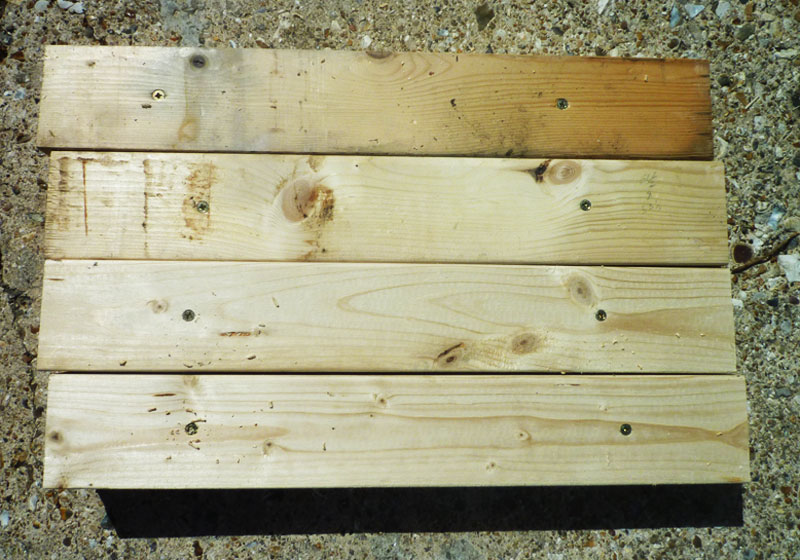
The first job was to glue and screw the leg pieces together to make 4″x4″ legs.
Next the ends were screwed on top and bottom.
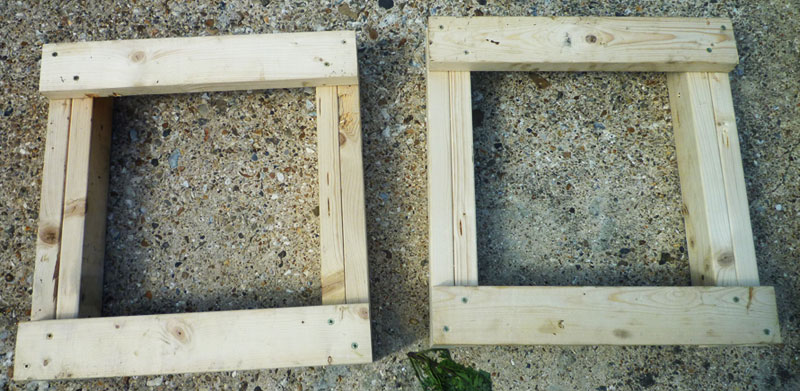
I did not need to worry about leaving a gap at the bottom as this bench was going to be on casters.
These parts so far had all been assembled using 5x80mm wood screws, the sides were attached using M8x160mm coach bolts, penny washers and nuts.
The holes for the coach bolts were drilled using a 10mm spade bit to allow clearance for the threads and some ‘wiggle’ room on assembly to make sure it was square.
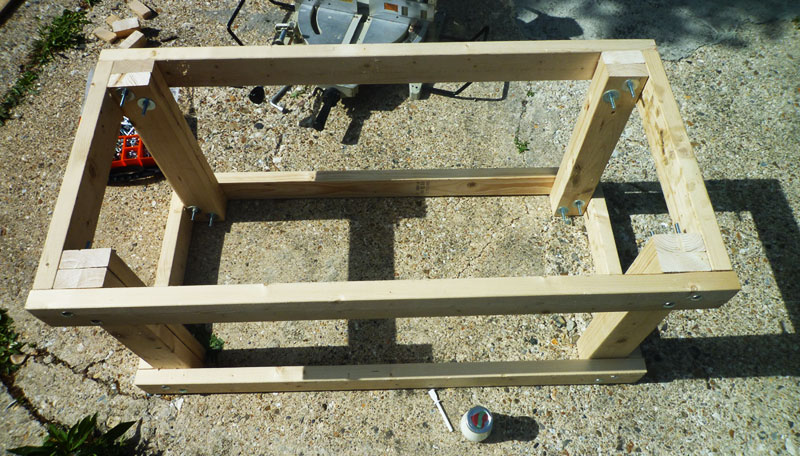
Next up was the worktop which is 2 thicknesses of 18mm plywood glued together, then screwed to the frame, again using 5x80mm wood screws.
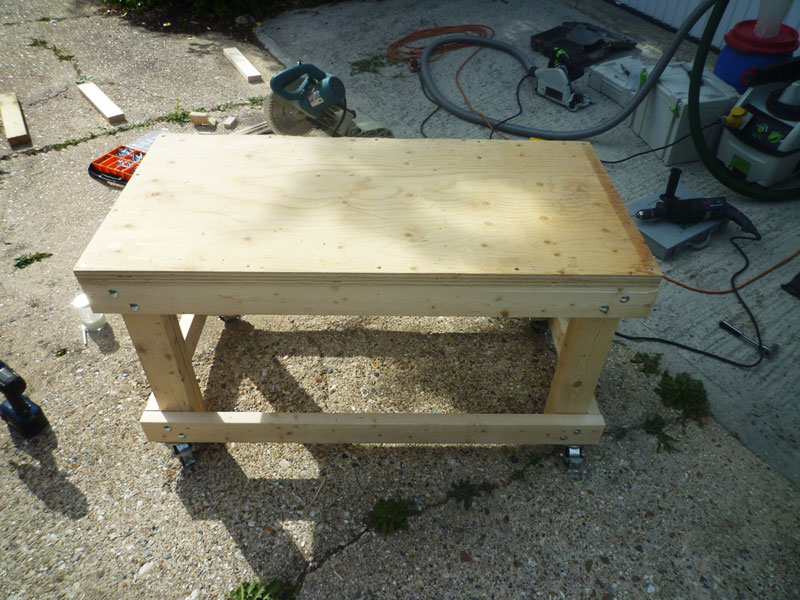
Finally the casters were attached using 5x50mm wood screws and some M6 washers as the screw holes in the casters were a little large for the heads of the screws.
I then made a shelf to sit on the bottom edge pieces by cutting out squares from each of the corners of yet another off-cut of plywood.
After pushing the new bench into place in the workshop, I was able to relocate the laser cutter to its new home.
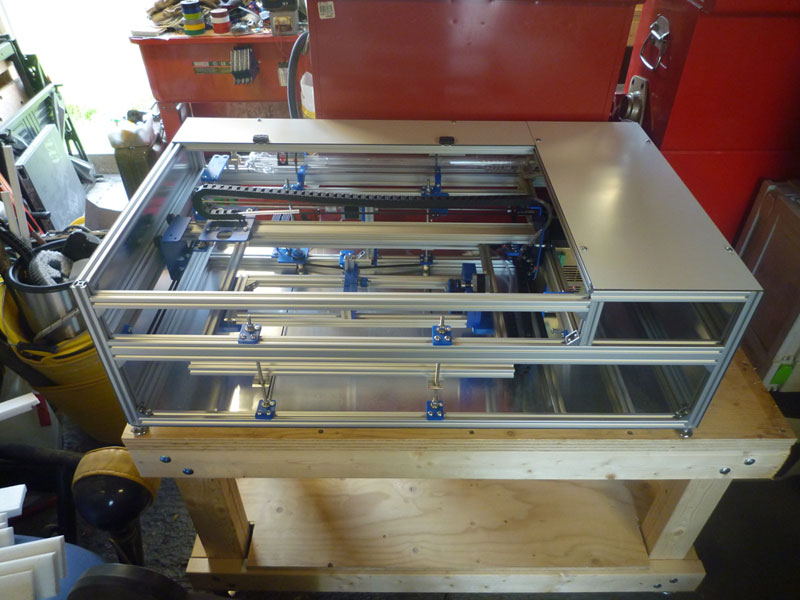
The shelf will be used to hold the water tank for cooling, the exhaust fan and ducting when they are not in use, and also can be used to store raw materials for cutting.
One of the reasons for building this bench on casters was because, whilst I can store the laser cutter in this location, it will need to move in order to be able to attach the exhaust ducting, plus it will hopefully move to another location in the workshop once I eventually clear out/use up some more of the ‘stuff’ currently taking up space in there so it can have a more permanent location.
On the plus side, now that the laser cutter is in the workshop, I have easy access to compressed air, from my workshop compressor, for the air assist and won’t need to buy an aquarium air pump.