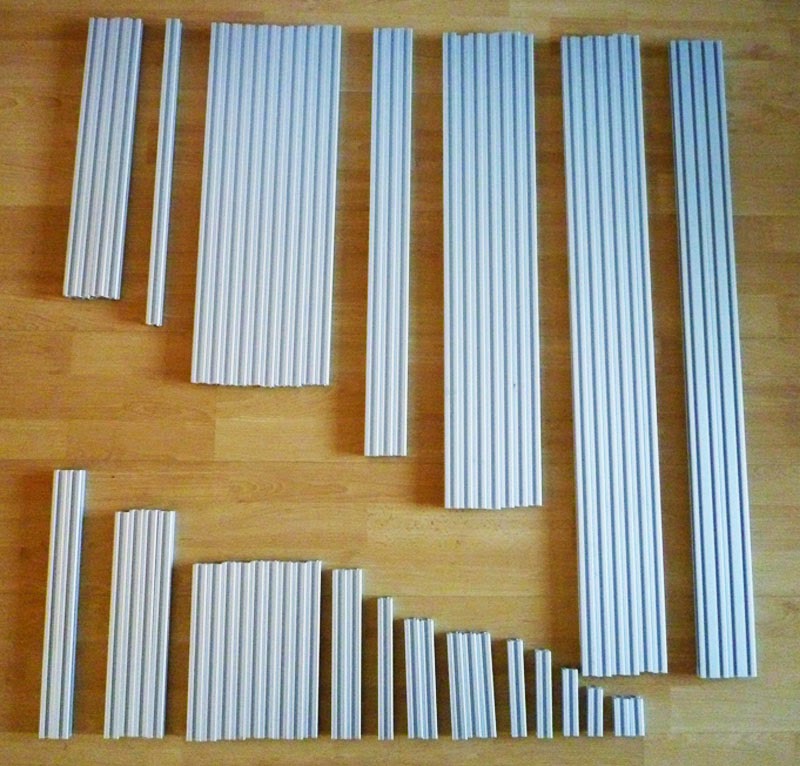
My order from Motedis arrived yesterday,
Motedis include any left over pieces if you choose to have your items cut from standard 2, 3, 4 or 6m lengths, instead of specifying individual lengths.
I used GoNest 1D to optimise my cutting plan and allow for the kerf/waste generated by each cut.
This is 4 x 6m lengths of 20x20mm and 2 x 960mm lengths of 20x40mm aluminium extrusion cut according to my requirements.
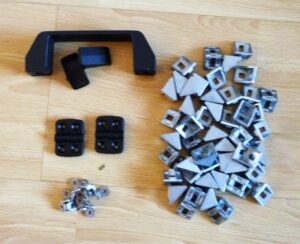
I also purchased 50 brackets, 10 inner brackets, 2 hinges, 3 sliders and a handle.
The cutting list included parts for my Mini Kossel 3D printer (3 x 660mm, 9 x 240mm 20x20mm extrusions and the 3 sliders) as well as parts for the rotary axis (2 x 440mm, 1 x 140mm and 2 x 50mm 20x20mm extrusions), the total for all the parts from Motedis came to £110.16 ($170.00) + P&P.
The M5 T-Nuts came from RobotDigg @ $7.50 (£4.80) for 100.
The various screws, studding (all-thread), nuts and washers, most in multiples of 100, came from Orbital Fastners who provide free local delivery for orders over £30.00 ($46.50).
I tend to over order from them as I always need more of various random fasteners for my many and varied projects.
Amber Spyglass have been out of stock of Makerslide for a while, although they keep promising that it will be back in stock soon.
As such I will make a start on the frame and add in the Makerslide parts later.
On starting to assemble the frame it slowly occurs to me that something is not quite right, firstly I seem to be missing the 2 x 580mm lengths of 20x20mm extrusion, required for the Z table, but also I have too many 560mm, 960mm and a few other lengths of 20x20mm extrusion.
After checking my cutting list several times, it would seem that I missed the 2 x 580 lengths out of my request, but also that Motedis have sent me the cut list of parts from one of the 6m lengths twice!
As such I have 3 x 960mm, 1 x 730mm, 3 x 560mm, 1 x 230mm, 1 x 160mm, 1 x 140mm and whatever remainder lengths as spares/extras.
My simplest solution for the Z table is to simply make it 20mm narrower and use 2 of the spare 560mm pieces, rather than cut down 2 of the 960mm pieces, this will have little, if any, real effect on the available cutting area.
I will also simply adjust the size of the larger of the 2 plates that hold the rotary axis by 20mm (it was quite wide anyway, this makes it closer in size to the other plate – I was intending to print these anyway, this will save me some plastic into the bargain.
This also means that I can use the remaining 560mm length as a middle support in the power supply/electronics bay, just like Scott Shwarts did in his build, do away with the sheet of Plywood/MDF and 3D print any required mounting brackets. This should also save some weight.
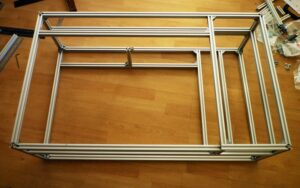
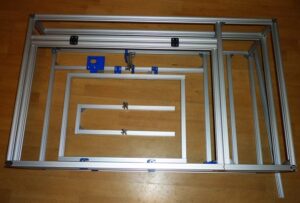
Here is the frame after assembling all of the extrusion pieces that I can without the Makerslide.
I then added some of the printed parts.
I reprinted all of the parts in blue so they would match the anodised aluminium pieces from Blomker Industries.
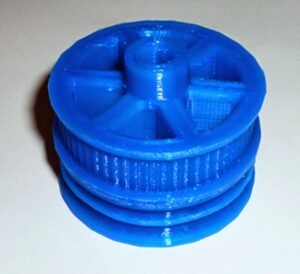
Here is the MK2 version of the rotary axis gear that I redesigned to be slightly stronger and closer to Bart’s original.
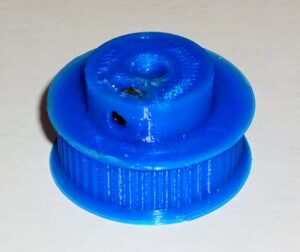
and the new 48 tooth gear for the Z axis reduction.
The black set of parts is now surplus to requirements and available to anyone who would like them. They would come with 606 bearings and micro switches installed and includes all 6mm and 12mm parts except for the laser tube mounts, (although I could probably be persuaded to print these as well), a 48 tooth gt2 pulley 6mm bore and 2 x pulleys for a rotational axis. Total price £30.00 + P&P, which is still well under half the price of other parts suppliers. If you wanted to make your own M6 Z lift mounts with cage nuts like mine, I would be happy to throw in some cage nuts as well.
