The wiring continues, Z max, min and door microswitches were soldered up.
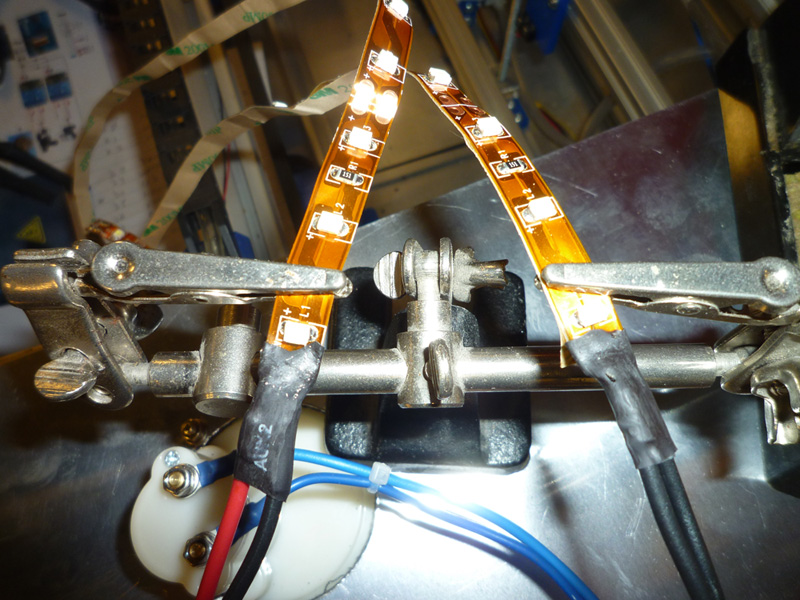
I wanted to have some internal lighting in the laser cutting area. I had some white 12V LED light strips, that I had bought some time back for some of my RC models, from Hobby King for £2.49.
I cut the 1m strip in half and then wired them in series to make a 24V strip, these were then installed inside the extrusion at the front and back of the lid opening.
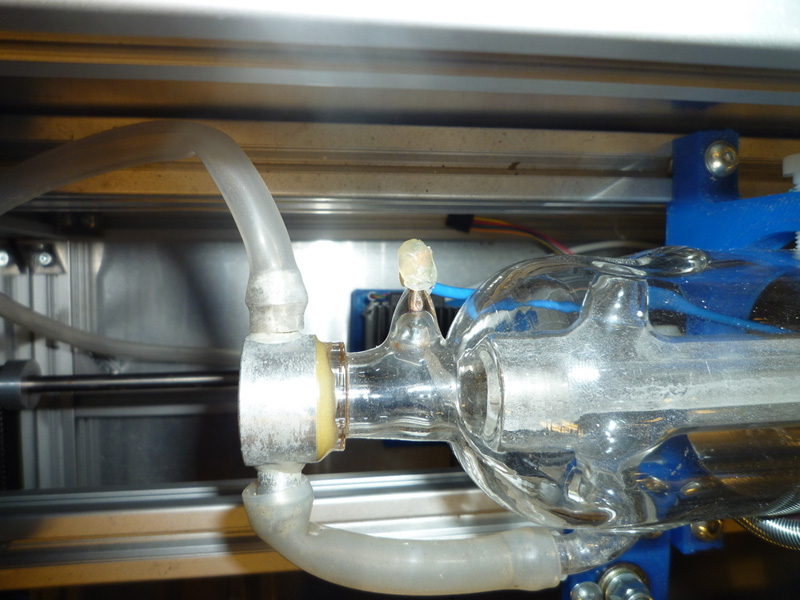
The high voltage line was wrapped around the positive terminal of the laser tube and then held in place with hot glue.
The same was done for the negative terminal.
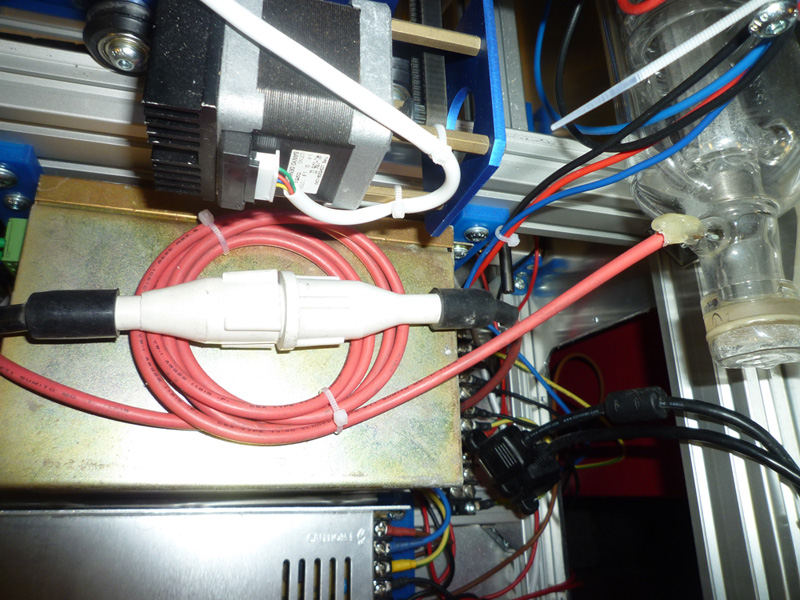
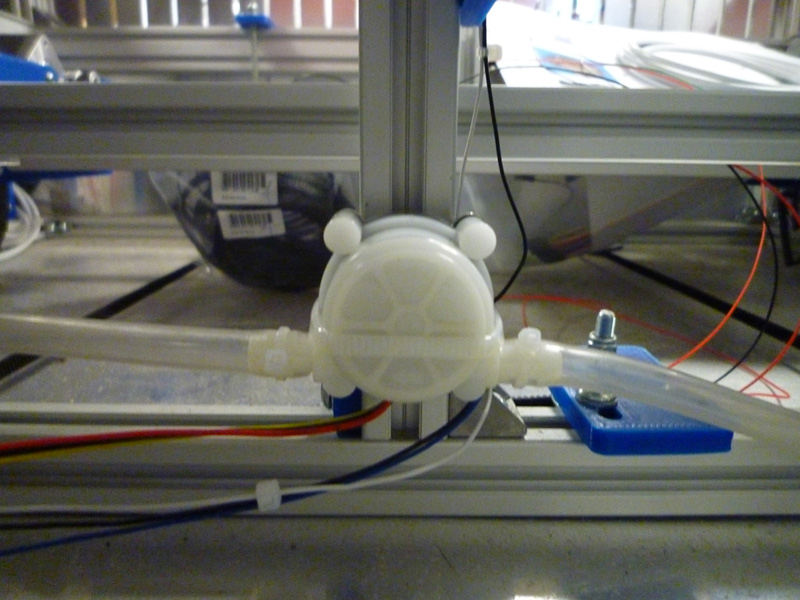
The water flow sensor was spliced into the return water pipes and is held in place by a cable tie to one of the upright pieces of profile.
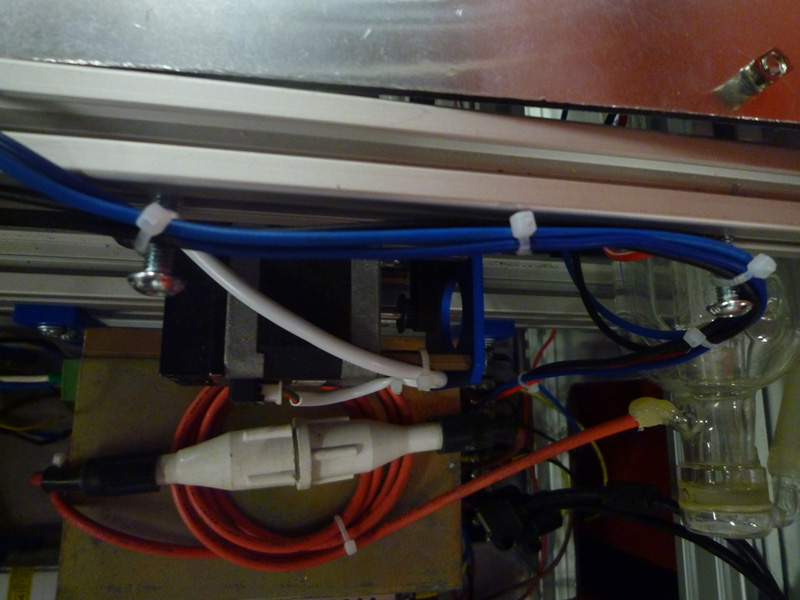
The extension cables for the network, USB and the connector between the DSP front panel and its I/O box were installed and held in place with some cable ties.
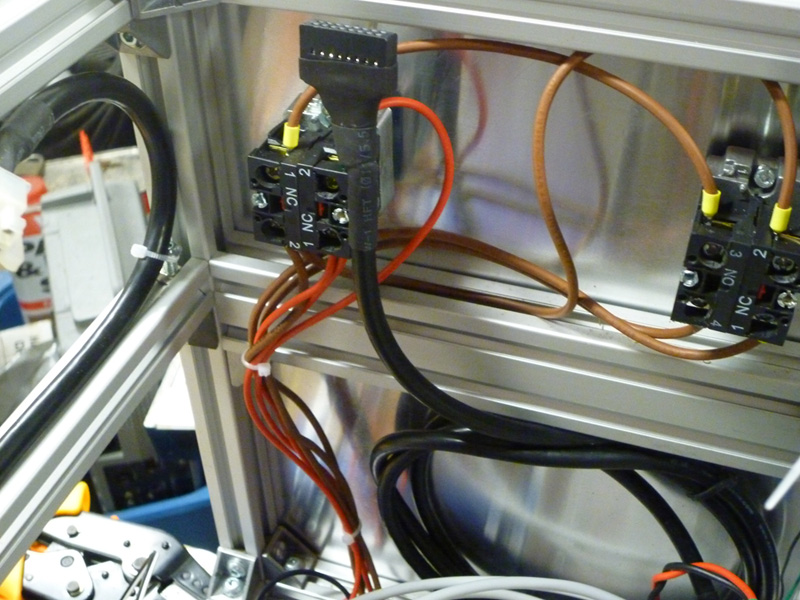
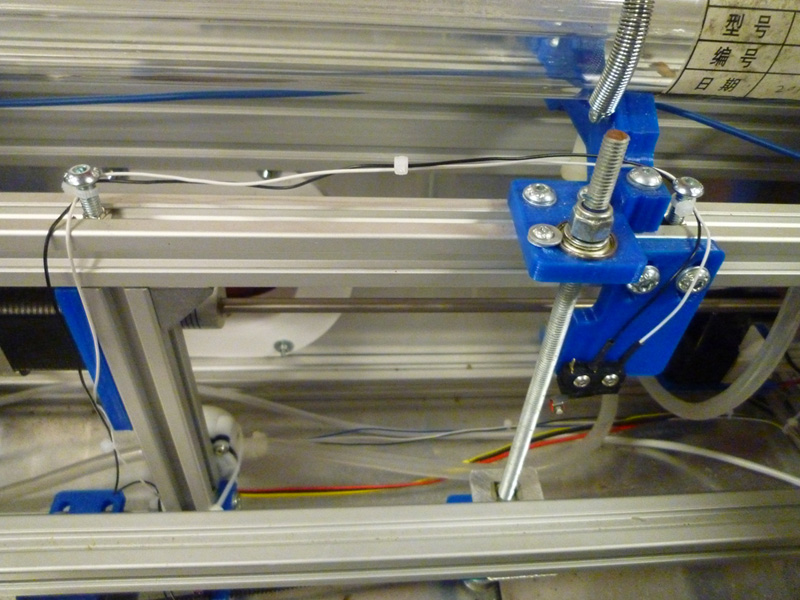
Several areas of cable management are helped by using set screws and drop in t nuts to provide binding posts for cable ties, like in the corner of the frame shown above to secure the network/USB extension cable,
in the first picture in this post, a couple are being used to route the Z max microswitch wiring,
and in the picture below to create a makeshift cable tray.